|
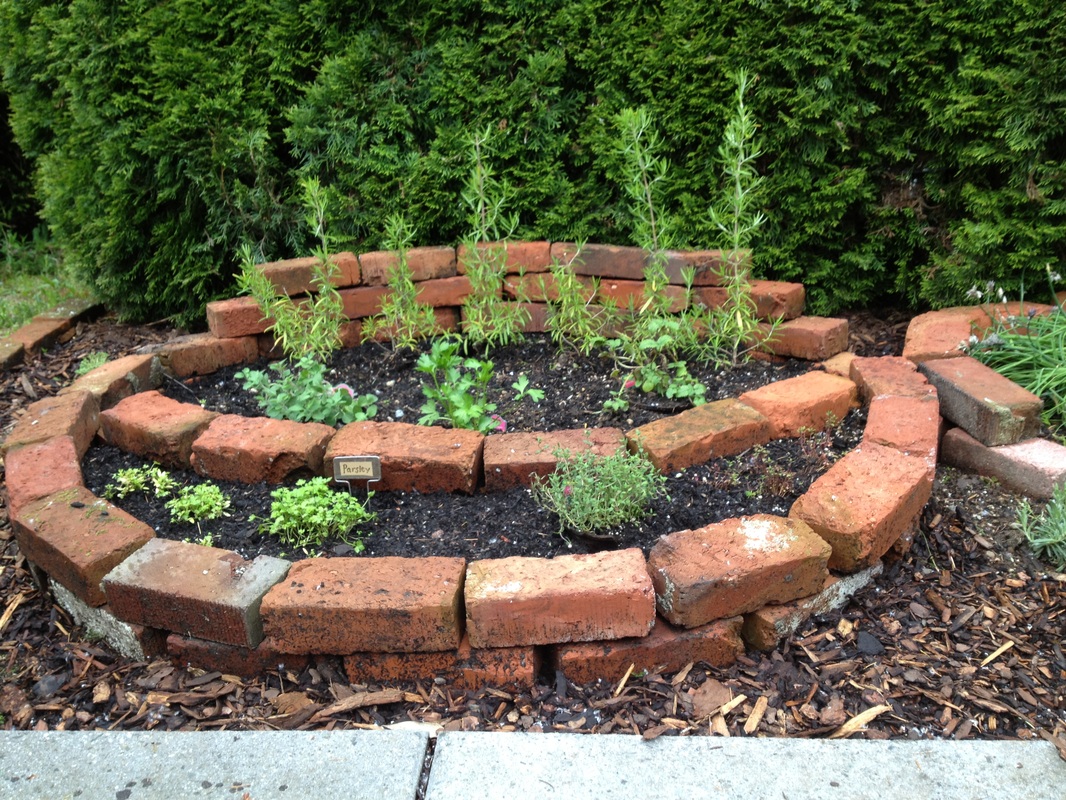
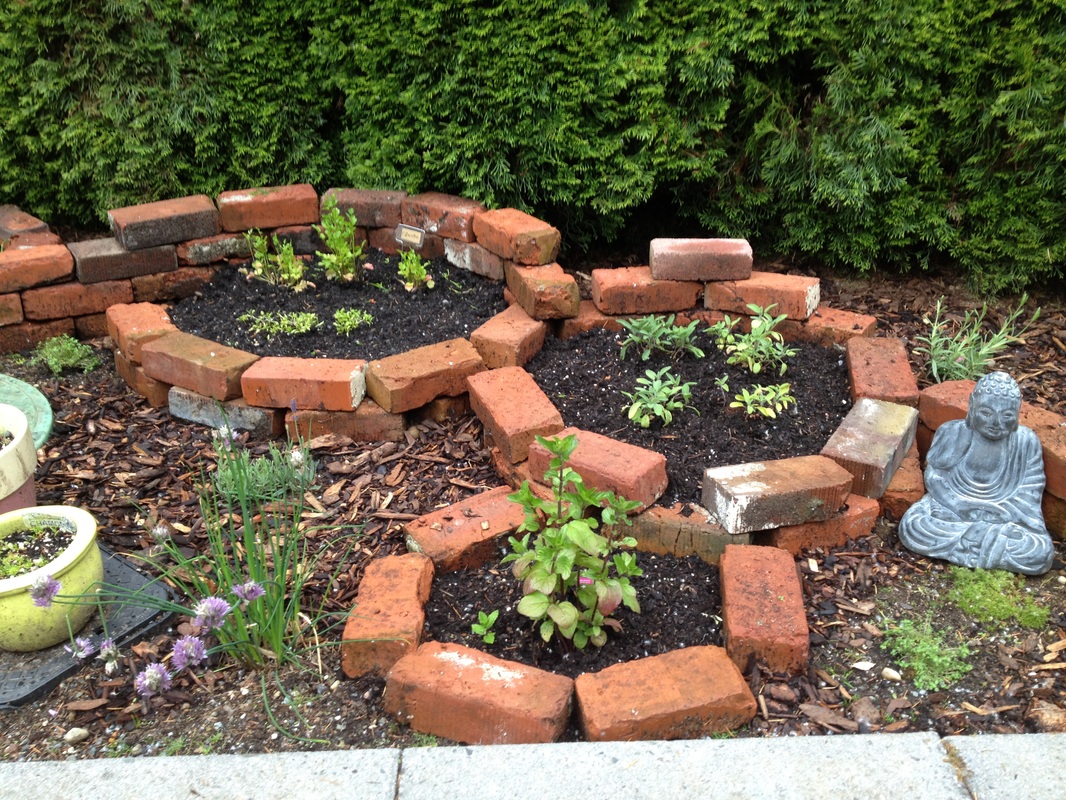
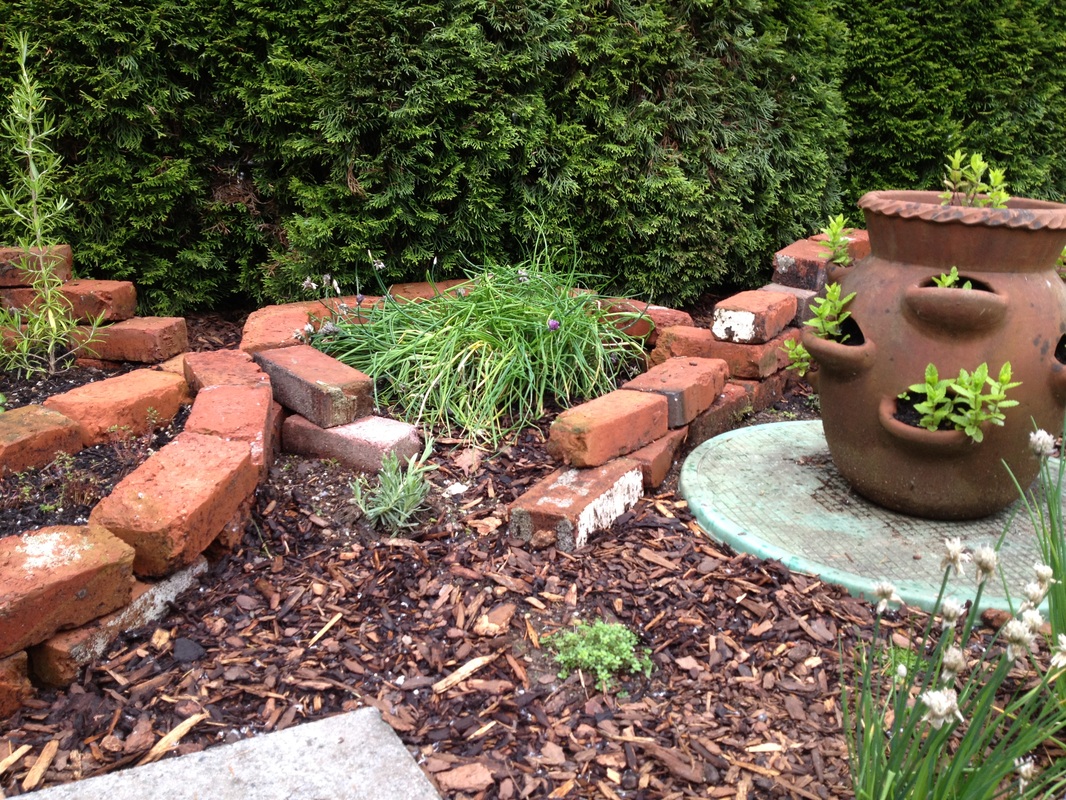
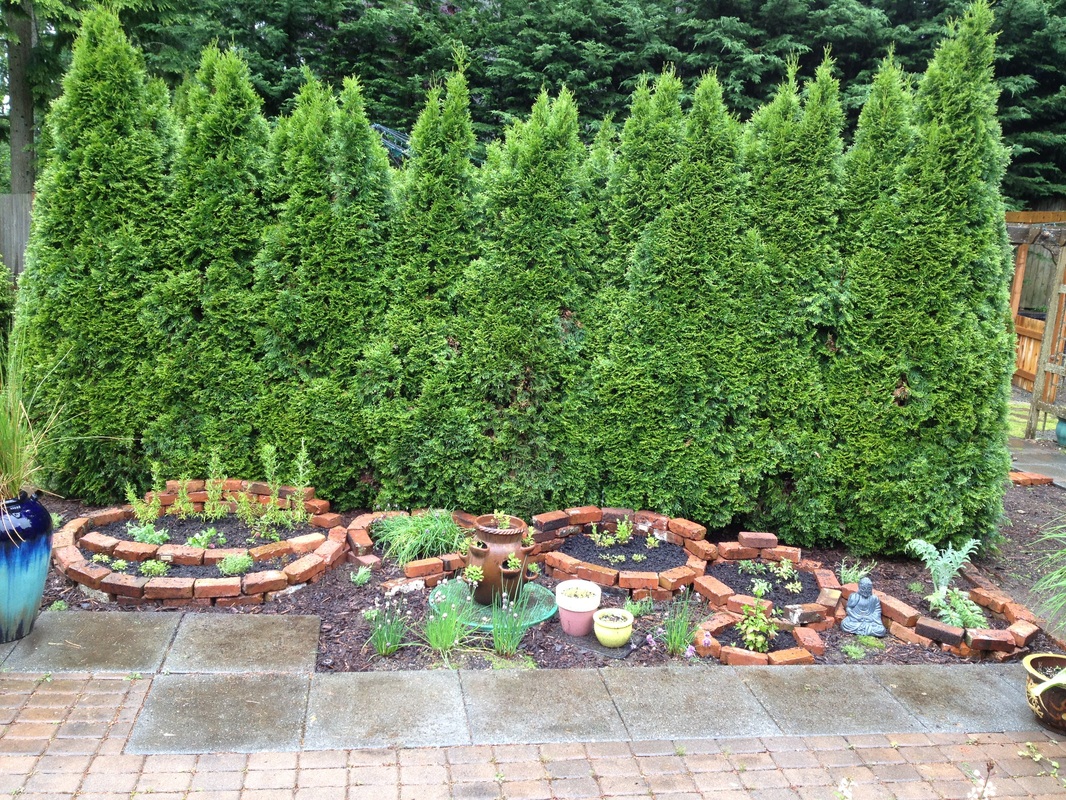
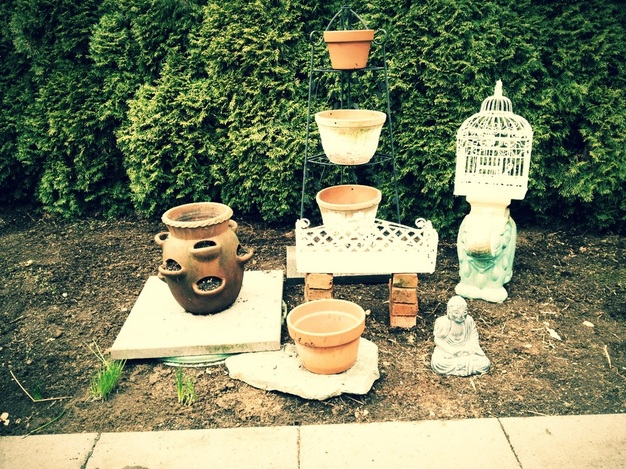
Now that my herbs are a little more sturdy, I'm re-thinking the arrangement of the garden itself. I'm having trouble with weeds (horsetails), slugs and rabbits. An omelet made with eggs from my own organic-fed chickens, topped with a garnish of chives and slug slime? Mmm. I've been "pinning" raised herb gardens and came across the one below, made with bricks. Since I use salvaged bricks all over my garden and it's pretty much the only material I have lying around, I might give it a try. I have to figure out how to keep the mint out of the ground, hide the hideous septic lid, which is in the center of my garden space and keep the bricks on. Seems tricky. *** The Next Day *** Yesterday, I removed all my pots and decorations from my old herb garden (a.k.a. the "yard sale") and scraped the weeds up with my trusty hoe. I leveled the ground and then kinda just went for it. I brought 6 bricks at a time over, from my pile elsewhere in the yard, and made my swirly design until it fit the space and my needs. I included two levels for planting, in addition to the ground level, so I ended up planting at three different levels. It's a very interesting garden design idea and certainly captures the attention. I added lavender to give it an evergreen and of course there's the artichoke on the far right. I also transplanted my rosemary from its moldy, wood planter and gave it a new home on the far left. This type of garden bed can also be used for vegetables. When transplanting my homegrown plants, I was surprised at how extensive some of the root systems were, even for the smallest of herbs. Hopefully, they have enough room to expand and my herb garden will be rockin' in three years or so. My concerns for my garden were slugs, rabbits and weeds. I can easily add slug bait inside the swirly, brick planters. The rabbits will still have access to my herbs, but so far, that hasn't been a problem this year. They stick to munching on the delicious weeds in my grass. As for weeds, I put a single layer of newspaper between the ground level and my fresh compost. I also hoe'd the weeds and added a thick layer of cedar mulch which will deter weeds and look nice around the garden. The mulch will break down, so I'll certainly keep an eye on the evil horsetails. I also have weed killer and I'm only a little afraid to use it around my edible herbs. The unsightly septic lid is a necessary evil, bit hopefully the potted mint and chives mask the green lid. I definitely recommend creating a brick planter to anyone who is considering it. If you have the materials (preferably free, or recycled) it's a great project because it's so fluid. You can change your mind about a specific space and make the bed higher, or larger... and it gives you a chance to be creative.
I'm excited to see my little herb garden mature even more, as the seedlings I grew under lights last winter thrive in this new garden bed.
1 Comment
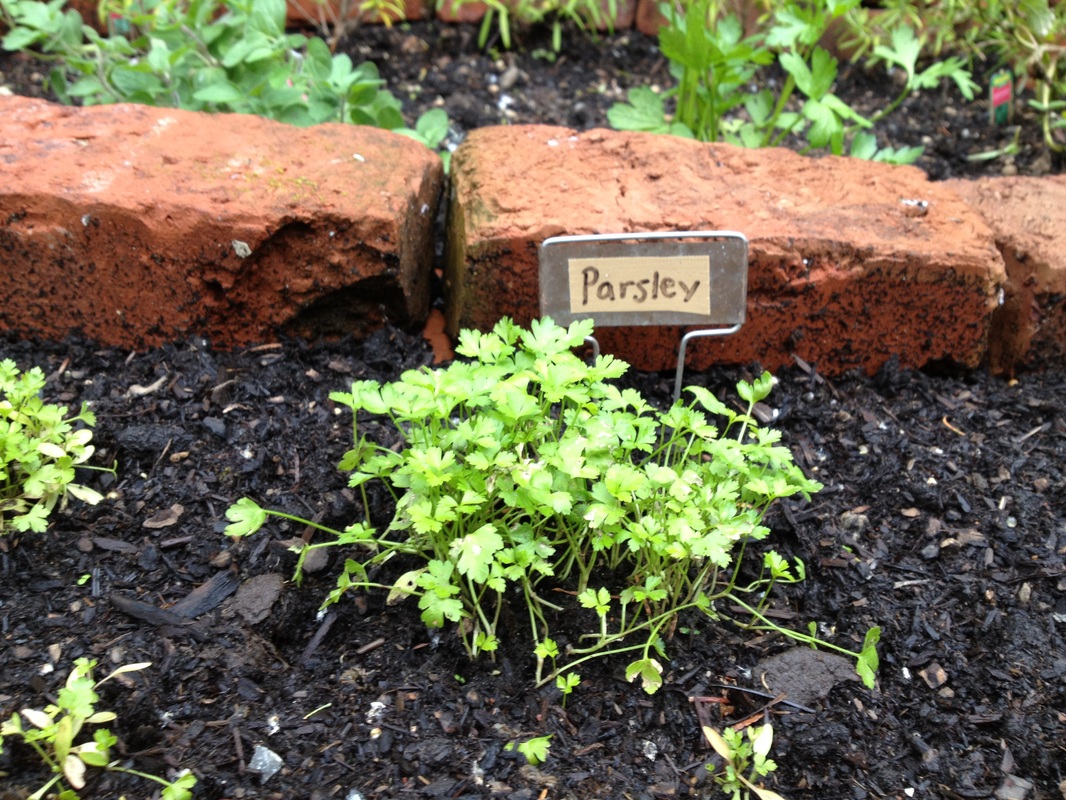
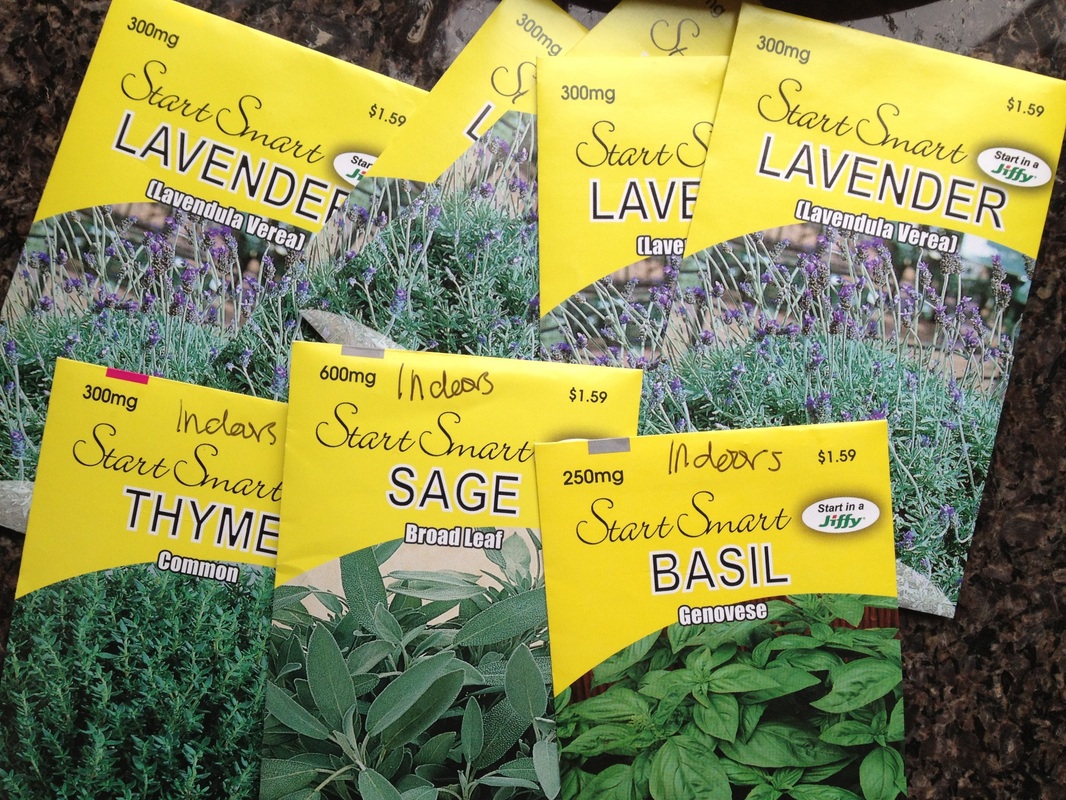
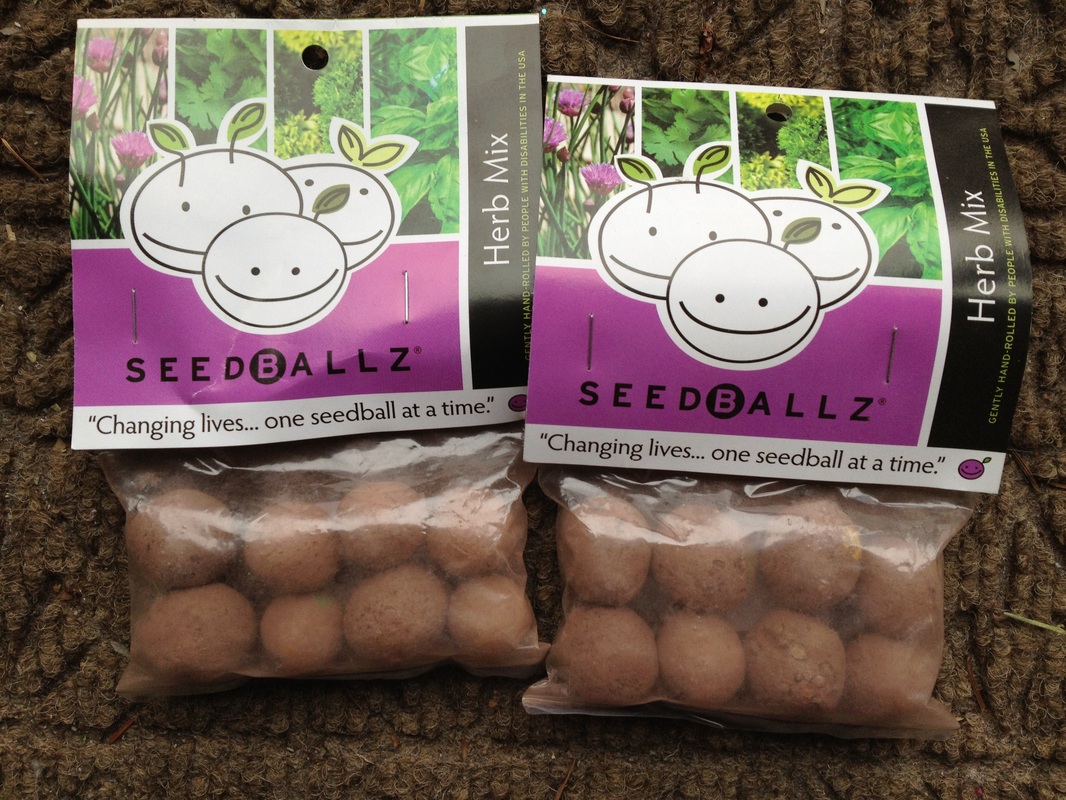
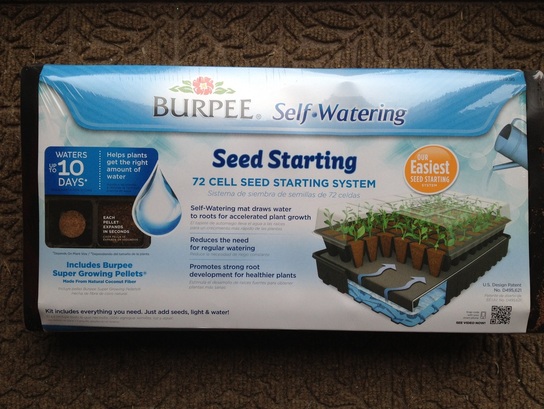
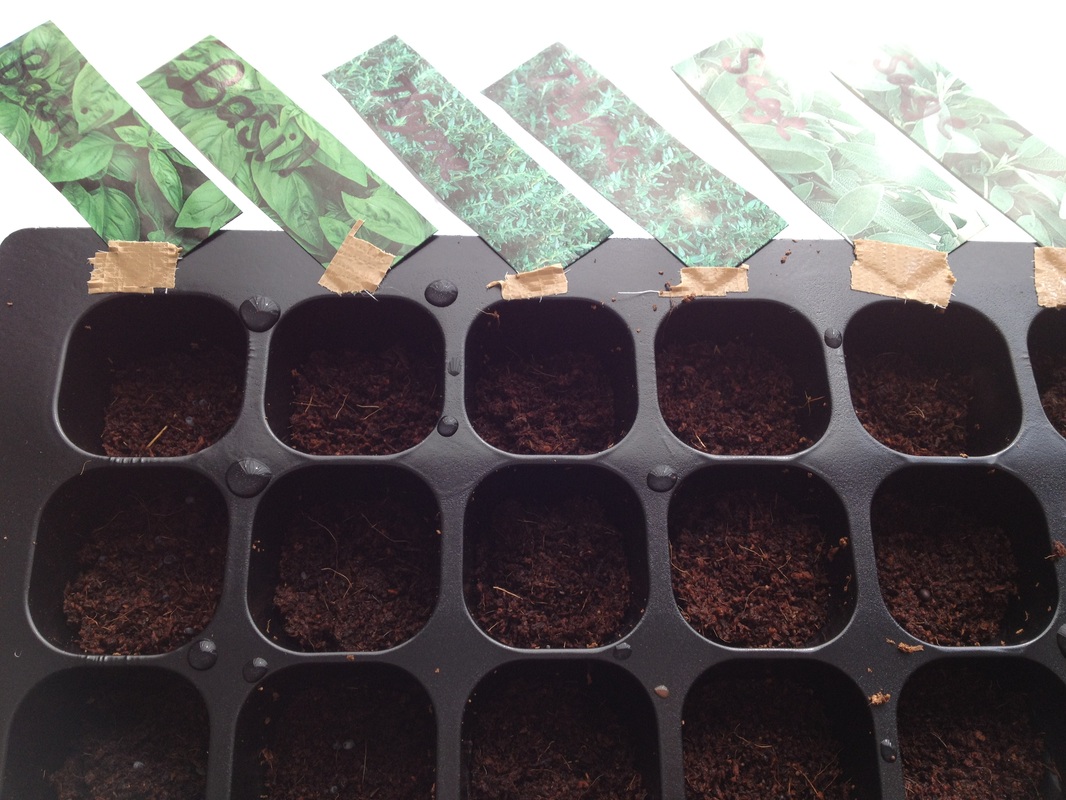
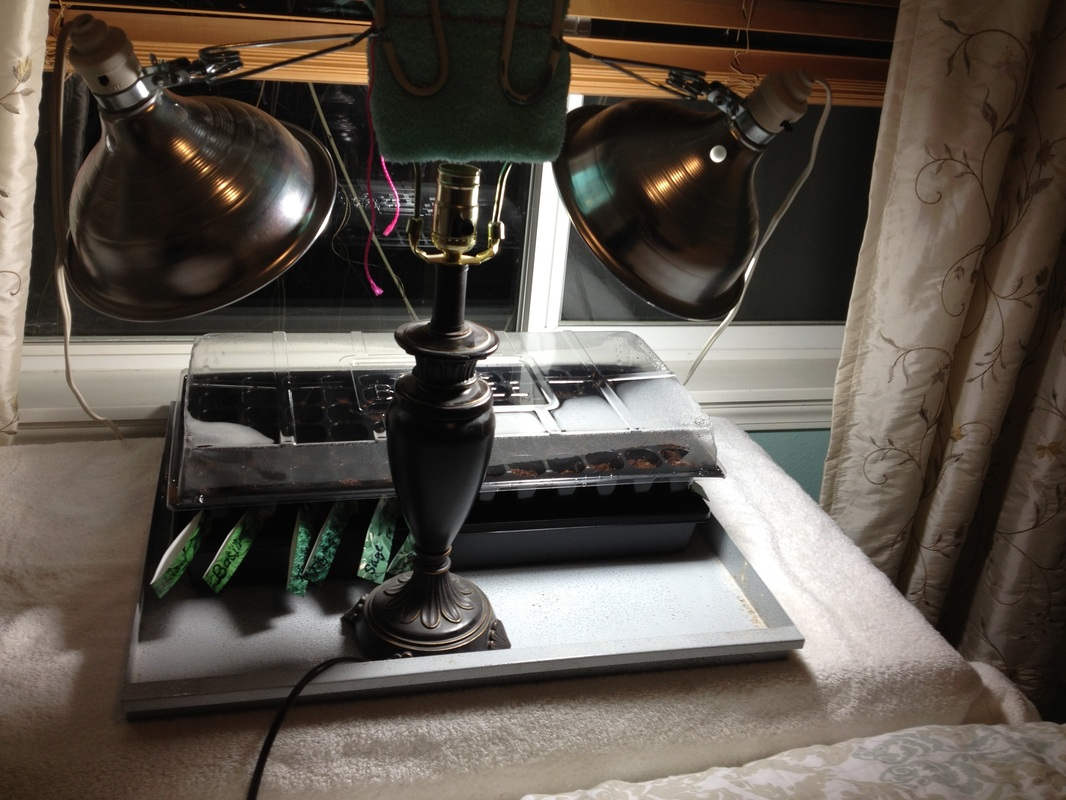
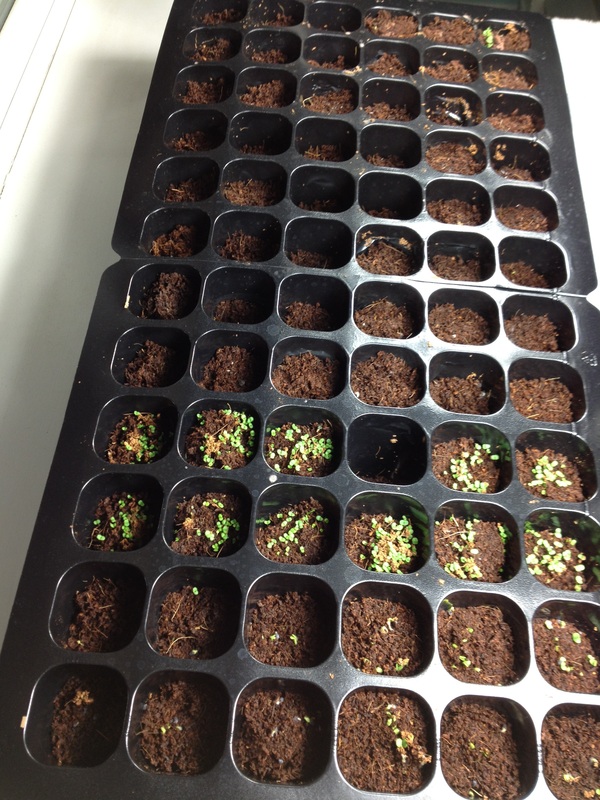
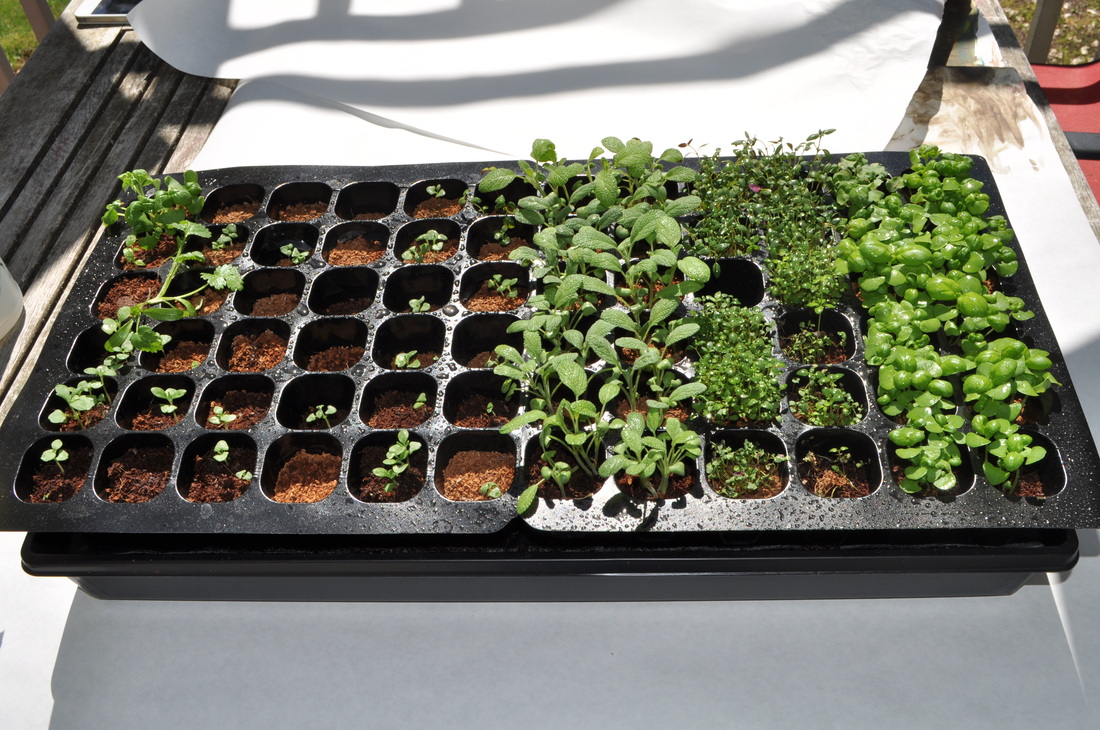
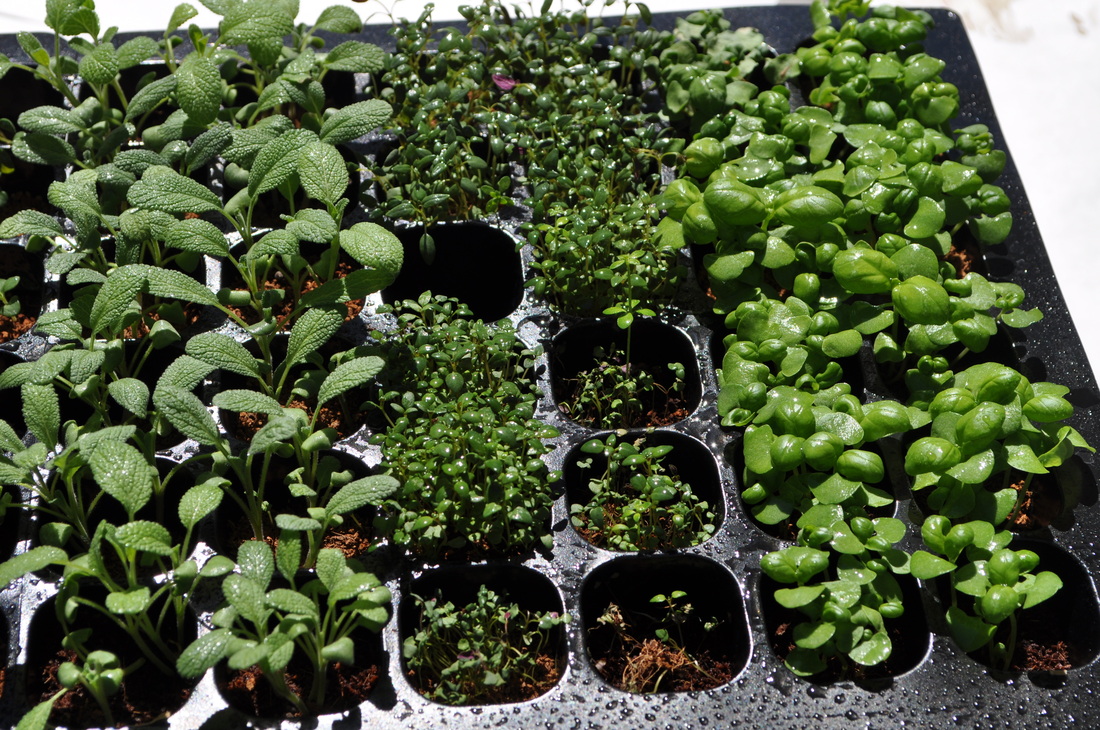
I was lucky to inherit lots of mature lavender plants from the previous owners of my house. Due to frost damage and in an effort to thwart Horse-Tail weeds, I've removed a bed of lavender. I'm replacing the old plants with new, home-grown seedlings, which I'm starting today. I'm also starting a few herbs just to see if I can do it. My herb garden is ready and waiting for new soil and transplants. Growing lavender seeds by Alice Formiga, originally posted on Renees Garden Start lavender seeds 6-8 weeks before the last frost in your area. Space them ½" to 1" apart in a flat of well-drained sterile seed starting mix, and cover them only about 1/8", since light aids germination. Keep the flats in a warm place, about 70 degrees, and moist but not soggy-water in the morning so that the flats aren't too wet in cooler nighttime temperatures, causing the seedlings to damp off. Be patient; seeds can sometimes take a month to germinate, but I have often been pleasantly surprised to have seedlings germinate within the first two weeks. Although I haven't found it to be worth the trouble, some gardeners recommend cold-stratifying lavender seeds to improve the germination rate. The simplest way to do this is to place lavender seeds into a ziplock bag of moistened seed starting mix and leave it in the refrigerator for 3 weeks. Then sow as above. When seedlings emerge, provide strong lights so that they don't grow weak and leggy. When the seedlings have several sets of true leaves, gently loosen the soil around the plants and transfer them into a 2" pot or 2" apart in deeper flats of well-drained planting mix. Since nutrients quickly leach out of containers, add some granular slow-release fertilizer to the soil. Snip off the growing tip to encourage branching. When the plants have grown about 3 inches tall, the weather is warm, and all danger of frost is past, gradually expose the plants to outdoor conditions over the course of a week, being careful not to leave them in full sun right away. Finally, plant them outdoors 12-24" apart into well-drained garden soil. In particularly moist, humid areas, plant them at the wider spacing recommendation, so that air circulates freely around the plants. I bought a Burpee seed starting kit that had two dehydrated dirt pellets in each cell. Since it was raining sideways, I put the kit together in the kitchen after watching this video. Per the instructions, I used warm tap water to rehydrate the dirt. It didn't really work. The water just kind of drained through the cell to the tray underneath. I ended up using waaay more water than I assumed it would take and had to agitate the dirt pellets which was um, dirty. Finally, I triumphantly plopped the seeds into the spongy dirt and then set to work arranging the grow lights. I put the seeds under two grow lights in the garage. Then the washing machine breaker kept turning off, so I assume the grow lights were too much for the circuit. I relocated the plants indoors, where I think they will be much more comfortable. I rearranged the guest room and rigged a table lamp base to accomodate the grow light clamps. Currently, my eyes are having trouble focusing after having looked directly at the 40 watt flourescent bulb, which is equivalent to a 150 watt typical bulb. I put the lights about a foot from the seedlings and I'm planning to leave the lights on for 12 hours a day. I think this is the end of the beginning. *** UPDATE~ April 2nd For the last five days or so, since I planted my herb seedlings, I've checked on my little buddies every 20 minutes or so, to see if they germinated. It's been exhausting! The thyme popped up quickly and has been steadily growing. The sage has progressed at about 40% the rate of the thyme. The basil was a little stubborn, but it finally peeked out a little today. Half of my dirt pallet is lavender and that side, almost immediately, got fuzzy, grey mold. Internet research said that it was either good mold, or bad mold caused by "damping off." Today, I removed the lid to see what would happen and it seemed to clear up. According to some gardening forums, Lavender takes 14-90 days to germinate and often might not grow at all. That's okay with me. I'll just grab some from the nursery in a couple months if Plan A fails. *** UPDATE~ April 14th The herb seedlings looked like they could use better soil, so into pots they went. The thyme and sage will stay outside. Half the basil will go into the south-facing kitchen window and the other half will go back under the grow lights. The lavender, which is reportedly very hard to grow from seed, will stay in the seedling pots for now. While I was in the herb garden, I put some chamomile, cilantro and dill seeds into pots and to my surprise, the chamomile is already popping up (two weeks later). I'm also excited that my cilantro and parsley are coming up like gangbusters. I'm more surprised when things grow, than when they utterly fail. I'm excited to till up the ground, amend it and put some more herbs in. I'm thinking about mint. The fact that it self-soes is a conundrum. More photos of the progress will follow. *** May 24th 2012 *** In an effort not to kill all my basil at the same time, I put some of it outside and kept some inside. We have had some "warmer" weather, in the 50's and 60's which burned the fragile leaves. Turns out the basil likes to be shaded, but in a warm environment. We've also had a lot of rain, so the plants have been kept moist and they like that as well.
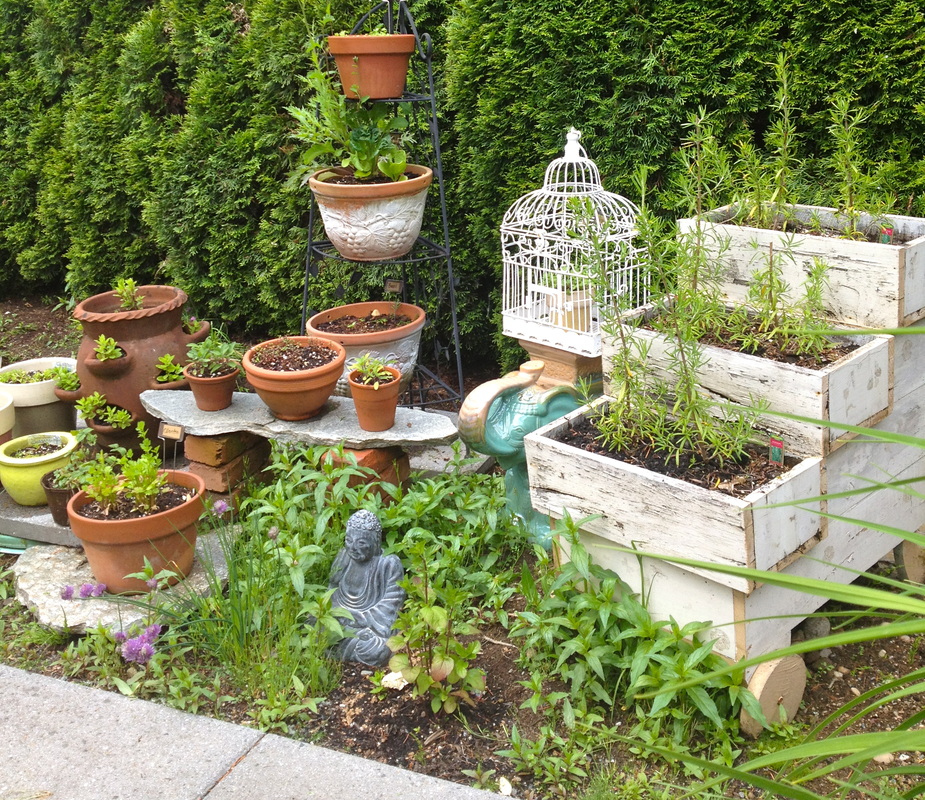
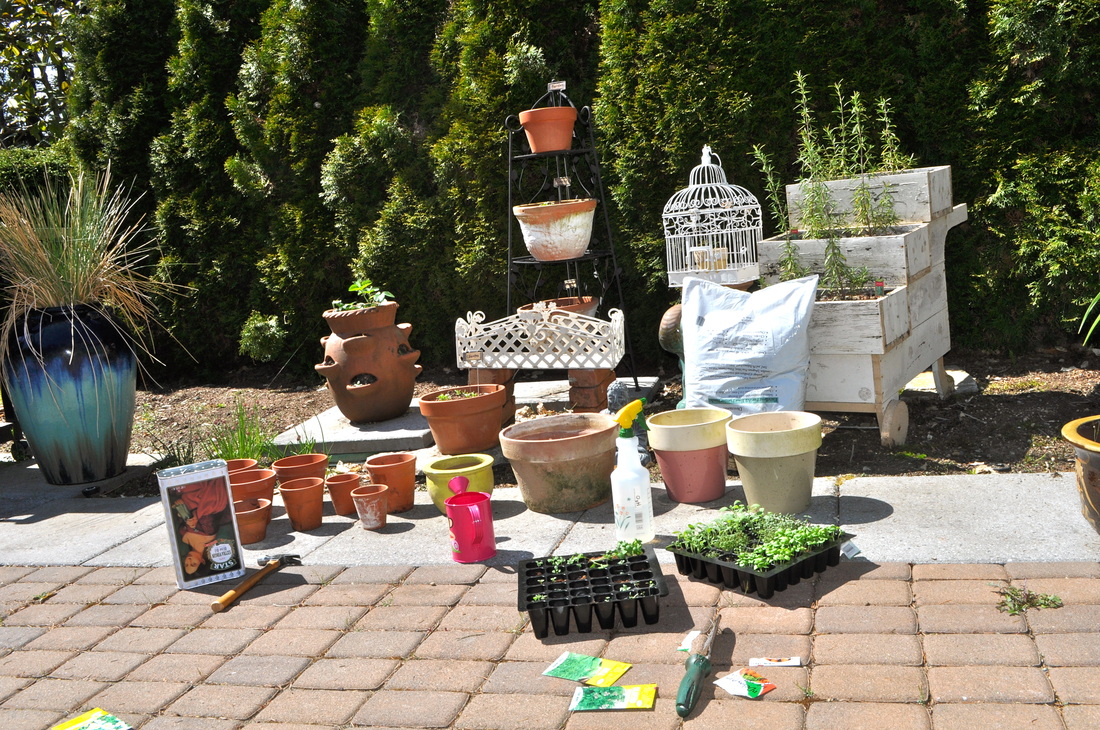
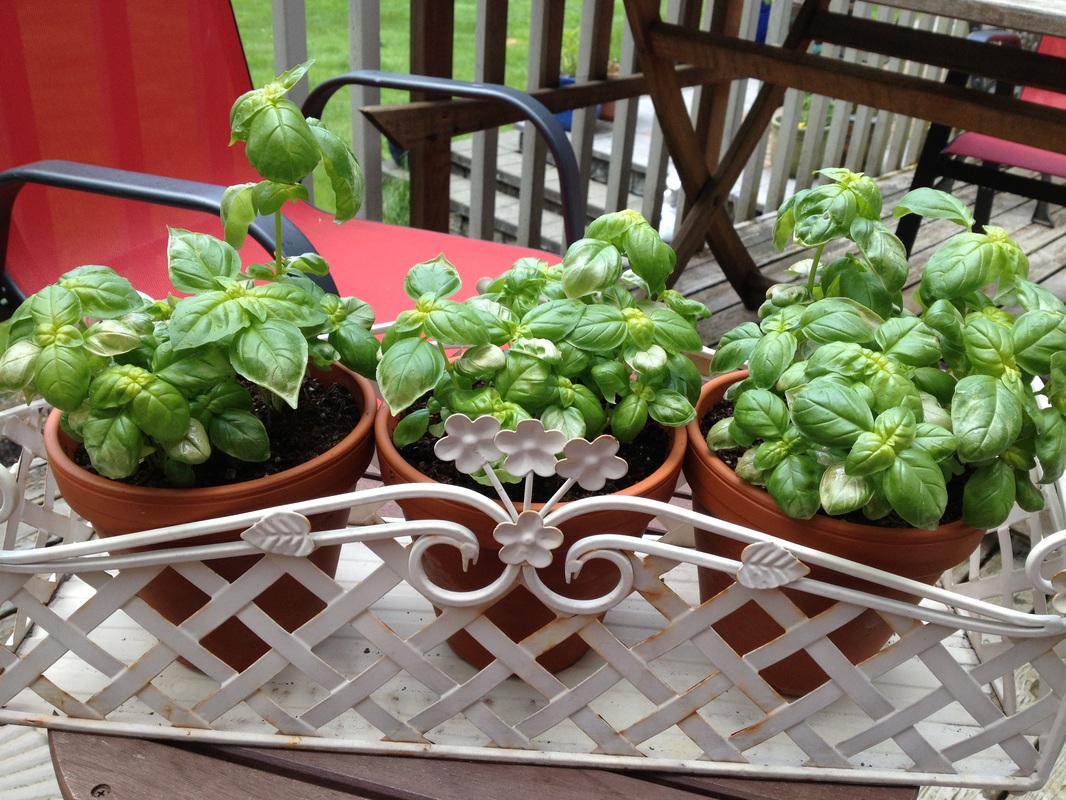
I've picked some of the burnt leaves off and new ones are starting to grow. I think that the plants will do well this summer and I'm looking forward to giving at least one of the pots to a friend. One thing I didn't do well, was give the plants more space. I really packed the seedlings into the pots and now they are choking each other out. I don't know if I should try to divide them again, or just leave them alone. I may experiment with one of these three pots and see how it goes. Over the weekend I slipped my boots on and went out to rake. I don't enjoy raking and I guess I kind of went into auto-pilot because instead, I found myself clearing a bed where I intend to put an herb garden. I've been thinking a lot lately about how to bunny-proof my herbs and I settled on raising the planting containers, planting the same herbs in the ground and taking notes about what the bunnies like and don't like. I'll re-plant the safe herbs again next year and keep the delicious ones out of reach. Right now, my raised planters look like a yard sale, but I think that when everything fills in, it will be pretty. Fingers crossed. I'm enlisting the help of my trusted gardening friend with this project. Here are my notes so far on what I may plant. I have more research to do, to determine what's hardy, here in Zone 5.
Herb Garden
|
Avant-Garde(n)Quick updates charting my novice and experimental, gardening adventures at home. Archives
September 2019
Categories
All
Click here for a link to other garden bloggers
|
 RSS Feed