|
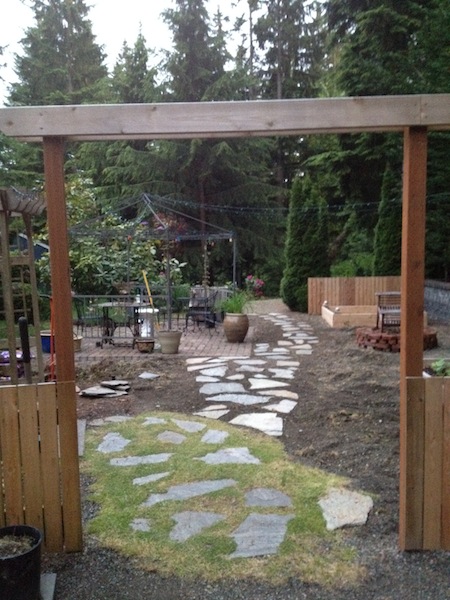
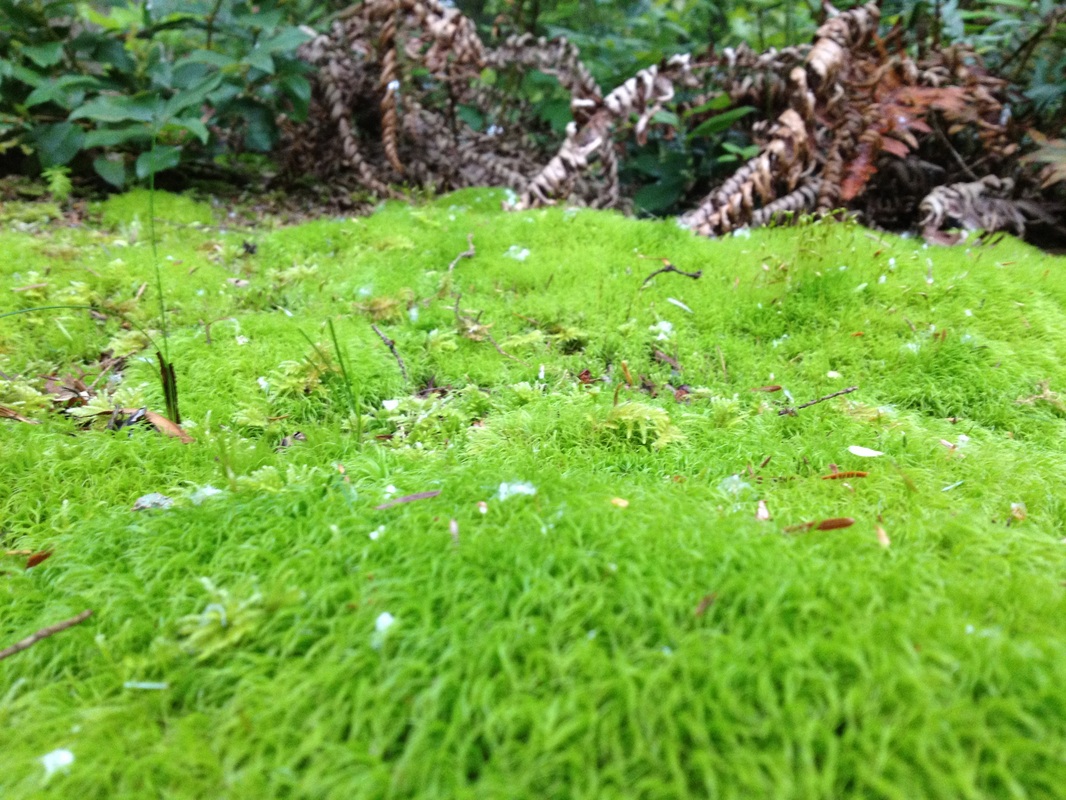
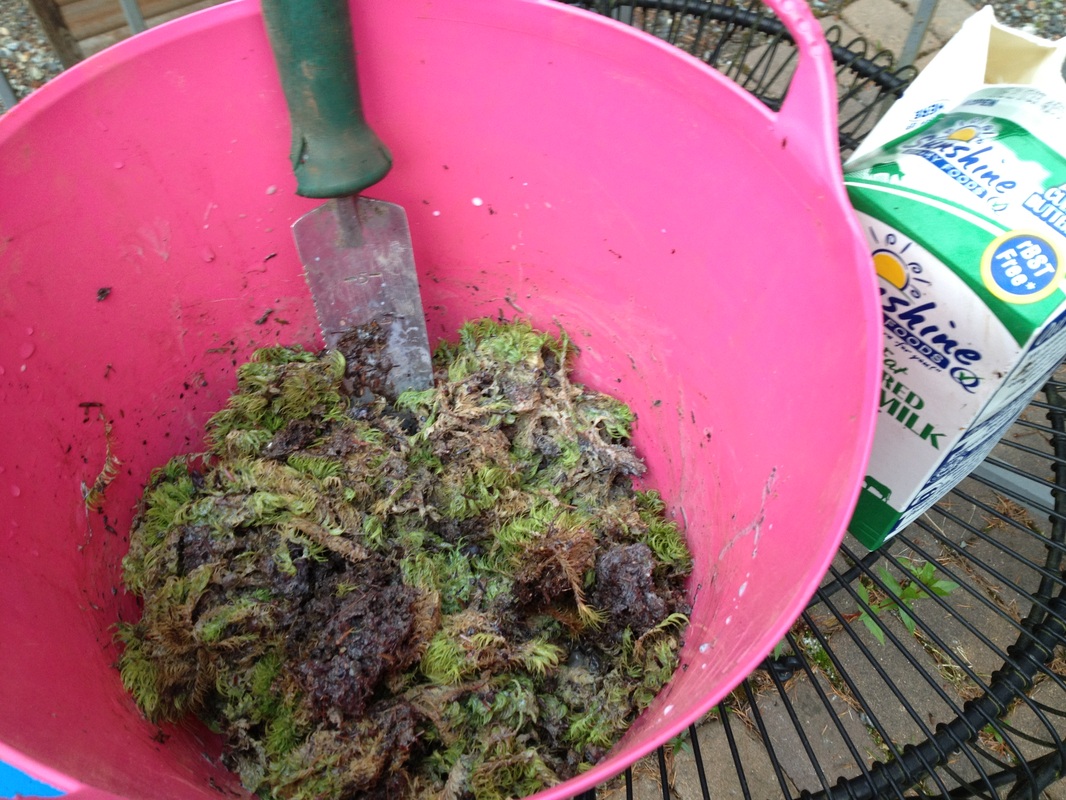
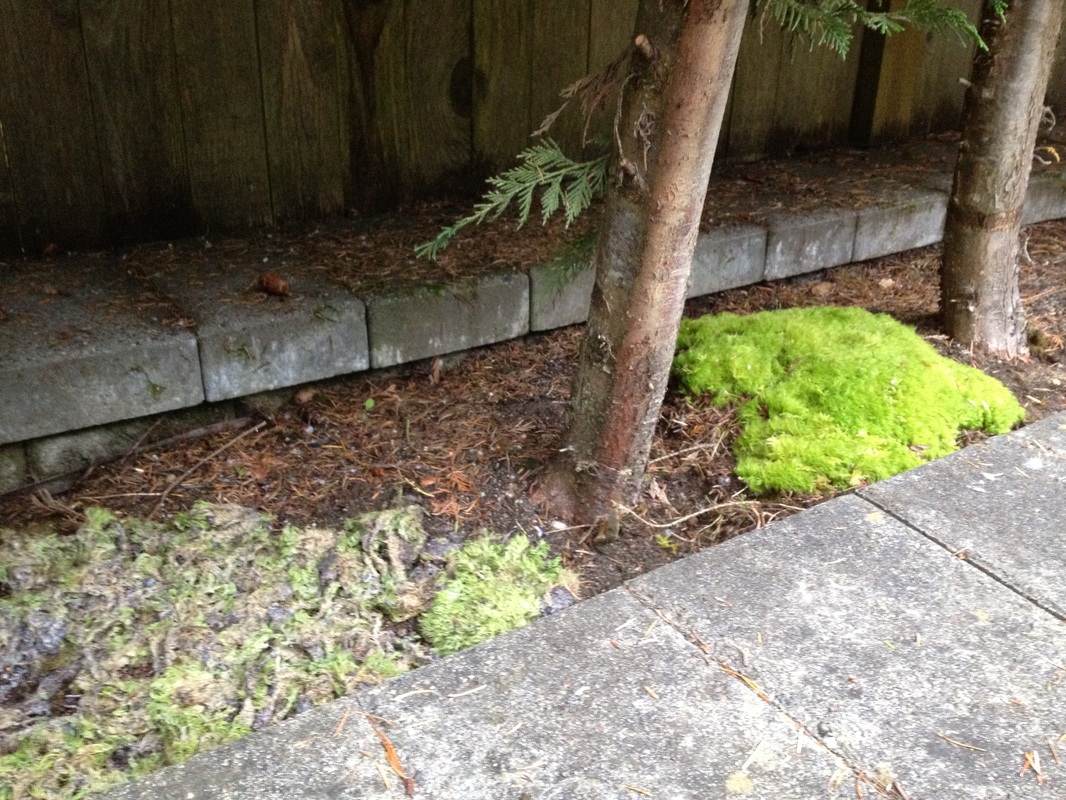
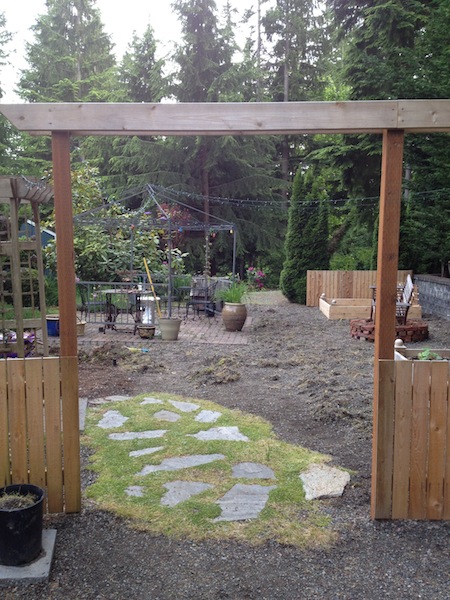
Guerilla gardeners concoct "Moss Milkshakes," out of moss spores and buttermilk, which they then use to paint on concrete surfaces in lieu of spray paint. I'm using the same concept in my garden. I recently put a new flagstone path down and I'd like to fill in the space between the rocks quickly. I'll use some Walkable grasses that are in the established path, as well as transplanted moss from elsewhere in my yard. I'll also be adding "Walkables" from the nursery, like Creeping Thyme, Corsician Mint and Blue Star Creeper. Moss Milkshake Ingredients:
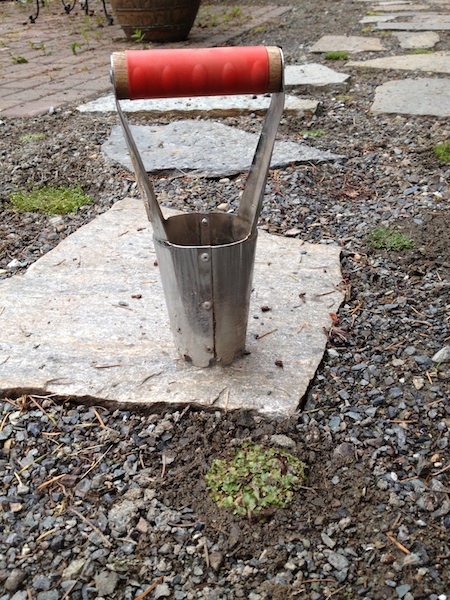
Toss all the ingredients into a bucket and use a hand mixer to blend them. Carefully pour the Moss Milkshake in place *** Later the Same Day *** I ended up taking cuttings from so many walkables in my yard, that I didn't need to use a Moss Milkshake between my flagstone. I went ahead with the Moss Milkshake experiment anyway, to see if it worked. I'll post follow-up photos once the results are in. As far as adding green to the flagstone path, I used this handy tool and plopped cuttings from my yard in-between the rocks. I think it will take three years for them to all grow in. I think the Baby's Tears will take over and the transplanted moss will die quickly. It's hard to be patient to find out, but I guess patience is another thing gardening teaches me.
1 Comment
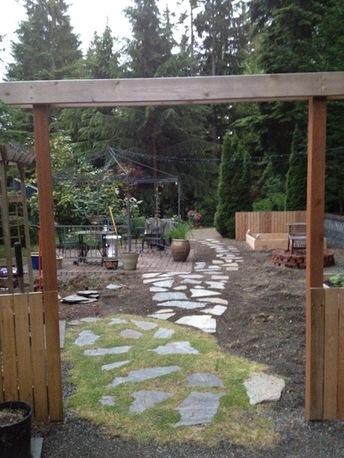
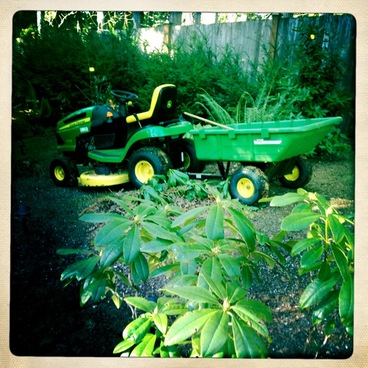
With a nice pile of flagstone winking at me for the last two years, I finally went ahead and put them down, to make a path in the garden. It's only a matter of time until a few walkables fill in the empty spaces between each flagstone. I think I'll add walkable "creeping thyme" and a few clippings of the soft, walkable moss that is so prevalent elsewhere in my yard. (If it ain't broke...) I'll line the left side of the path with flowers, but the right side has to be accessible, so I can drive over it with Can't Buy Me Love. It's gratifying to see the flagstone go down and look nice. It's wobbly in places, but I'll work the stones into the ground and make it all look like an accident.
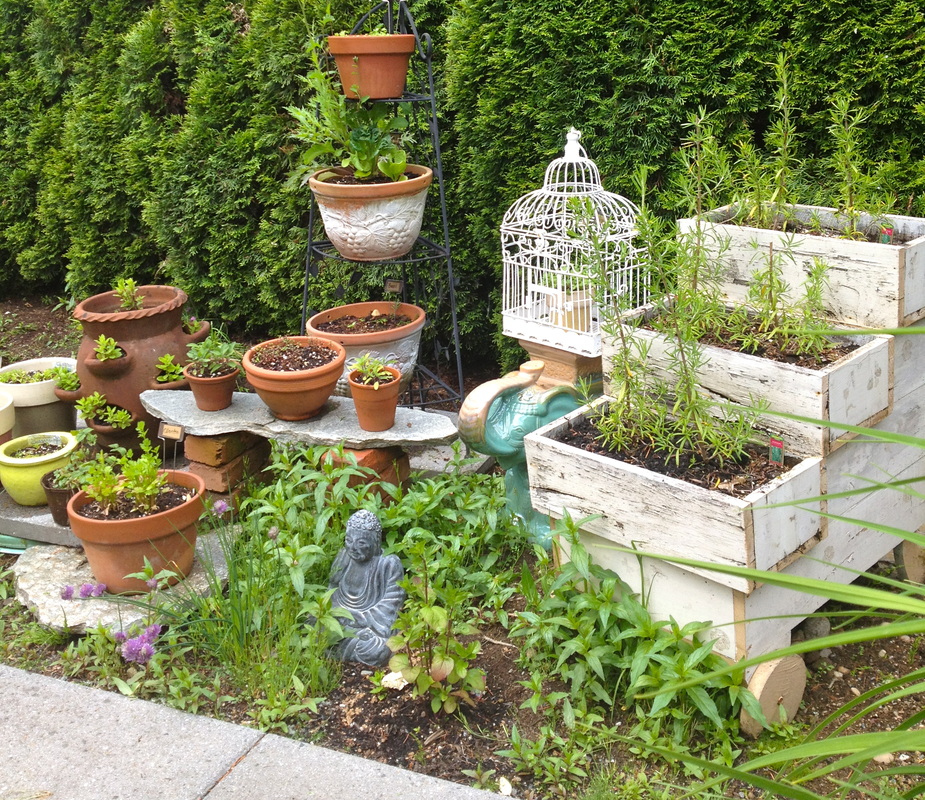
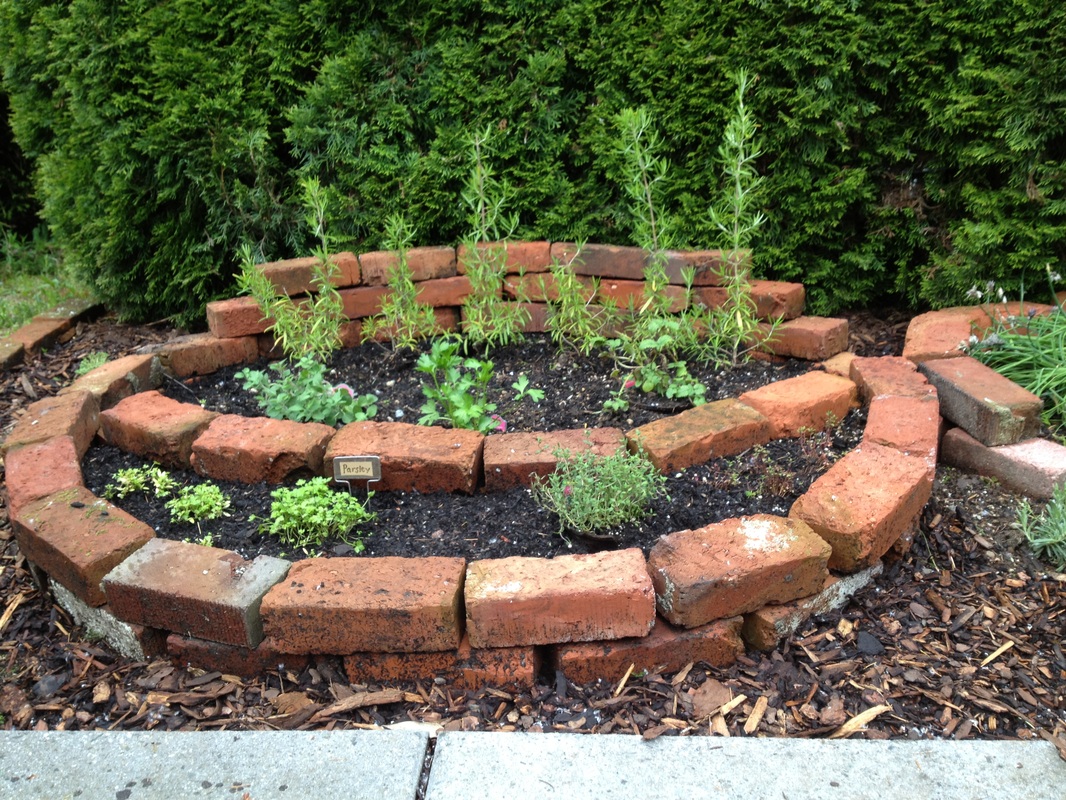
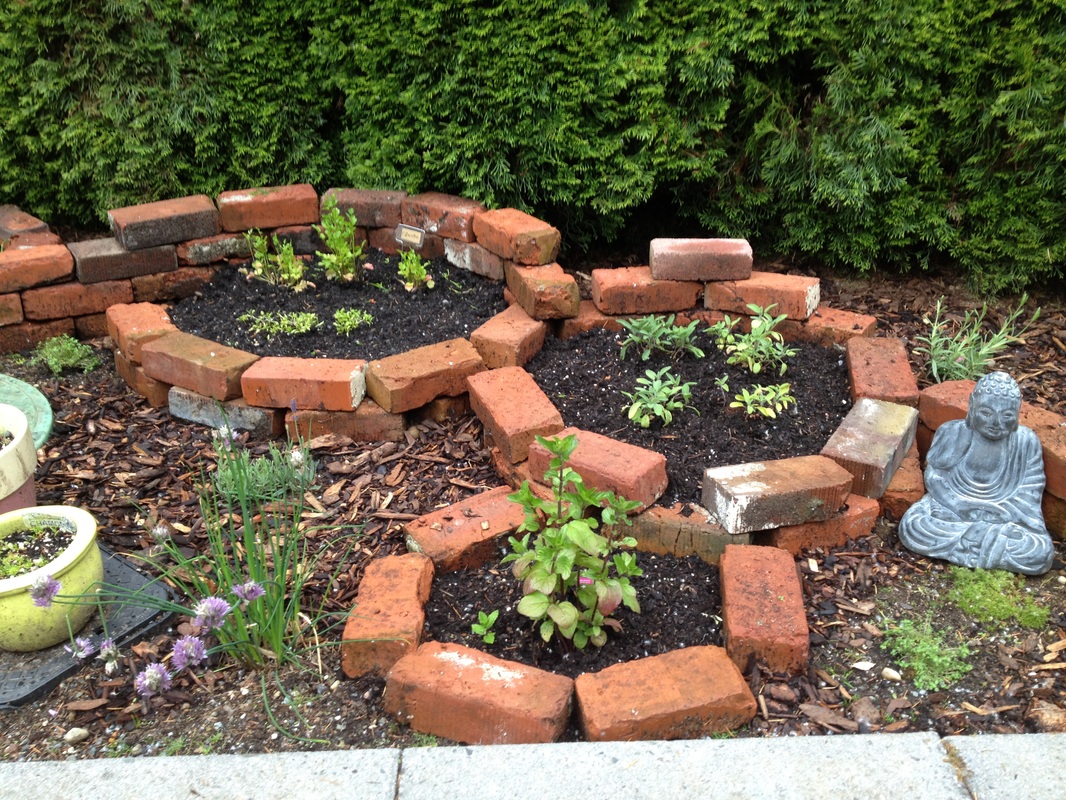
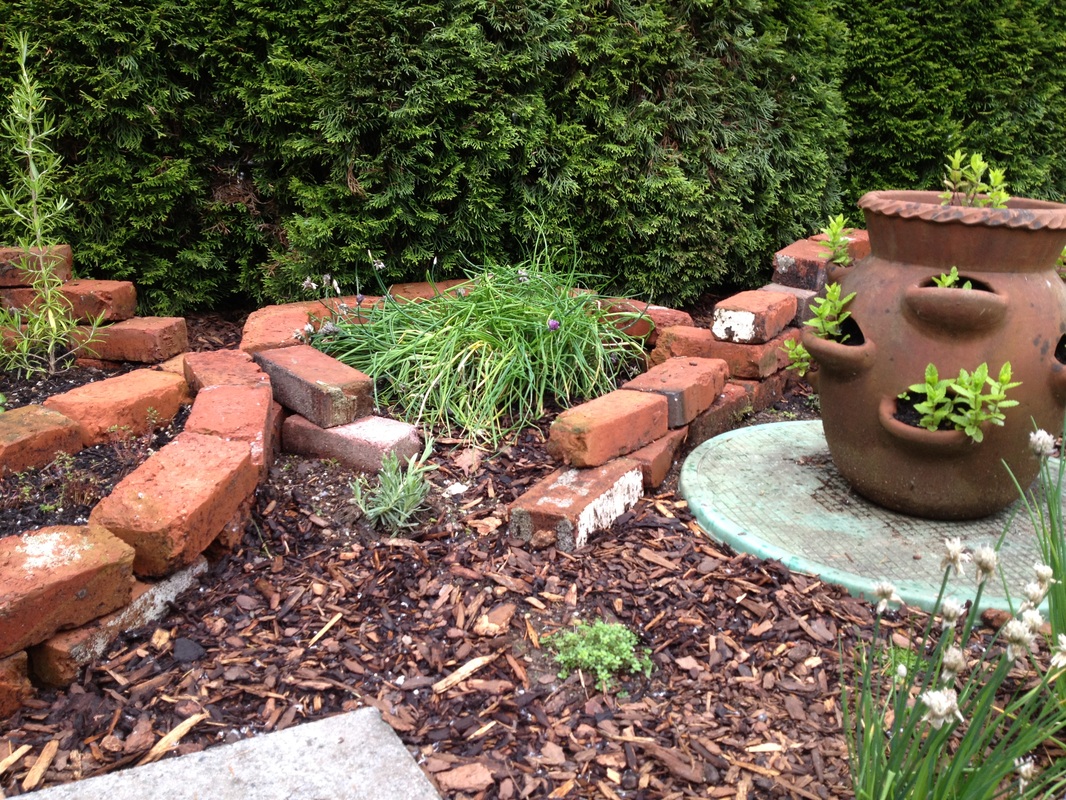
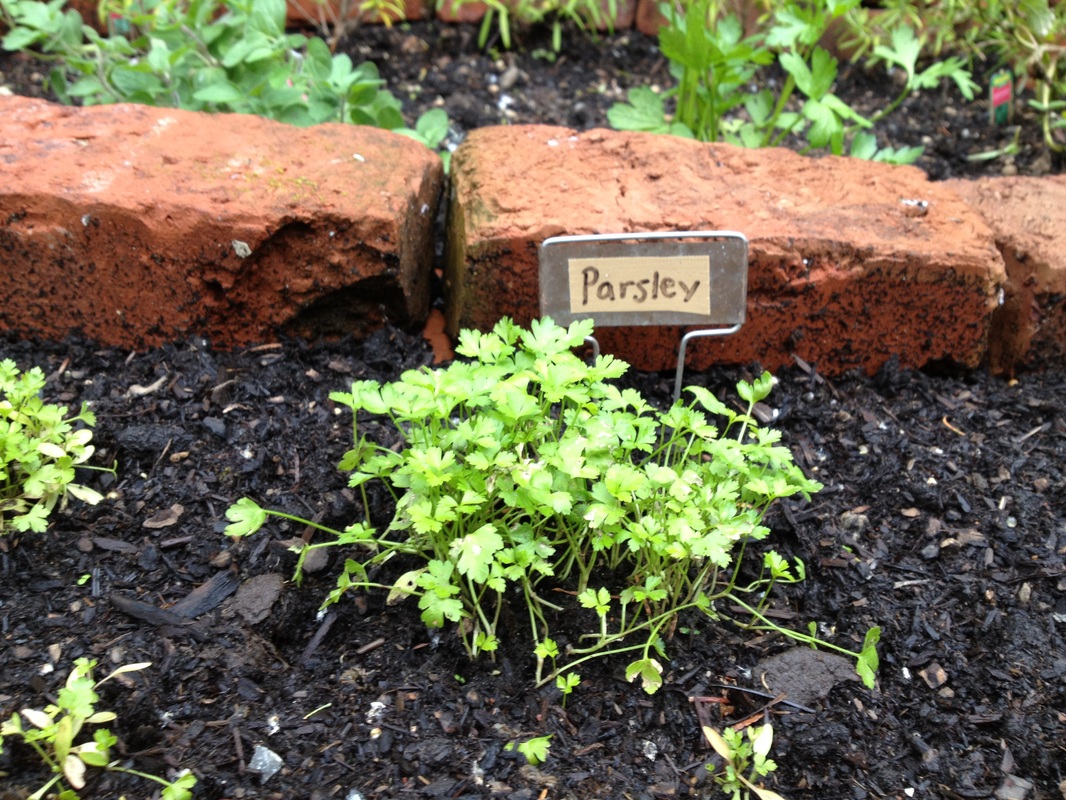
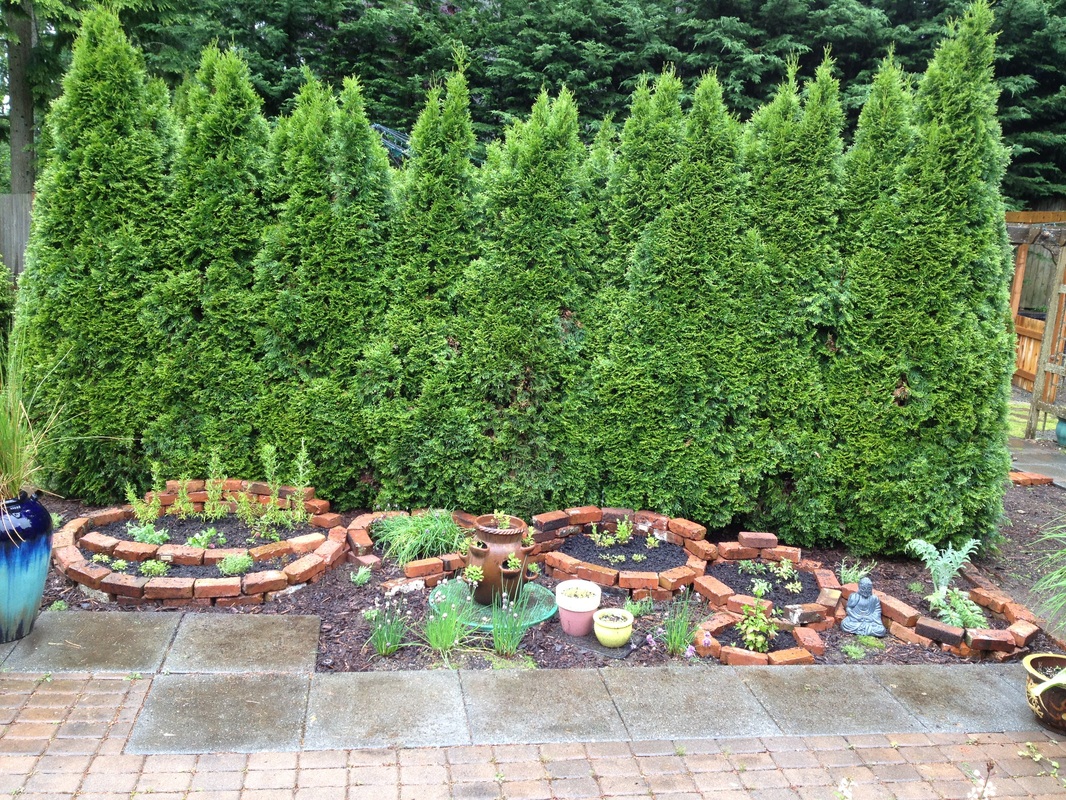
Now that my herbs are a little more sturdy, I'm re-thinking the arrangement of the garden itself. I'm having trouble with weeds (horsetails), slugs and rabbits. An omelet made with eggs from my own organic-fed chickens, topped with a garnish of chives and slug slime? Mmm. I've been "pinning" raised herb gardens and came across the one below, made with bricks. Since I use salvaged bricks all over my garden and it's pretty much the only material I have lying around, I might give it a try. I have to figure out how to keep the mint out of the ground, hide the hideous septic lid, which is in the center of my garden space and keep the bricks on. Seems tricky. *** The Next Day *** Yesterday, I removed all my pots and decorations from my old herb garden (a.k.a. the "yard sale") and scraped the weeds up with my trusty hoe. I leveled the ground and then kinda just went for it. I brought 6 bricks at a time over, from my pile elsewhere in the yard, and made my swirly design until it fit the space and my needs. I included two levels for planting, in addition to the ground level, so I ended up planting at three different levels. It's a very interesting garden design idea and certainly captures the attention. I added lavender to give it an evergreen and of course there's the artichoke on the far right. I also transplanted my rosemary from its moldy, wood planter and gave it a new home on the far left. This type of garden bed can also be used for vegetables. When transplanting my homegrown plants, I was surprised at how extensive some of the root systems were, even for the smallest of herbs. Hopefully, they have enough room to expand and my herb garden will be rockin' in three years or so. My concerns for my garden were slugs, rabbits and weeds. I can easily add slug bait inside the swirly, brick planters. The rabbits will still have access to my herbs, but so far, that hasn't been a problem this year. They stick to munching on the delicious weeds in my grass. As for weeds, I put a single layer of newspaper between the ground level and my fresh compost. I also hoe'd the weeds and added a thick layer of cedar mulch which will deter weeds and look nice around the garden. The mulch will break down, so I'll certainly keep an eye on the evil horsetails. I also have weed killer and I'm only a little afraid to use it around my edible herbs. The unsightly septic lid is a necessary evil, bit hopefully the potted mint and chives mask the green lid. I definitely recommend creating a brick planter to anyone who is considering it. If you have the materials (preferably free, or recycled) it's a great project because it's so fluid. You can change your mind about a specific space and make the bed higher, or larger... and it gives you a chance to be creative.
I'm excited to see my little herb garden mature even more, as the seedlings I grew under lights last winter thrive in this new garden bed. |
Avant-Garde(n)Quick updates charting my novice and experimental, gardening adventures at home. Archives
September 2019
Categories
All
Click here for a link to other garden bloggers
|
 RSS Feed