|
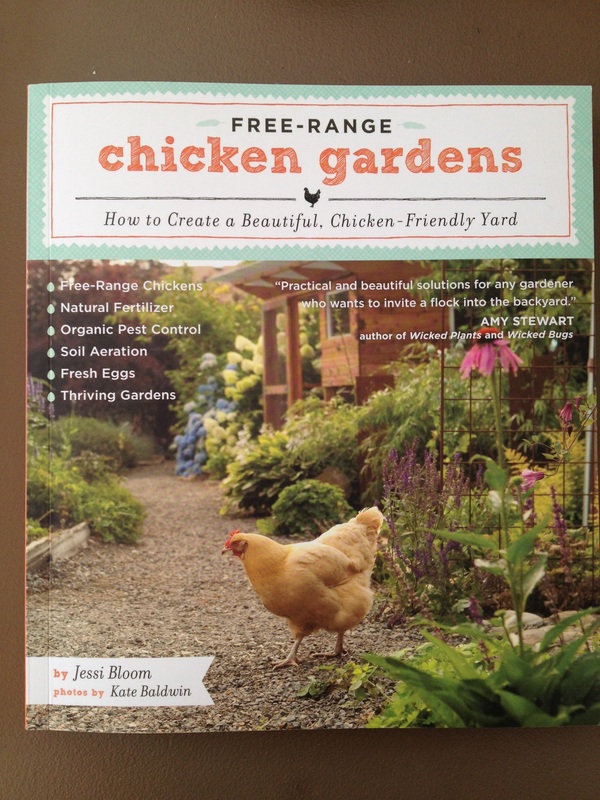
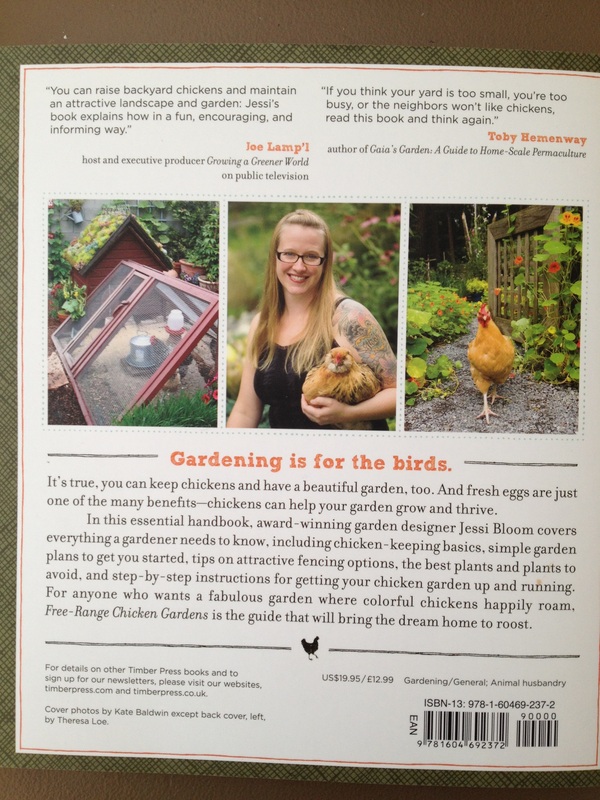
As an aspiring chicken farmer and emerging gardener, this book was a must-have for me. I held off buying it at the Northwest Home and Garden Show, but I couldn't resist making a special trip to Molbak's Garden and Home for the author's book signing. Jessi Bloom spoke on the topic of "Creating a beautiful, chicken-friendly yard." I didn't have time to actually stay and listen, but she graciously signed my book before her presentation and I talked to her about kids and chickens for a couple minutes. I was impressed by her substantial tattoos and eco-hipster glasses. Oh, she's also a certified horticulturalist and certified arborist.
After a weekend of back-breaking, though gratifying gardening, I could barely lift my arms. I had no choice but to snuggle up and devour "Free-Range Chicken Gardens." I immediately appreciated the layout of the book, including the quality of the photos, how they were placed on the pages and the variance in type sizing. It was easy to read. Jessi explains what she includes in the book and why, then dives right in, giving directions and introducing terminology so that the reader can later research specific topics on the internet. Like, "what's the closest feed store to my house?" As an aspiring chicken-owner, I found the answers to most of my questions: What to feed them/ not feed them? When do I put a light in the coop? How high do they fly? How much daily work is involved? What chickens are right for my property/ family/ egg needs? She also discusses how to deal with neighbors that don't like chickens and the responsibility that poultry owners have to keep the coop clean so as not to attract vermin and give chicken-farming a bad reputation. I didn't seem to find the answers to these questions: What happens if I get a male? Can they stay in the enclosed yard and put themselves to bed, or do I have to lock them up nightly? What if I have to kill one? (There's a "how to" on YouTube.) Before I read "Free-Range Chicken Gardens" I was planning to have one place to keep my coop and covered run. Now, I think I'll take my time fencing certain areas of my yard before I get birds (Spring 2013?) and I'll have "zones" letting the birds roam freely in a fenced area, while I keep an eye out for predators. My property is currently open to wild animals. We've seen deer, coyotes, possums, raccoons and the kicker- bobcats! Oh, and also bears... seriously... combing through the trash and pooping in the yard. Anyway, back to the book... I'm pretty picky when it comes to paying for books because so much information is available online, however, this is a good "go-to" guide with great information on chicken-safe plants, chicken care, coops and all things chicken-gardening related. I'll definitely refer to it when I'm planting in my yard. It also makes a beautiful coffee table book. Before I start building my chicken fences and designing my coop, I'll study the ultimate chicken book, "Storey's Guide to Raising Chickens" by Gail Damerow. Review forthcoming.  peep! peep!
0 Comments
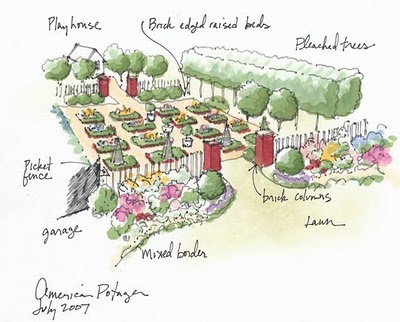
In my garden Google searches, I keep stumbling across the same blogs. They seem to be around homesteading, gardening as a family, canning, living off your own land, owning chickens and homeschooling. If you're a garden nerd, like me, these are fascinating reads: Homestead Revival Reformation Acres Mountain Home Quilts Buckets of Burlap Thy Hand Hath Provided and of course Parisienne Farmgirl (She keeps popping up!) Resourceful Magazines: Mother Earth News HobbyFarms.com 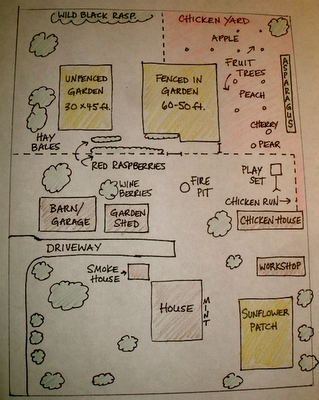 A drawing of one blog-author's homestead. A common piece of advice these homesteaders give, seems to resonate with me and my BIG DREAMS. Q. What advice would you give to someone who wanted to start homesteading? A. Start slow and small. This has worked very well for us. Each year, we've increased garden size and amounts preserved based on our confidence levels. Jumping in too fast and taking on too much would have left me stressed and overwhelmed. Keep doing what works well, try a couple new things each year and when you've mastered them (to your satisfaction), move on to the next couple things you'd like to try.I noticed that most of the homesteaders have around 2 acres and with root cellars, canning and freezers, some can feed their family all winter.  A layout of Reformation Acres' homestead. Now, I need to get back to researching "how to justify having a goat to my HOA".
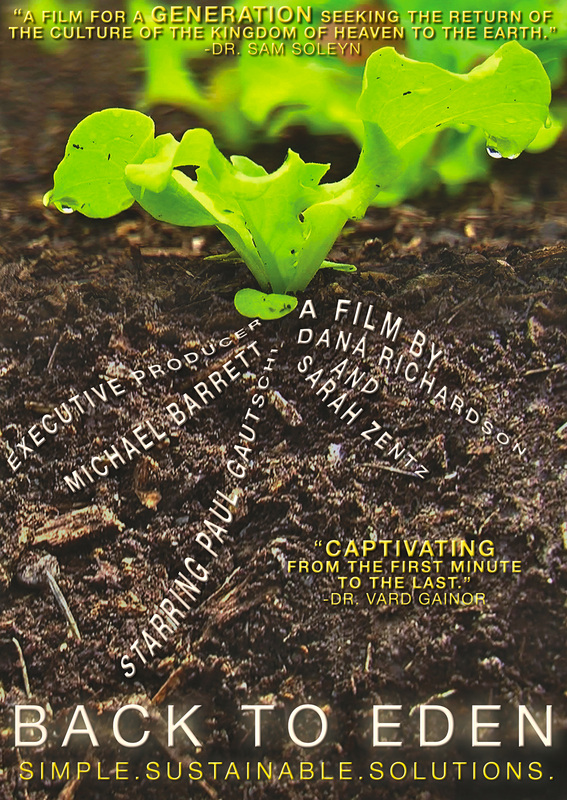
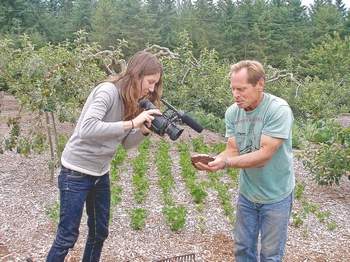
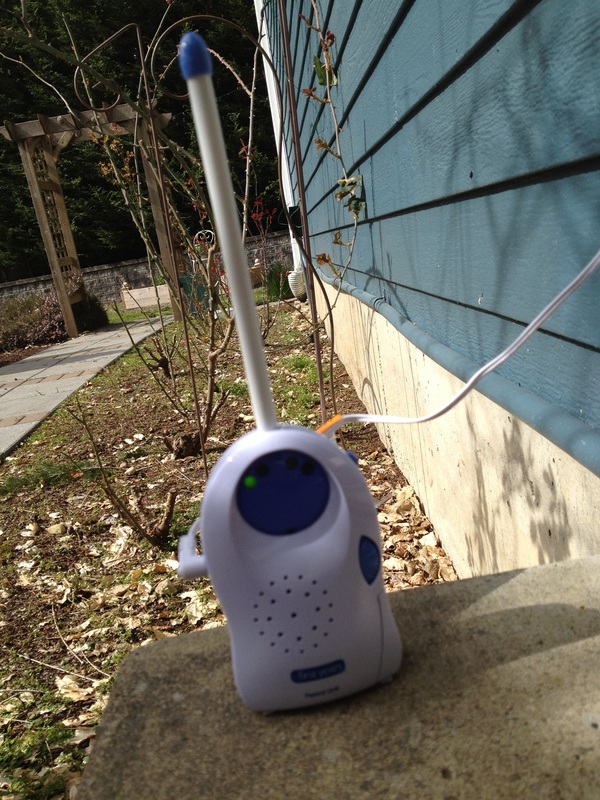
Northwest Edible Life posted Back to Eden Film, on Facebook, promising "lots of fascinating info on permaculture/deep mulching and some beautiful gardens to ogle." I immediately clicked the link, but was unprepared to sit and watch a one hour and 43 minute film that promised to solve all my gardening problems with wood chips. While my kids crawled all over me, I gazed, drooling at the gorgeous gardens.
Watching the film, I kind of rolled my eyes when Paul Gautschi repeatedly quoted from the Bible. I wondered, "what's the catch? What are they trying to sell me? The film ended and it wasn't sponsored by Home Depot, or Lowes, or a seed company.
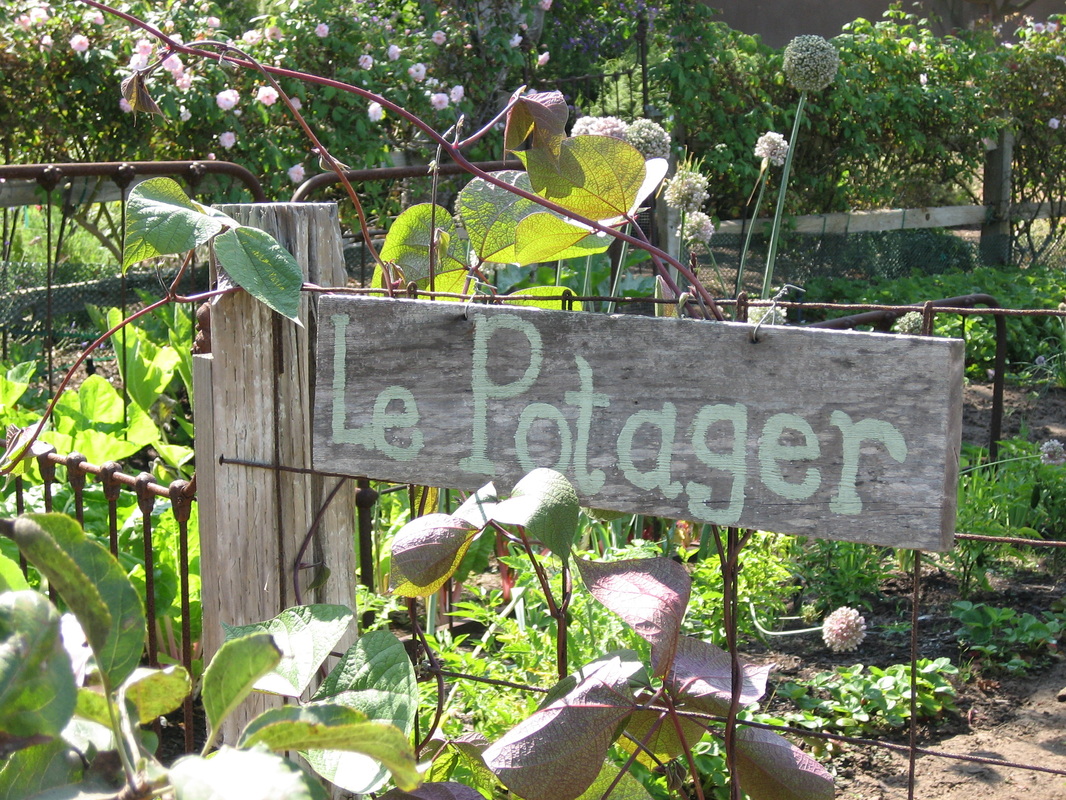
The movie "sells" two things, God and wood chips. I've come to terms with God, so now, I'm looking into wood chips. Watch Back to Eden here. I'd like to buy the things I want with a wink and a smile. Sadly, it will not suffice. Knowing my potager (Kitchen Garden) will be quite an expenditure, I decided to figure out what the base cost is. My two gardens are 5x12 feet, and 1 foot deep... (I'm guessing here... which doesn't help matters.) The whole potager is surrounded with 16" square pavers, surrounded by pea gravel to keep everything looking tidy. The pavers are $4.37 each and I need (want) 60 of them. There's a breakdown below, but I'm just going to have a breakdown right now. I have too many projects I'm passionate about (my flower garden, chicken run, potager, garden shed) and no staff... I mean, no money to do them all at 150% at the same time!
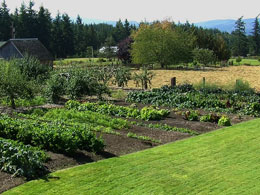
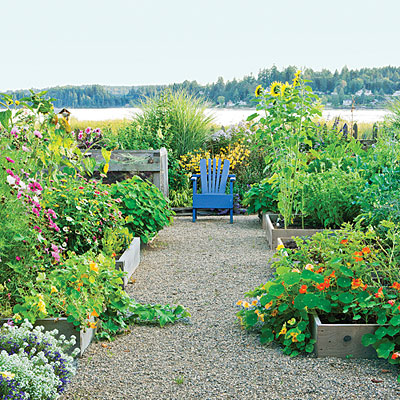
Potager with NO Bells and Whistles $1,800 Lumber 1,000? Dirt $600? Seeds & starts $200? Potager with SOME Bells and Whistles $1,910 Wood Chips as ground cover $50? 4 24" pavers in center $60? Lumber $1,000 Dirt $600? Seeds & starts $200? Potager with ALL the Bells and Whistles $3,252+ tax and delivery 60 16" pavers $262+tax 24" paver $60? 30 bags? pea gravel $300? OMFG heavy : ( Weed barrier $30 Lumber $2,000 OMG Dirt $600? 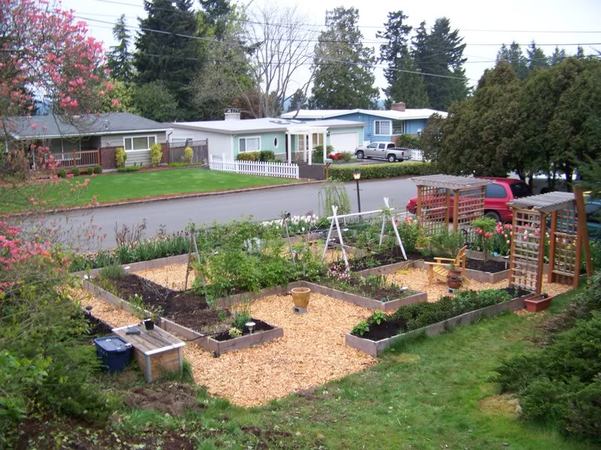 This is a front-yard potager in Seattle. I "borrowed" the 2008 photo from a garden forum. American Potager has a new book out on kitchen gardens. The book looks beautiful but it received some unfavorable reviews on Amazon. "The design chapter starts off on the wrong foot by discussing a potager garden that was never built. Even worse, it was never built in a large urban space with which few of us will ever have to contend, so I fail to see the point. The second garden design discussed, designed for a small restaurant, also has not been built. The third garden is the author's own, now giving me the uncomfortable feeling that the entire book is a vanity project."
Maybe I'll leave the pavers out and just pea gravel around the raised beds... must go think on this. **Two minutes Later**
I need to separate my lawn from the garden and I'm thinking Boxwoods will do the trick... but I already have flagstone left over from another project, so that would be easy to use... ponder.
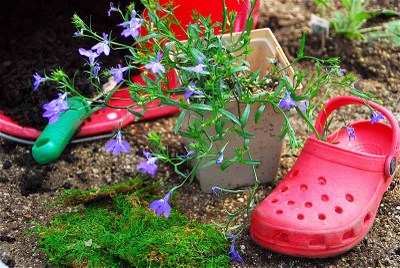
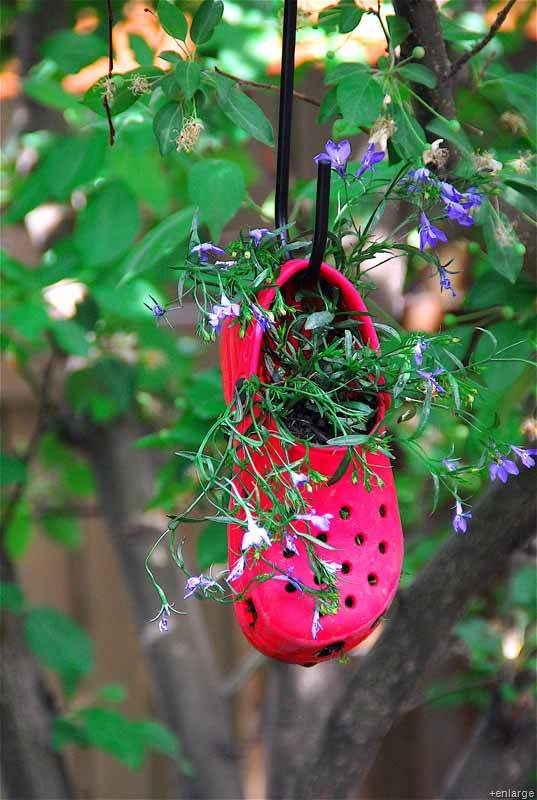
I saw the Croc planter below on Pinterest (originally sourced from here and here.) It was so cute, I thought that "up-cycling" old shoes would be fun. (I didn't consider the lack of drainage in old shoes until now... hmm.)
Also, kids can plant something in their old shoes and see what happens. Grab one shoe from each member of your family and have a little representation in the garden. Next year, when your shoe succulents are overflowing, tell your friends to bring an old shoe over and you'll make them a planter. (Either that, or you'll make a fine succulent swimming pool.) 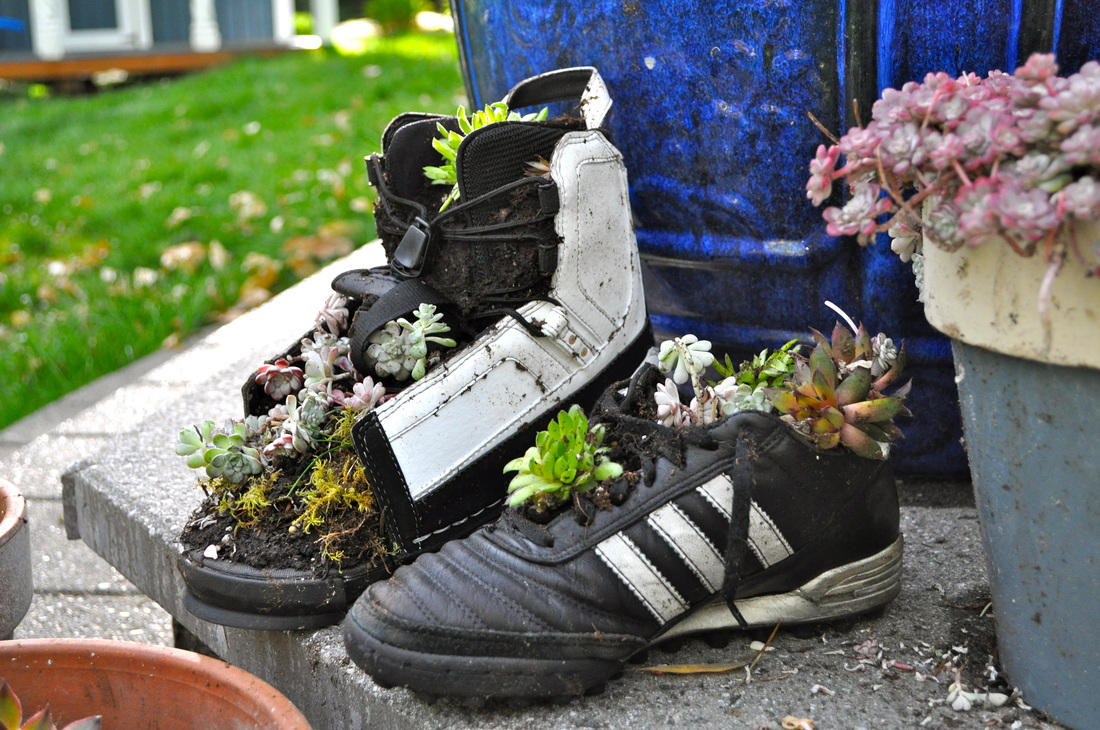
Succulents grow like crazy and they don't take much work. They like hot weather, but even here in zone 5, mine multiply and fall out of their pots every spring.
To do this project, you'll need:
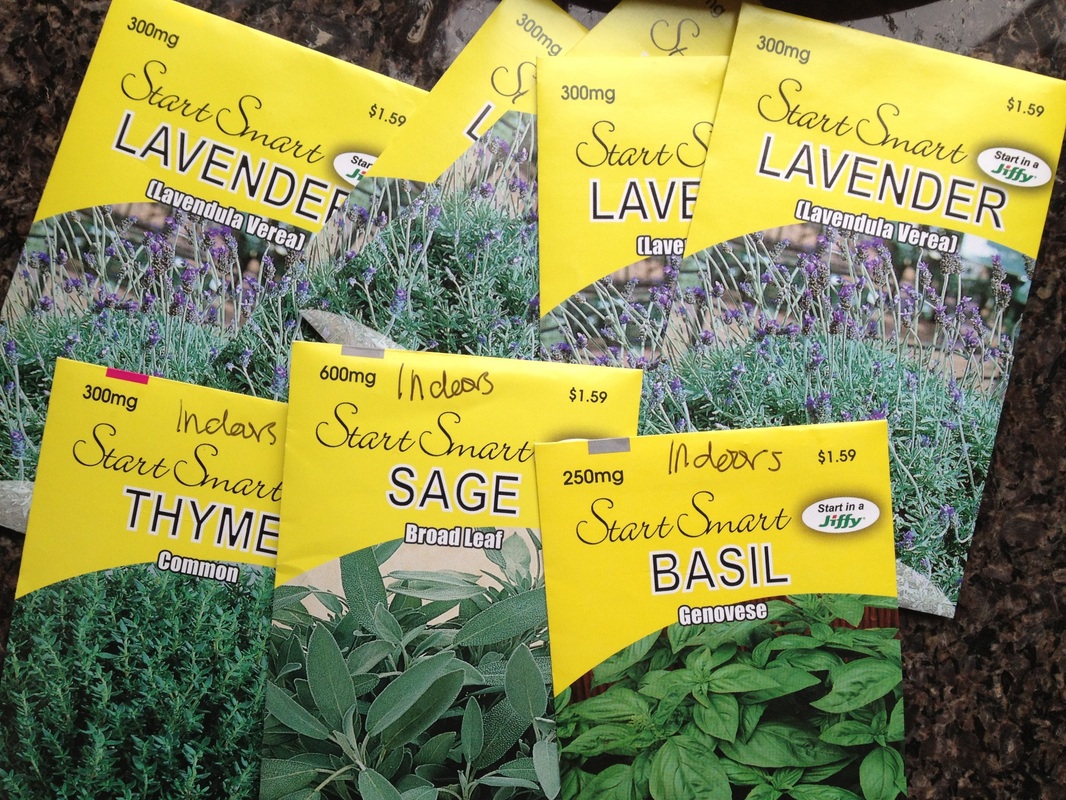
Next year, you can vertically hang the shoes on the side of the house or just leave them in their natural state at the back door. You can act surprised when your guests ask what happened to your shoes. I was lucky to inherit lots of mature lavender plants from the previous owners of my house. Due to frost damage and in an effort to thwart Horse-Tail weeds, I've removed a bed of lavender. I'm replacing the old plants with new, home-grown seedlings, which I'm starting today. I'm also starting a few herbs just to see if I can do it. My herb garden is ready and waiting for new soil and transplants.
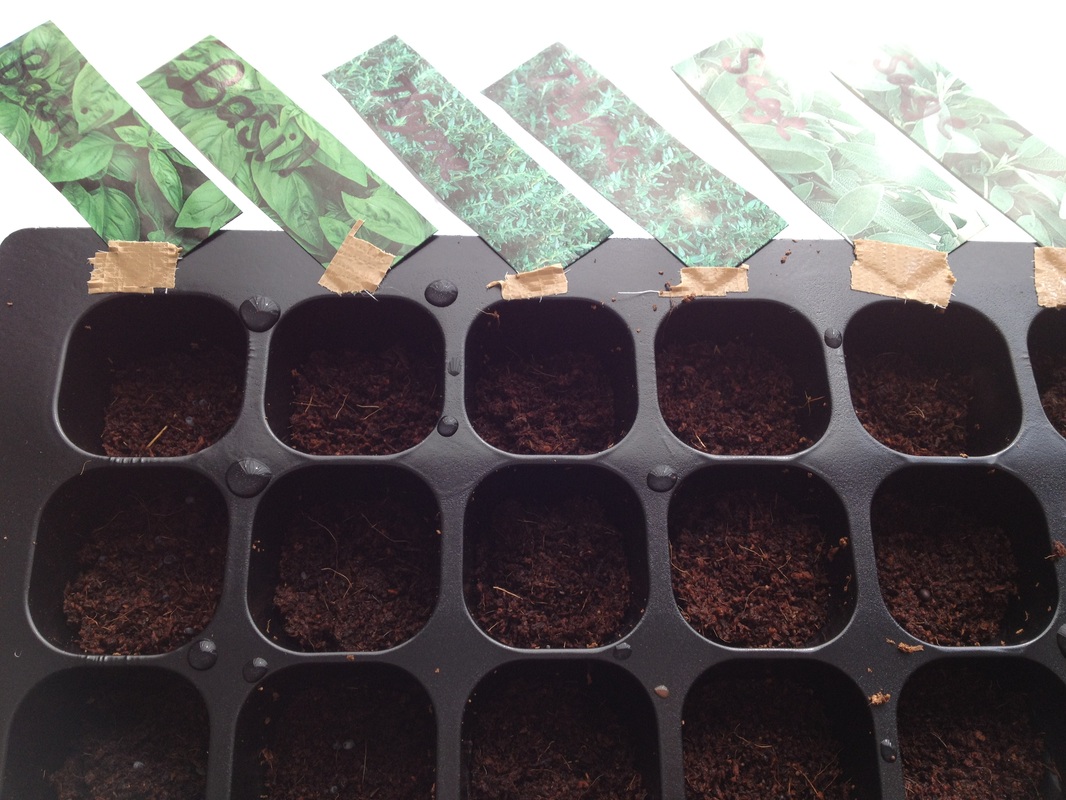
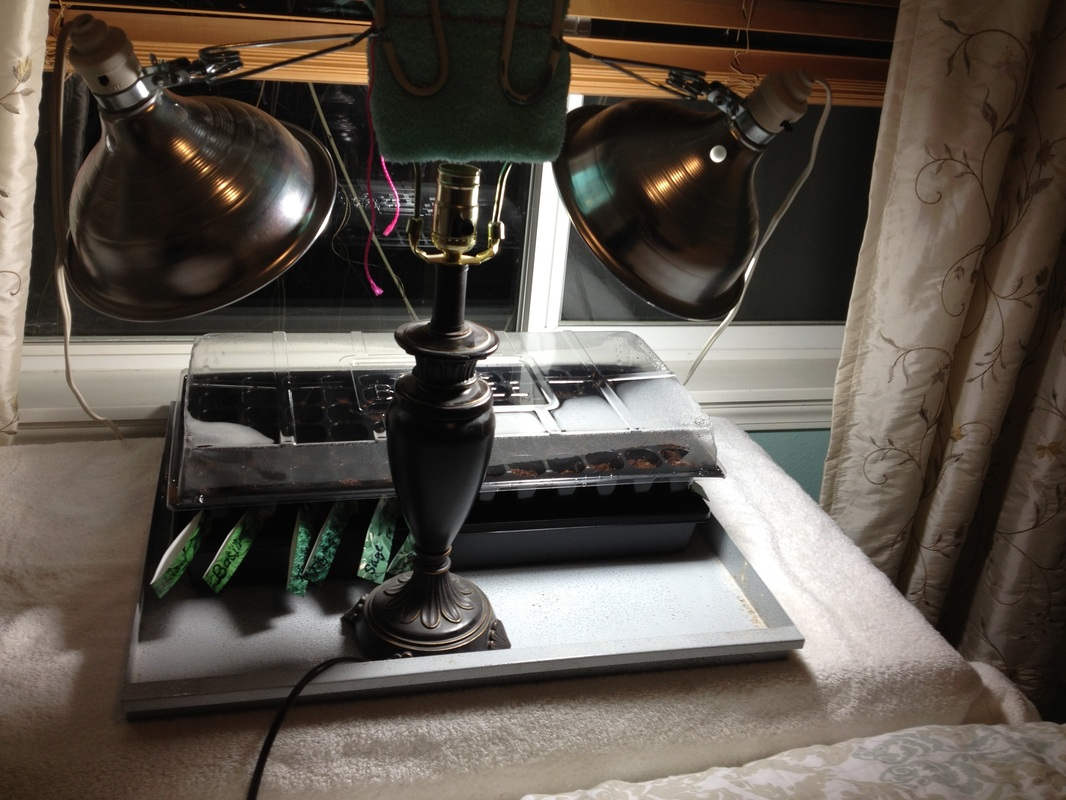
Growing lavender seeds by Alice Formiga, originally posted on Renees Garden Start lavender seeds 6-8 weeks before the last frost in your area. Space them ½" to 1" apart in a flat of well-drained sterile seed starting mix, and cover them only about 1/8", since light aids germination. Keep the flats in a warm place, about 70 degrees, and moist but not soggy-water in the morning so that the flats aren't too wet in cooler nighttime temperatures, causing the seedlings to damp off. Be patient; seeds can sometimes take a month to germinate, but I have often been pleasantly surprised to have seedlings germinate within the first two weeks. Although I haven't found it to be worth the trouble, some gardeners recommend cold-stratifying lavender seeds to improve the germination rate. The simplest way to do this is to place lavender seeds into a ziplock bag of moistened seed starting mix and leave it in the refrigerator for 3 weeks. Then sow as above. When seedlings emerge, provide strong lights so that they don't grow weak and leggy. When the seedlings have several sets of true leaves, gently loosen the soil around the plants and transfer them into a 2" pot or 2" apart in deeper flats of well-drained planting mix. Since nutrients quickly leach out of containers, add some granular slow-release fertilizer to the soil. Snip off the growing tip to encourage branching. When the plants have grown about 3 inches tall, the weather is warm, and all danger of frost is past, gradually expose the plants to outdoor conditions over the course of a week, being careful not to leave them in full sun right away. Finally, plant them outdoors 12-24" apart into well-drained garden soil. In particularly moist, humid areas, plant them at the wider spacing recommendation, so that air circulates freely around the plants. 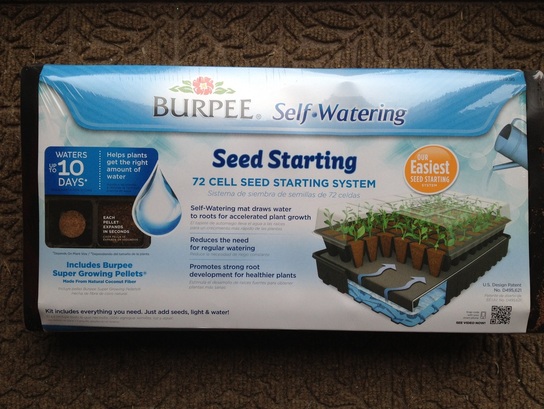 I bought a Burpee seed starting kit that had two dehydrated dirt pellets in each cell. Since it was raining sideways, I put the kit together in the kitchen after watching this video. Per the instructions, I used warm tap water to rehydrate the dirt. It didn't really work. The water just kind of drained through the cell to the tray underneath. I ended up using waaay more water than I assumed it would take and had to agitate the dirt pellets which was um, dirty. Finally, I triumphantly plopped the seeds into the spongy dirt and then set to work arranging the grow lights. I put the seeds under two grow lights in the garage. Then the washing machine breaker kept turning off, so I assume the grow lights were too much for the circuit. I relocated the plants indoors, where I think they will be much more comfortable. I rearranged the guest room and rigged a table lamp base to accomodate the grow light clamps. Currently, my eyes are having trouble focusing after having looked directly at the 40 watt flourescent bulb, which is equivalent to a 150 watt typical bulb. I put the lights about a foot from the seedlings and I'm planning to leave the lights on for 12 hours a day.
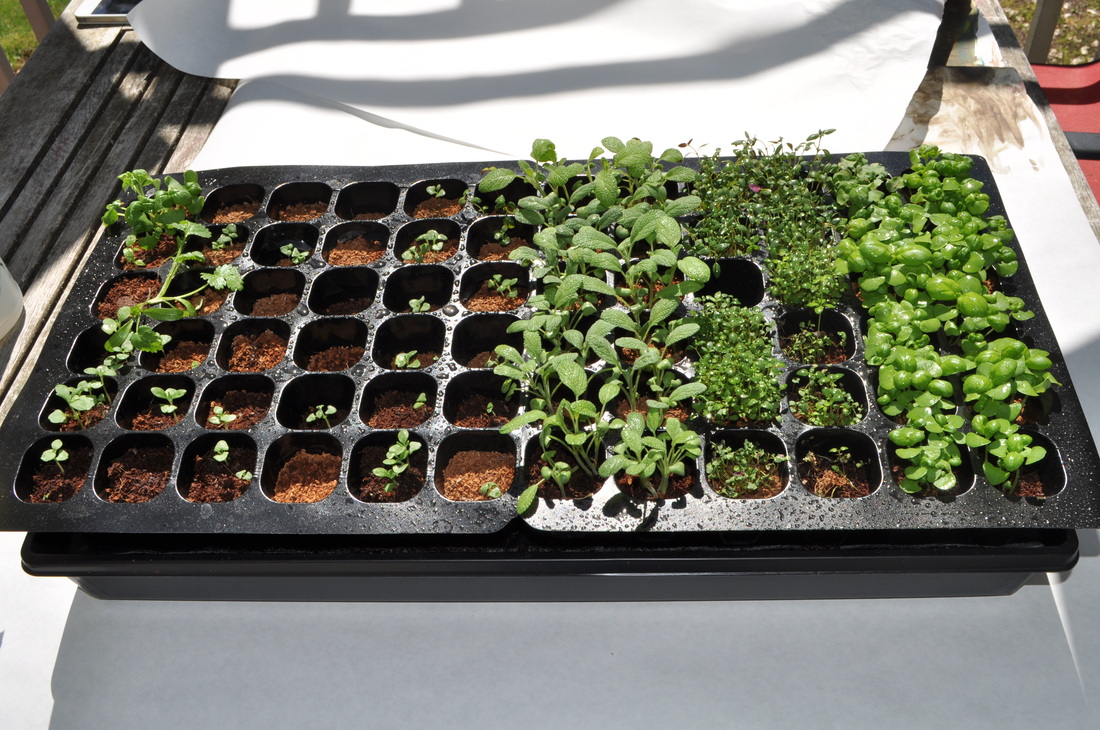
I think this is the end of the beginning. *** UPDATE~ April 2nd For the last five days or so, since I planted my herb seedlings, I've checked on my little buddies every 20 minutes or so, to see if they germinated. It's been exhausting! The thyme popped up quickly and has been steadily growing. The sage has progressed at about 40% the rate of the thyme. The basil was a little stubborn, but it finally peeked out a little today. Half of my dirt pallet is lavender and that side, almost immediately, got fuzzy, grey mold. Internet research said that it was either good mold, or bad mold caused by "damping off." Today, I removed the lid to see what would happen and it seemed to clear up. According to some gardening forums, Lavender takes 14-90 days to germinate and often might not grow at all. That's okay with me. I'll just grab some from the nursery in a couple months if Plan A fails. 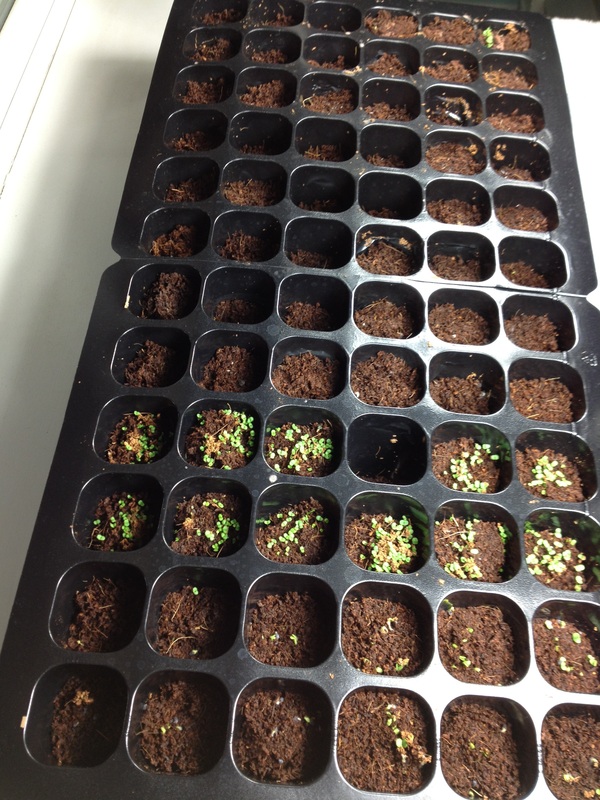 Bottom two rows & top right cell: Basil Next two rows: Thyme Next two rows: Sage Top six rows: mostly lavender *** UPDATE~ April 14th The herb seedlings looked like they could use better soil, so into pots they went. The thyme and sage will stay outside. Half the basil will go into the south-facing kitchen window and the other half will go back under the grow lights. The lavender, which is reportedly very hard to grow from seed, will stay in the seedling pots for now.
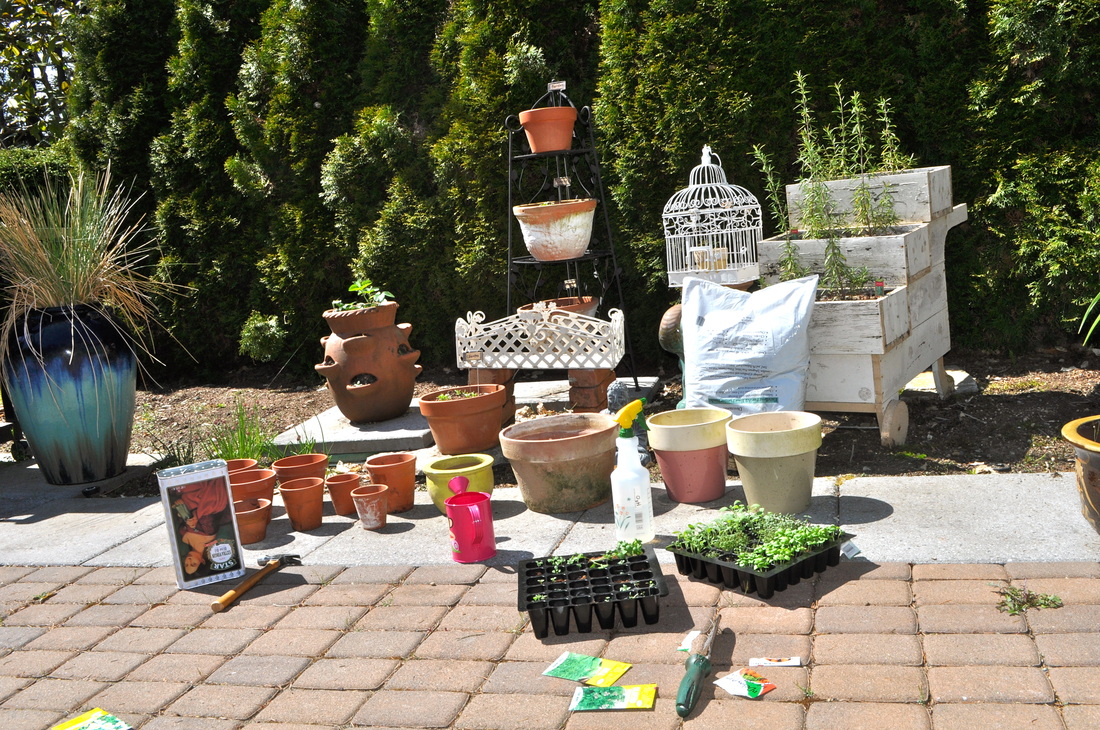 Time to get my hands dirty! While I was in the herb garden, I put some chamomile, cilantro and dill seeds into pots and to my surprise, the chamomile is already popping up (two weeks later). I'm also excited that my cilantro and parsley are coming up like gangbusters. I'm more surprised when things grow, than when they utterly fail. I'm excited to till up the ground, amend it and put some more herbs in. I'm thinking about mint. The fact that it self-soes is a conundrum. More photos of the progress will follow. *** May 24th 2012 *** 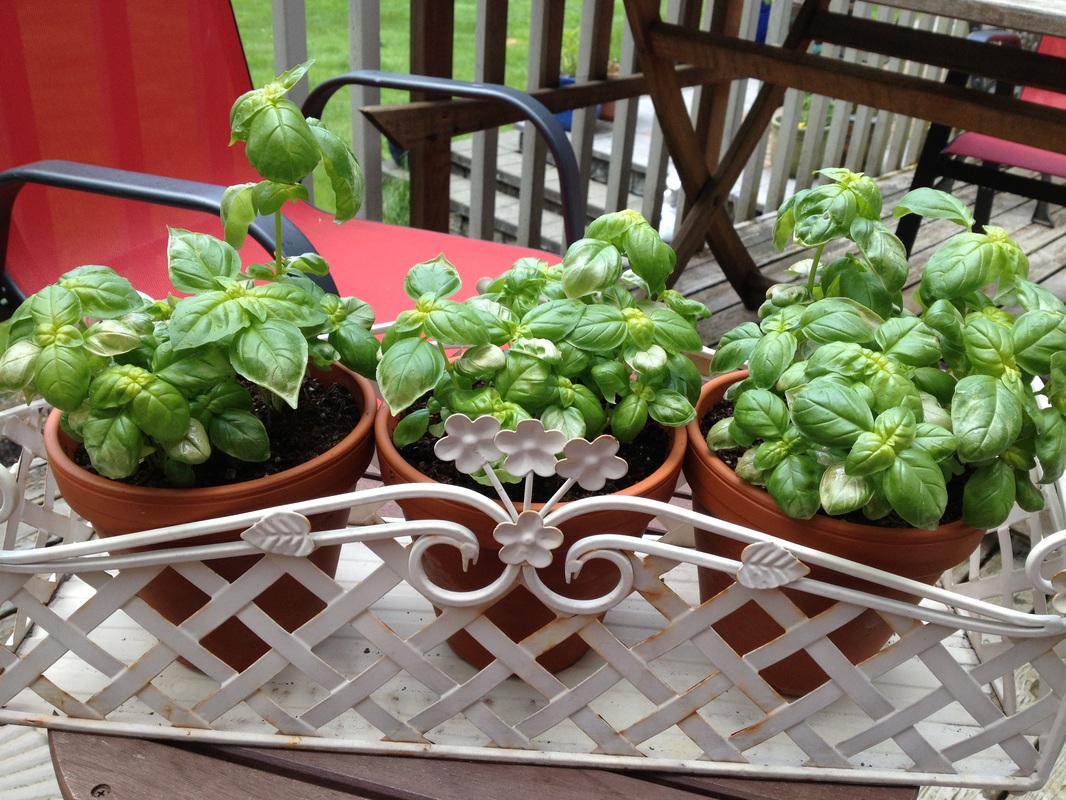 Basil started from seedlings under a grow-light, two months ago. In an effort not to kill all my basil at the same time, I put some of it outside and kept some inside. We have had some "warmer" weather, in the 50's and 60's which burned the fragile leaves. Turns out the basil likes to be shaded, but in a warm environment. We've also had a lot of rain, so the plants have been kept moist and they like that as well.
I've picked some of the burnt leaves off and new ones are starting to grow. I think that the plants will do well this summer and I'm looking forward to giving at least one of the pots to a friend. One thing I didn't do well, was give the plants more space. I really packed the seedlings into the pots and now they are choking each other out. I don't know if I should try to divide them again, or just leave them alone. I may experiment with one of these three pots and see how it goes. 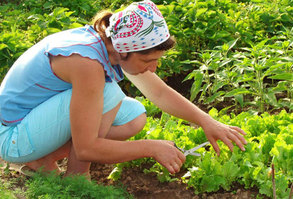 "Wait a minute... did somebody touch my lettuce? Yes! See? Right here!" You Know You're a Gardener When...
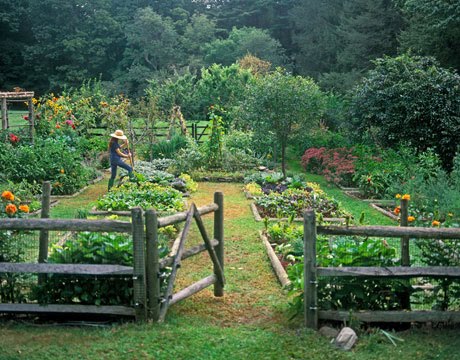
Here's a cute article on creating your very own potager, from CountryLiving.com Potager Garden Definition: (pronunciation: puh ta zhay) a garden that combines both edible and ornamental plants; a vegetable garden that is utilitarian in nature but designed with beauty in mind; much like an English kitchen garden, but often formal and symmetrically designed in the French fashion.
And of course the Parisienne Farmgirl has lots to say about the French kitchen garden. She was also a covergirl on Where Women Cook. We seemed to have come full circle!
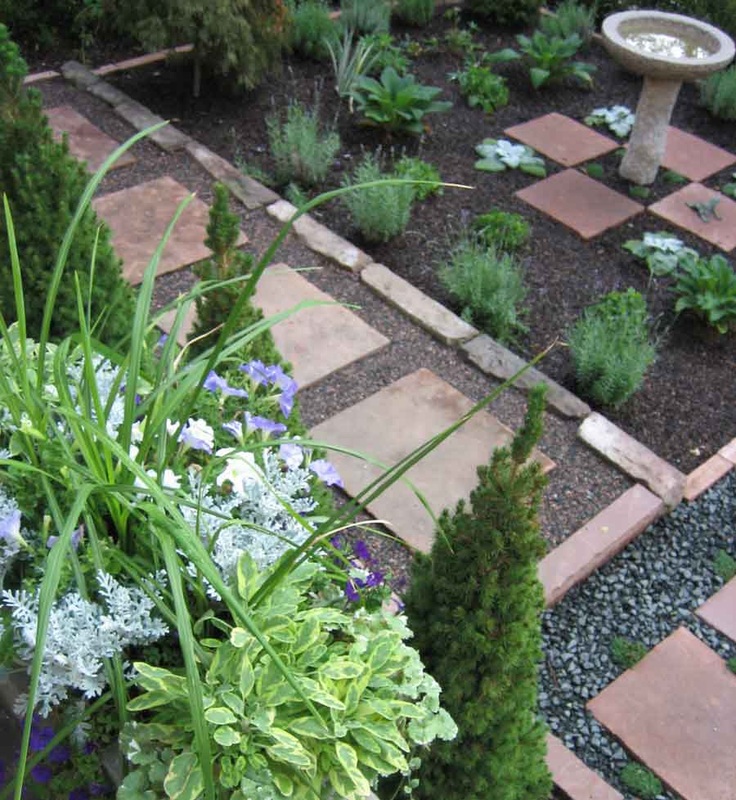
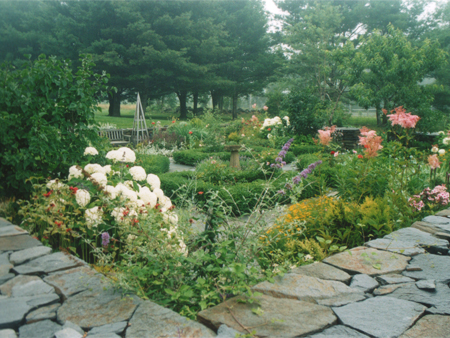
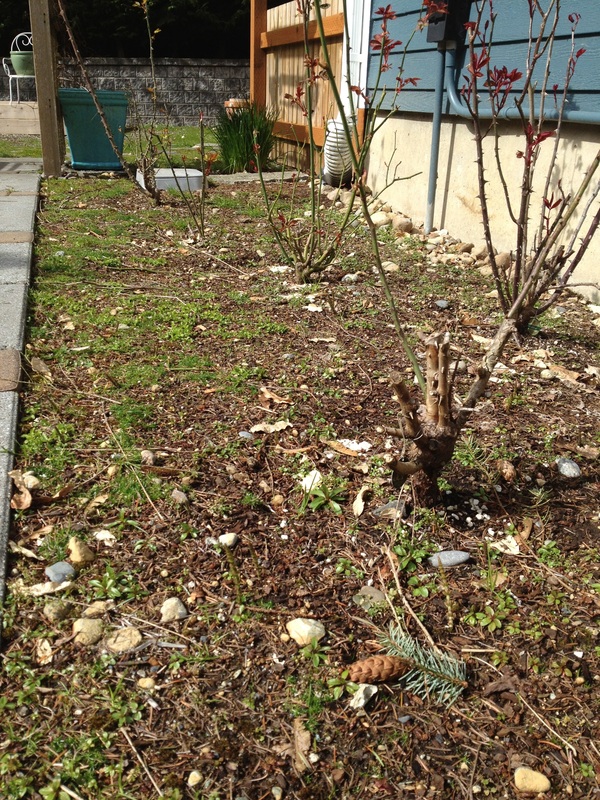
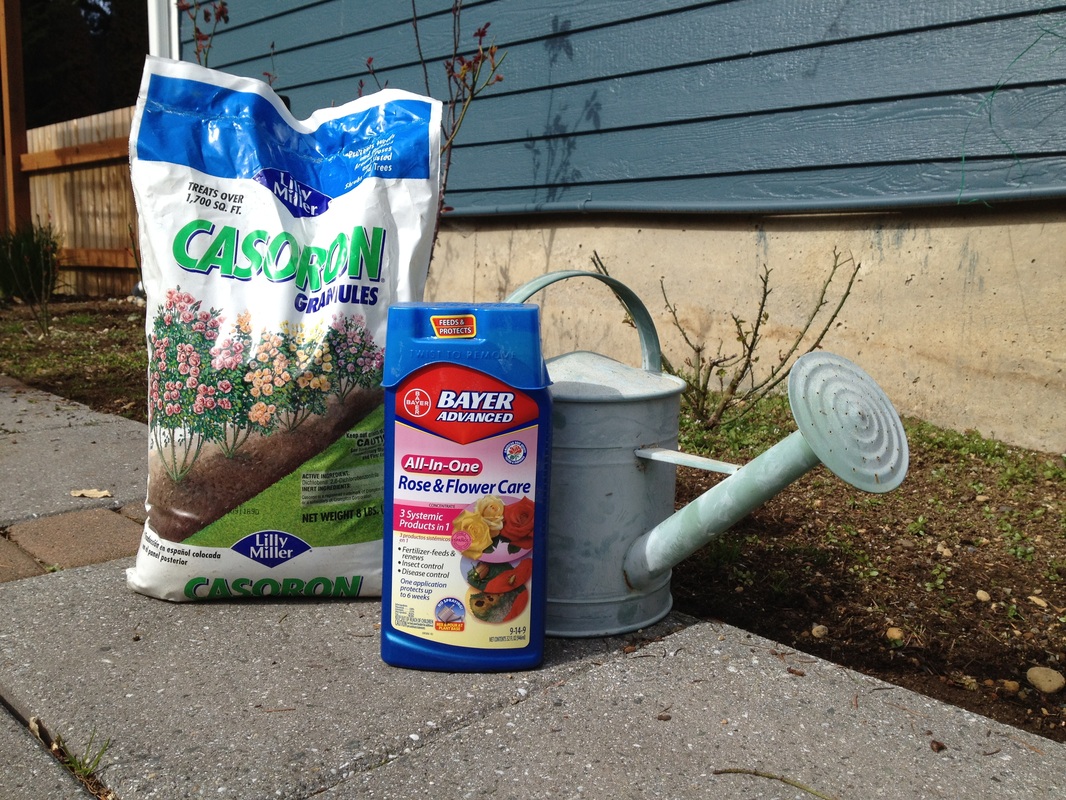
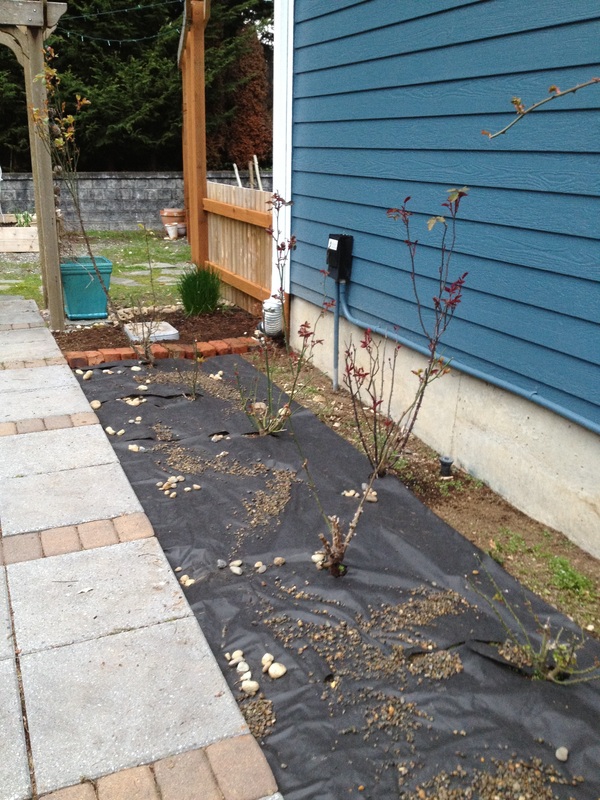
I examine any and all junk mail magazines for landscaping. Pottery Barn, FrontGate, Ballard Designs and Anthropologie are a few of my favorites. A year ago, I came across a rose garden with beautifully defined borders and pea gravel ground cover and couldn't get it out of my head. The pea gravel ground cover attracted me because it seems like a good way to keep weeds down and keep the rose garden low maintenance. I was advised against it by a reliable source, but I don't remember why. I researched rose gardens and gravel, but didn't find anyone who has actually done this. Out of sheer desperation I asked google "can I cover rose garden with gravel" and it led me to GardenKnowHow and this bit of information: Gravel Mulch For Roses I use ¾ inch gravel mulch called Colorado Rose Stone around nearly all of my rose bushes. The gravel mulch is knocked by some as they say it will make the root zone too hot and kill off the plant of bush. I have not found that to be the case in my climate here in Northern Colorado at all. I like the gravel as I can fertilize all of my rose bushes and plants by sprinkling the fertilizer over the gravel around the bushes, rock the gravel back and forth a bit with a hard tooth rake and then water it in well. I can add some organic matter as well by sprinkling some bagged Top Dressing over the gravel and water it down in well. The zone under my gravel is then a very good soils zone and the organics do their thing to mix further down into the actual root zone. Well, that's good enough for me! I cleared the area, added the weed barrier (harder than it looks) and tossed what pea gravel I had around, on top.
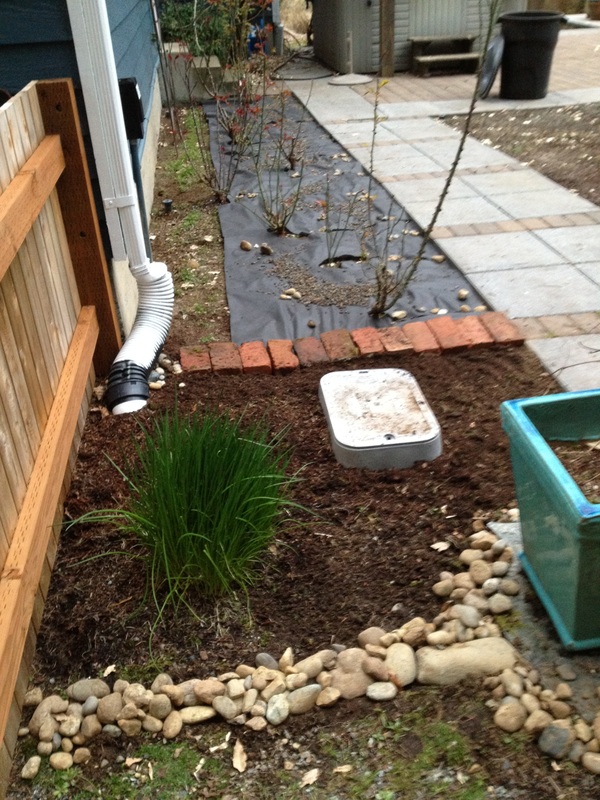
I'm finished for today, but I still need about 10 more bags of pea gravel and a little more weed barrier until this project is complete. A trip to Home Depot is in my future. 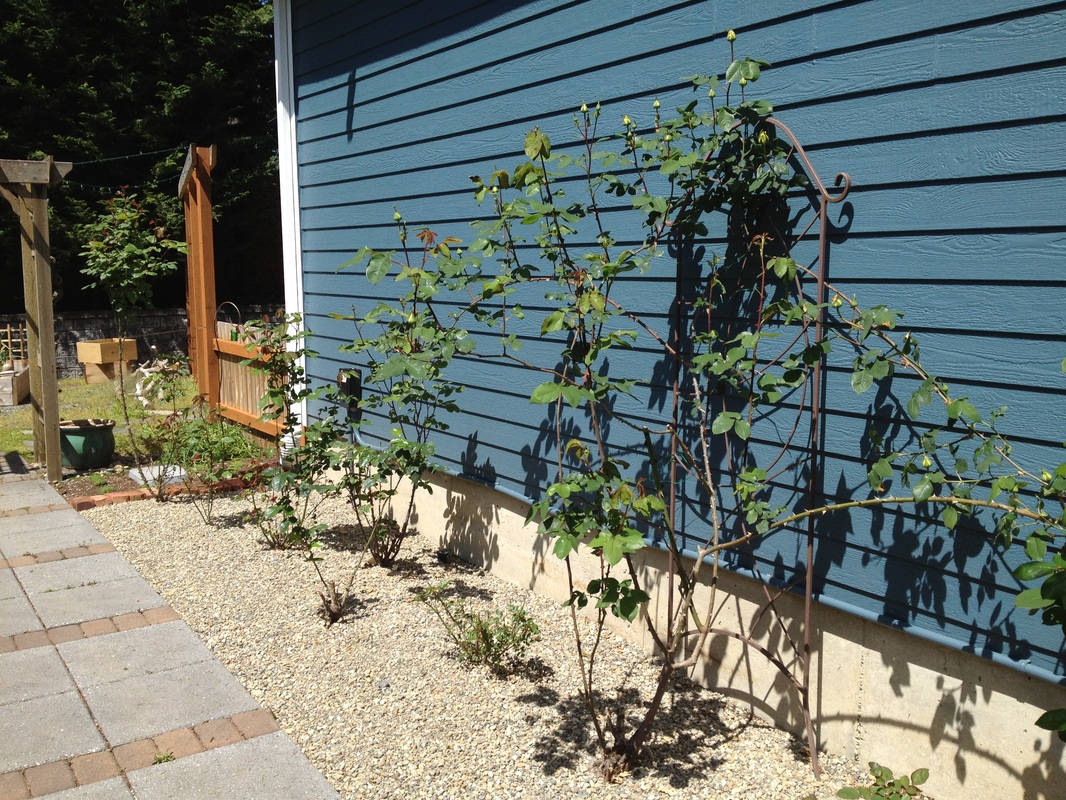 The gravel mulch has been over the rose bed for two months and the mature roses are ready to pop! April and May will be cooler and drier than normal.
Summer will be much warmer and slightly drier than normal. The hottest periods will occur in early and late July and early and mid-August. September and October will be warmer than normal, with above-normal rainfall in Washington and Oregon. Taken from www.almanac.com |
Avant-Garde(n)Quick updates charting my novice and experimental, gardening adventures at home. Archives
September 2019
Categories
All
Click here for a link to other garden bloggers
|


 RSS Feed