|
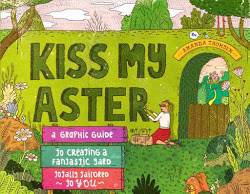
Last fall, I came across Amanda Thomsen, while I was researching (read: stalking) Jessi Bloom. I was drawn to both Jessi and Amanda because they are my generation, having kids, digging in the dirt and just doing their thing. Amanda caught my attention with her Ryan Gosling/ Gardening memes and I died, DIED, people, when I saw this one in particular.  I pre-ordered Amanda's (Ryan Gosling-free) book, Kiss My Aster, as a consolation to myself for making it through Christmas. To my delight, it shipped early and I received it in late December.
Kiss My Aster is a graphic novel, drawn and written in bubble letters. It's tongue-in-cheek, but also points to itself, saying "I'm funny!" which defeats the purpose. At the moment, I'm too lazy to dissect the book, so I'll just say that it is funny. It is informative. There are coloring pages and cross-word puzzles. Don't buy it as a "how to" plant the perfect plants for your yard. Buy it to see if you're on the right track with your design, to introduce others to landscaping and have a good read in the bath tub.
Amanda writes for www.FineGardening.com. Her bio there states: Big, loud and fun- Amanda Thomsen landscapes by day and blogs at night. Her blog, Kiss My Aster, has alienated/enraptured dozens for at least 6 years. She is the less popular half of the podcasting team, Good Enough Gardening, which makes her feel like the "Roy" of of Siegfried and Roy, but without the mauling. She lives in Chicago and does not EVER put ketchup on hot dogs. Amanda Thomsen's blog Kiss My Aster on Amazon
0 Comments
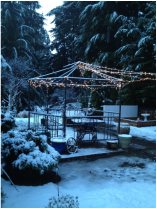
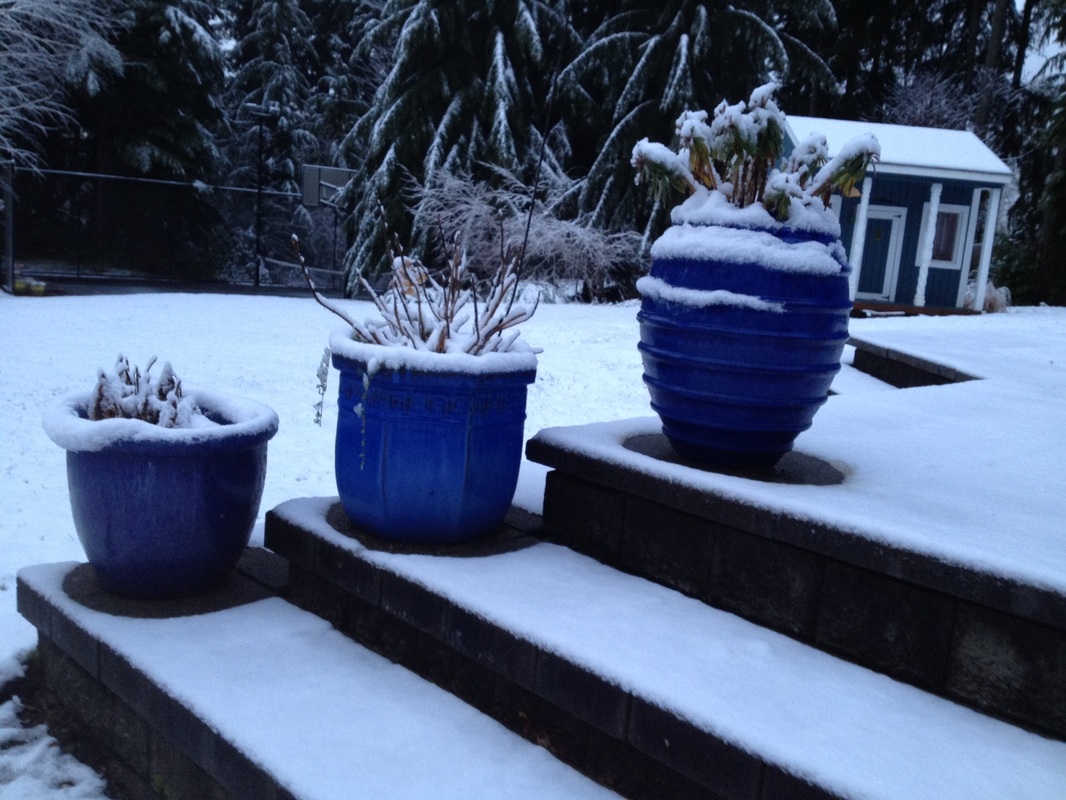
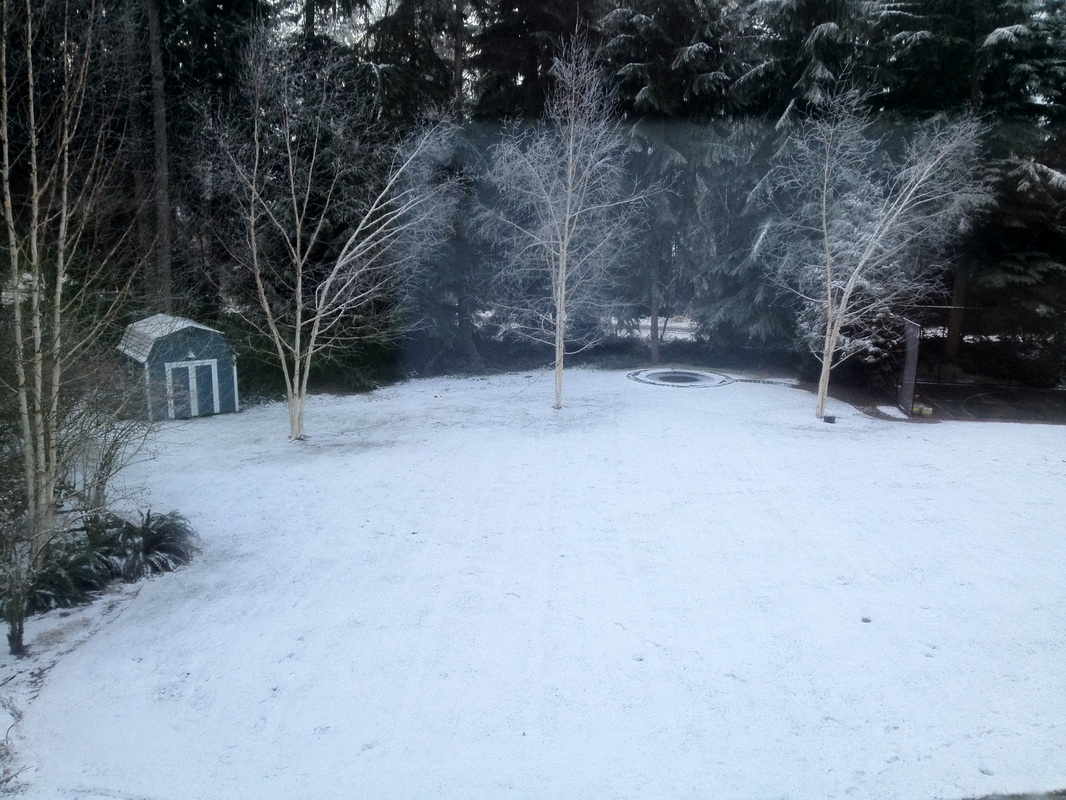
It snowed a little and then everything froze. For three weeks, the kids went sledding on our gradually sloping lawn. Since there was no digging to be had, I went sledding too.
The Christmas clutter is stowed and I'm ringing in 2014 with visions of building a greenhouse. I came across a simple diy greenhouse, using old windows and spare lumber. It was built for under $100. Their framing is exactly what I need to recreate! 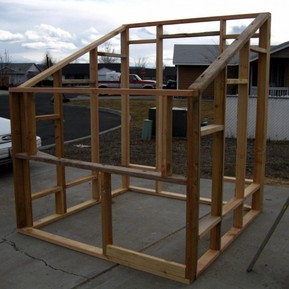
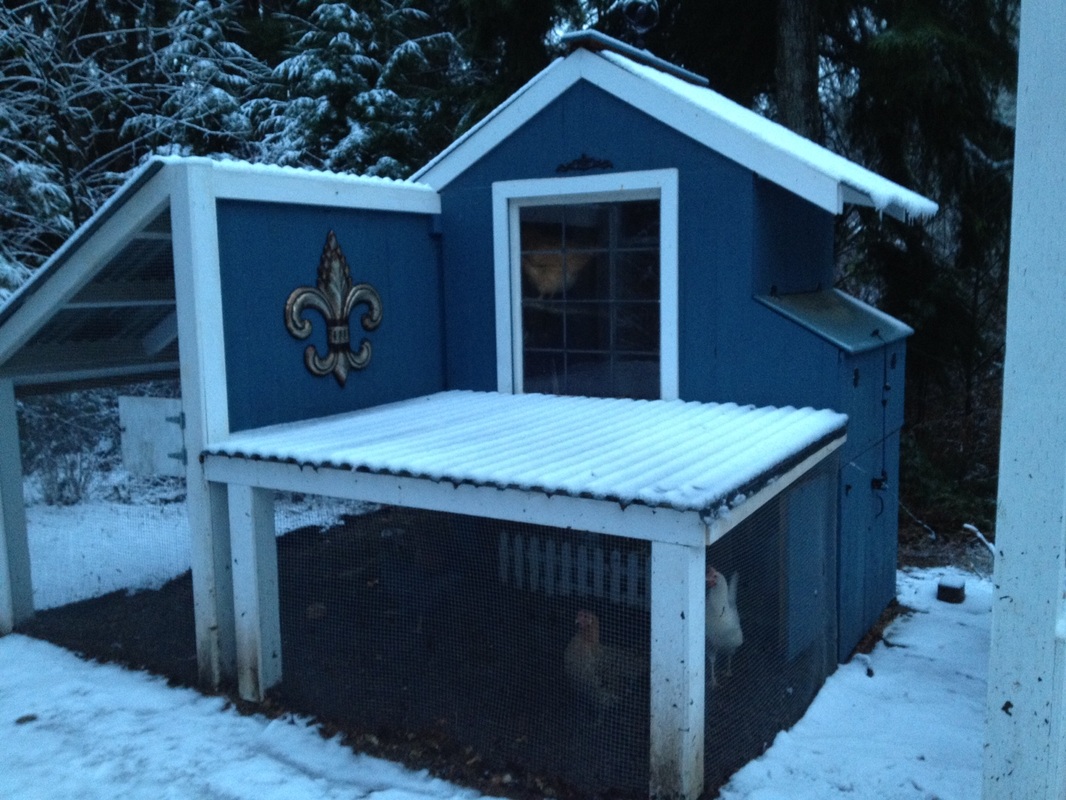
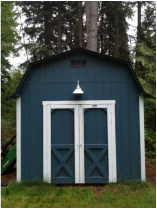
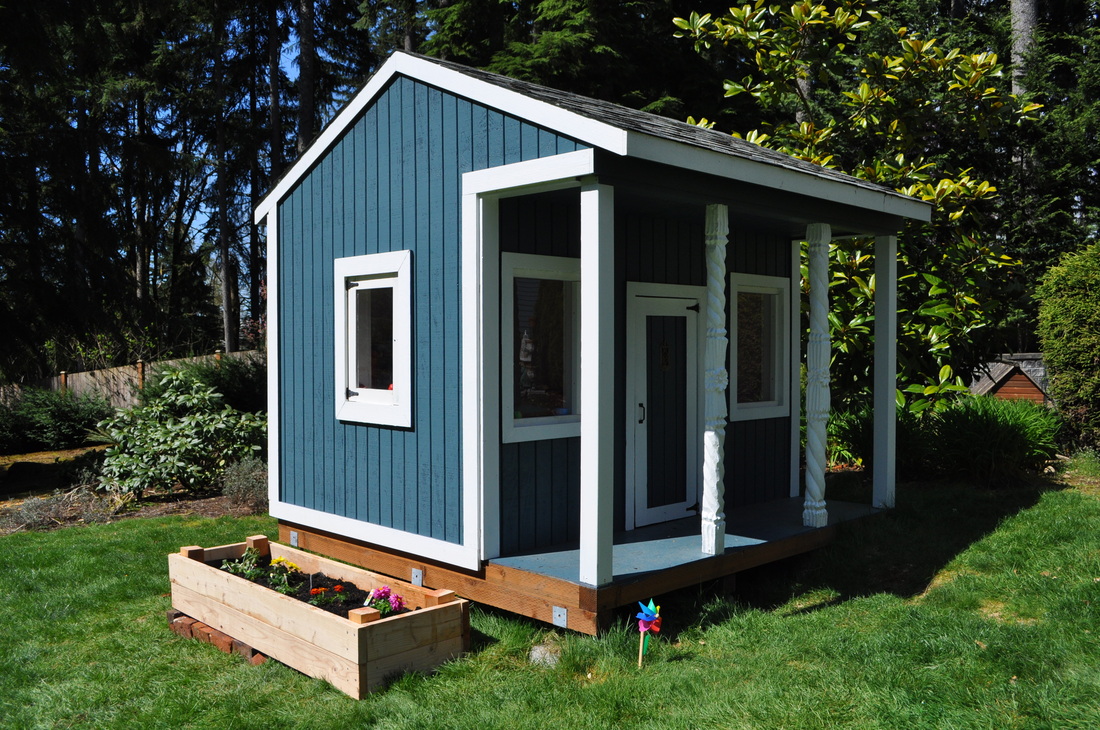
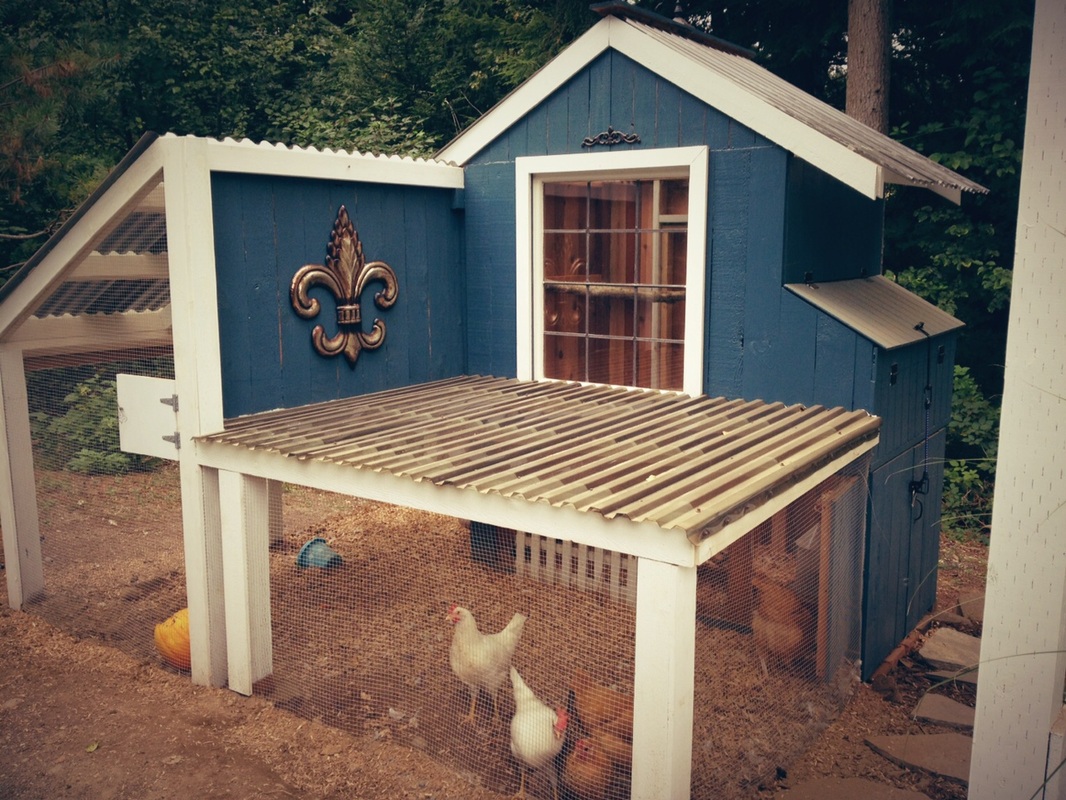
Their final product lacks the cottage charm I'm going for. I don't mind spending a few extra dollars on siding and extra time painting. The greenhouse will match my other outbuildings (playhouse & chicken coop) which are blue with white trim. After taking inventory of my supplies on hand, it turns out I have all the windows I need and two fabulous 4x4 foot plexiglass panels (thanks dad!). I will need to buy a roof panel, siding, a door and some lumber. This means I get to go shopping at my favorite place ever, Earthwise Salvage!! With a total re-do of my Not So Secret Garden, in addition to the greenhouse, I'll also be adding a water garden made from a galvanized tub. Come on Spring! 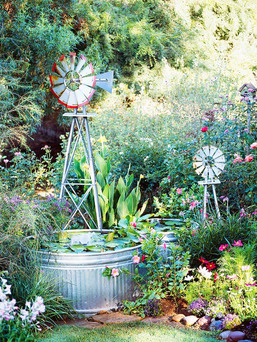
Every time I check my zone, I get a different answer. First, I thought I was in Zone 5. Then, I was sure I was in Zone 7B. Now, I'm under the impression I'm in Zone 8A. What gives?! That is all. #Rant 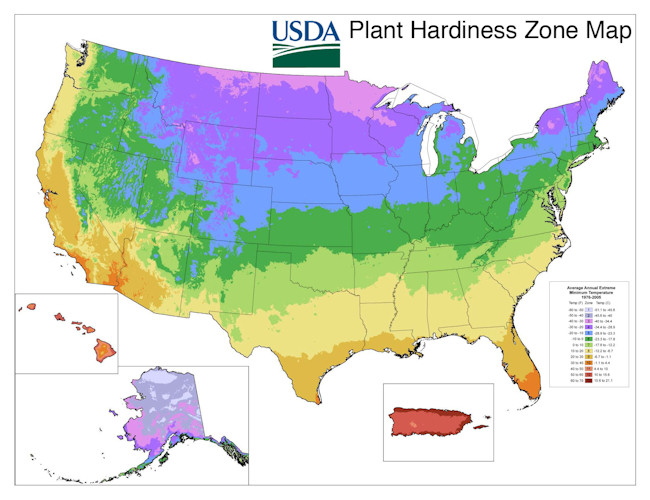
Check your zone using your zipcode. http://www.garden.org/zipzone/
Here I am, ringing in the new year, basking in the knowledge that I've only read through 1/3 of my 2013 Territorial Seed Catalog. There's so much to look forward to! The Christmas tree is in the compost pile, I measured off my future raised-garden bed (with fountain!) project and I'm counting the days until spring... 77 if you're keeping track. 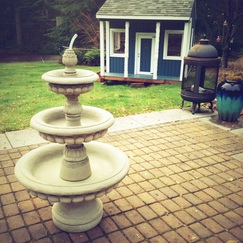 With fireworks crashing in the distance I'm reflecting a little on the year in which I constructed a chicken coop, accidentally grew potatoes, rocked my pumpkin garden, suffered the loss of all (four) of my tomato plants, and created an herb garden out of salvaged brick.
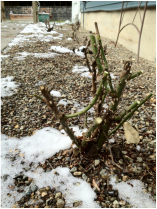
In 2013, I want to learn about growing vegetables, plant some flowers and refine a few of my existing spaces with boxwoods and ground-cover. I'd also like to get a few more chickens, make my own pickles and landscape the kids' playhouse. That, of course, is the tip of the iceberg. I could go on and on. Hopefully, my experiences will inspire someone or at least let you know what not to do if you're attempting a similar project. So there I was winterizing the back yard, packing all the chairs & umbrellas into the garage, trimming up the chives, deadheading etc. when the pumpkin patch (now a dead bed) kept winking at me. It sits there, a future mini "half-ass" hugelkultur, flirting away, daring me to make it beautiful and functional.
You may have noticed my absence from alyssahagen.com for the last 6 weeks. A great full-time job landed in my lap and within a week, I went from being a full-time mom, part-time gardener, to working full-time, gardening no-time and trying to squish family life somewhere in between. With a needed vacation from the office over Thanksgiving weekend, I was finally out in my element, (scraping chicken poop from the coop in the pouring rain...) which led me to thinking about spring. My next project was going to be a greenhouse, but I think that's overkill. I need to do a little more research, but I'm currently plotting raised window boxes. Along with my new job comes a paycheck, which I may as well throw directly into my landscape, because that's where it's going anyway. I'd love to start pumpkin seeds in March... and maybe even someflowers... Updated pages:
The deck at my house has a certain ice skating rink quality. At any moment you could slip on the slimy moss and wet mold provided by the rotting wood. It's about two years past needing replacement and it's going to be downright dangerous come spring. That's the bad news. Also bad, the fact that I want to double the size of the deck AND use manufactured wood next time, oh, and I want an arbor over the new half of the deck. I can see my contracter jumping up and down, clapping his hands right now.  Ripe for a remodel. Along with my optimistic deck project, comes the framing in of my recently-successful pumpkin patch, which I would also like to turn into a "Half-Ass Hugelkultur." This bed is located in the sunniest place on our property. Between the two raised beds would boast a 6x6 foot patio with a fountain. Yeah, it gets better... between the raised beds and the new deck, I'd like the cucumber frames, which are raised garden beds with hinged windows a la mini greenhouses. This is where I'd like to start sprouting pumpkin seeds in March. Under the deck, I'd like a space for the kids to play, including a couple swings. I also want a delightful dumping of playchips around the entire area... from the patio, to the gravel path. I dream big, but I usually find a way to MAKE. IT. HAPPEN.
In architecture, a folly is a building constructed primarily for decoration, but either suggesting by its appearance some other purpose, or merely so extravagant that it transcends the normal range of garden ornaments or other class of building to which it belongs... Many follies, particularly during famine, such as the Irish potato famine, were built as a form of poor relief, to provide employment for peasants and unemployed artisans. (Wiki-Folly) 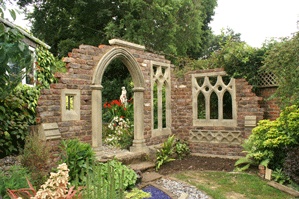
The ultimate Garden Folly.
I'm sure you know where I'm going with this: I want one! I could make one! Could I? Let's see, I would need some bricks and cement and... maybe a masters degree in landscape architecture.
General properties of a folly according to the Wiki link above. The concept of the folly is highly ambiguous and it has been suggested that the definition of a folly "lies in the eyes of the beholder". At best, some general guidelines can be produced, all of which have exceptions.
What follies are not (according to Wiki)

So, a Masters degree... let me get back to you on that one.
Now that I've seen what herbs do well here in zone 7B, I'm excited to start planning my gardens for next spring.
Here's what I'm thinking so far: Herbs under a grow-light inside:
Pumpkins and squash in a greenhouse (which I need to build) outside:
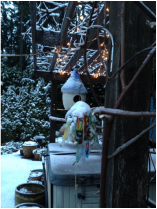
This weekend I'll be planting tulip and daffodil bulbs, garlic and more. Spring projects include: 1. Building a greenhouse, or cucumber frame 2. Upgrading my pumpkin garden into two, separate, raised beds with a fountain in-between. I'm most excited about this one. That reminds me, can I borrow your truck? 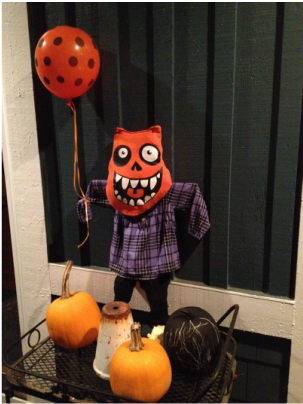 I had an old glow-in-the-dark, baby t-shirt that was begging to be made into a scarecrow.
At first I was planning to use a trick-or-treat bucket for a head, but that didn't last long. I sewed the arms of the t-shirt closed at the shoulder, stuffed the chest and tied the arms behind. I like the way the round neck gave the head little ear/horns. With a couple pieces of wood, I made a cross. Then I nailed the pants and a shirt to it and stuffed them with pinecones and leaves. The scarecrow was frightening, because it was so kid-like. The whites of the teeth and eyes showed up well after the porch light went off. Since I used organic materials to stuff the scarecrow and I nailed the clothing to the wood, I had to throw my creation away after Halloween, but it was fun while it lasted! |
Avant-Garde(n)Quick updates charting my novice and experimental, gardening adventures at home. Archives
September 2019
Categories
All
Click here for a link to other garden bloggers
|
 RSS Feed