|
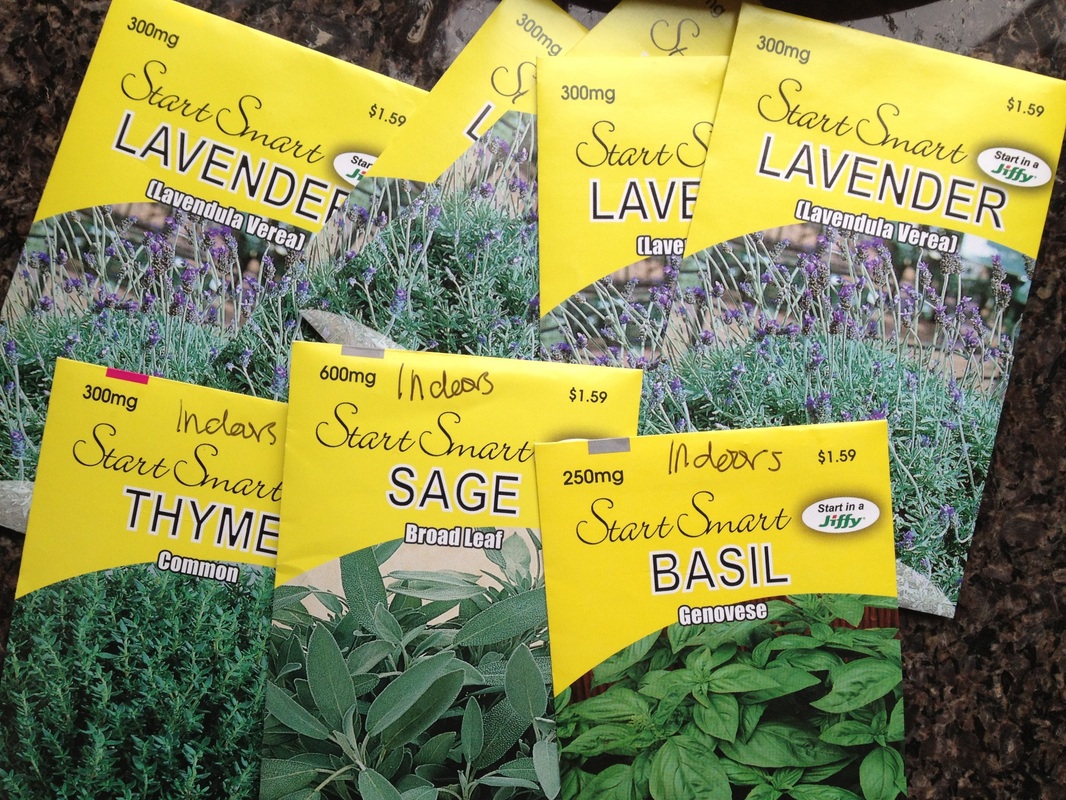
I was lucky to inherit lots of mature lavender plants from the previous owners of my house. Due to frost damage and in an effort to thwart Horse-Tail weeds, I've removed a bed of lavender. I'm replacing the old plants with new, home-grown seedlings, which I'm starting today. I'm also starting a few herbs just to see if I can do it. My herb garden is ready and waiting for new soil and transplants.
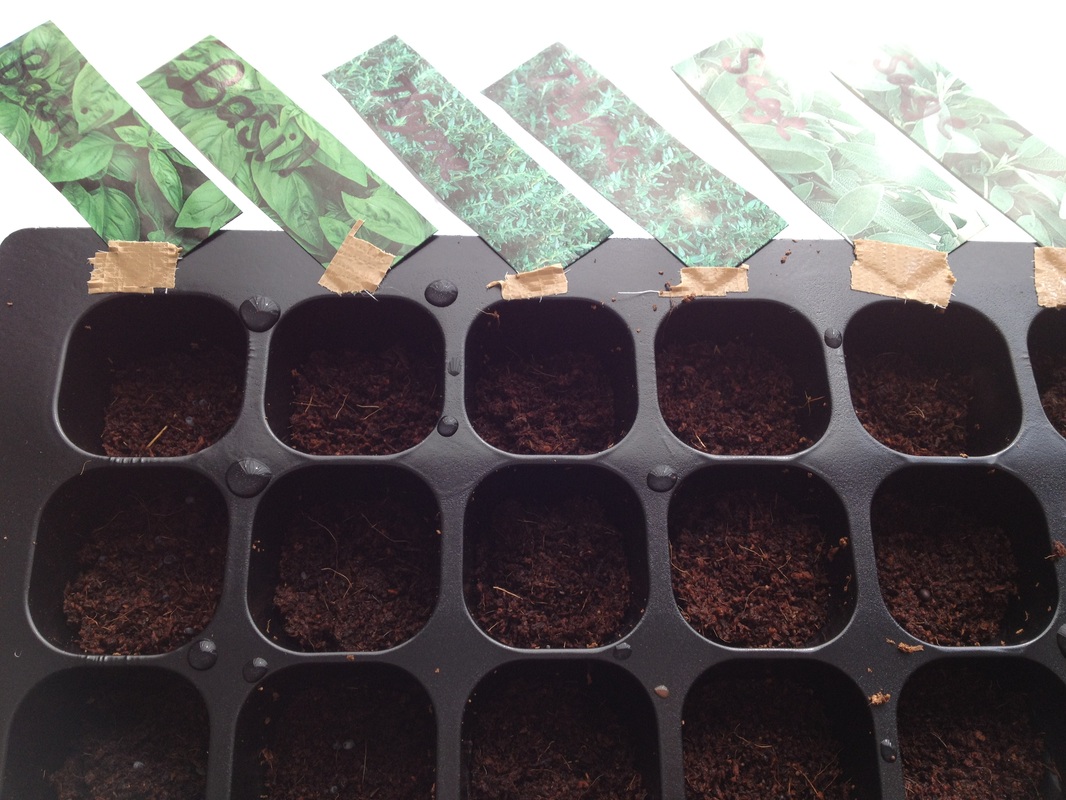
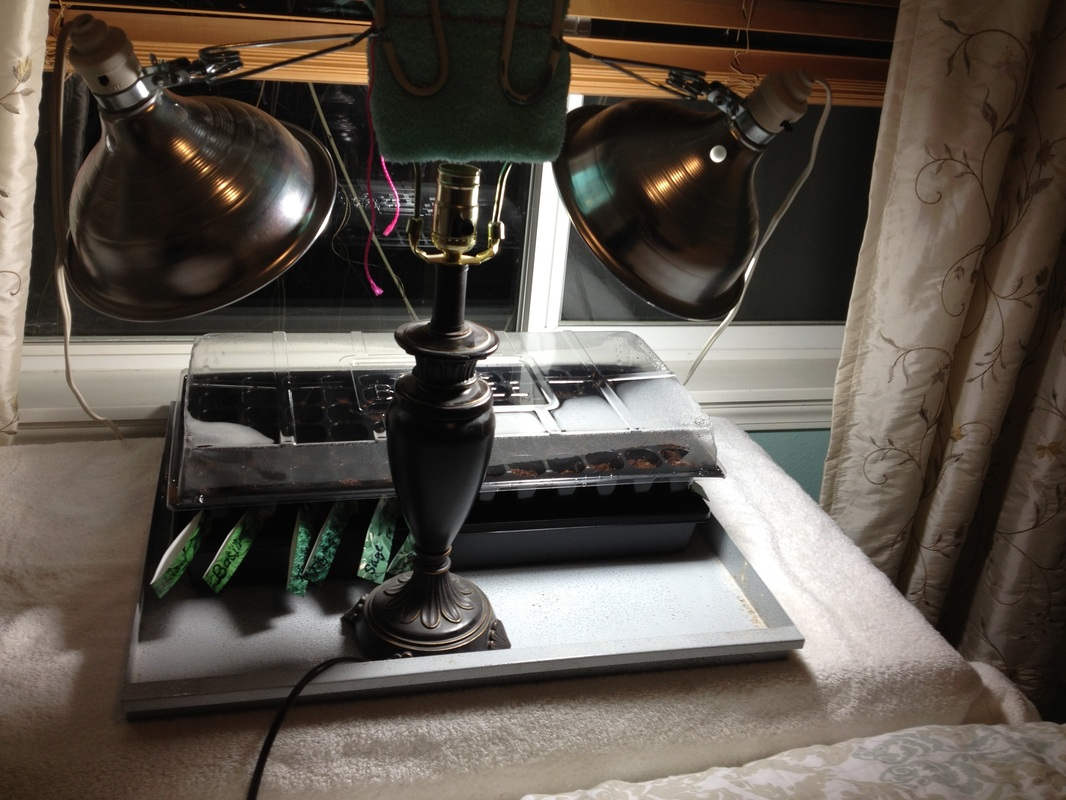
Growing lavender seeds by Alice Formiga, originally posted on Renees Garden Start lavender seeds 6-8 weeks before the last frost in your area. Space them ½" to 1" apart in a flat of well-drained sterile seed starting mix, and cover them only about 1/8", since light aids germination. Keep the flats in a warm place, about 70 degrees, and moist but not soggy-water in the morning so that the flats aren't too wet in cooler nighttime temperatures, causing the seedlings to damp off. Be patient; seeds can sometimes take a month to germinate, but I have often been pleasantly surprised to have seedlings germinate within the first two weeks. Although I haven't found it to be worth the trouble, some gardeners recommend cold-stratifying lavender seeds to improve the germination rate. The simplest way to do this is to place lavender seeds into a ziplock bag of moistened seed starting mix and leave it in the refrigerator for 3 weeks. Then sow as above. When seedlings emerge, provide strong lights so that they don't grow weak and leggy. When the seedlings have several sets of true leaves, gently loosen the soil around the plants and transfer them into a 2" pot or 2" apart in deeper flats of well-drained planting mix. Since nutrients quickly leach out of containers, add some granular slow-release fertilizer to the soil. Snip off the growing tip to encourage branching. When the plants have grown about 3 inches tall, the weather is warm, and all danger of frost is past, gradually expose the plants to outdoor conditions over the course of a week, being careful not to leave them in full sun right away. Finally, plant them outdoors 12-24" apart into well-drained garden soil. In particularly moist, humid areas, plant them at the wider spacing recommendation, so that air circulates freely around the plants. 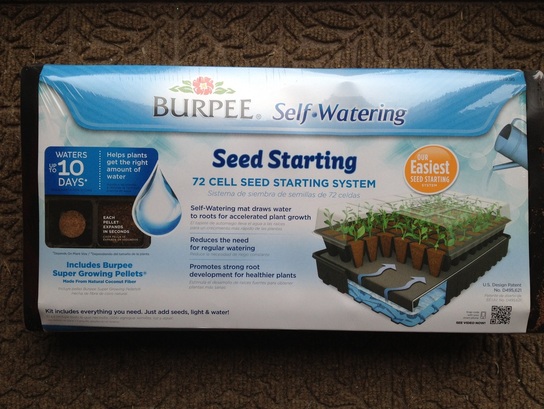 I bought a Burpee seed starting kit that had two dehydrated dirt pellets in each cell. Since it was raining sideways, I put the kit together in the kitchen after watching this video. Per the instructions, I used warm tap water to rehydrate the dirt. It didn't really work. The water just kind of drained through the cell to the tray underneath. I ended up using waaay more water than I assumed it would take and had to agitate the dirt pellets which was um, dirty. Finally, I triumphantly plopped the seeds into the spongy dirt and then set to work arranging the grow lights. I put the seeds under two grow lights in the garage. Then the washing machine breaker kept turning off, so I assume the grow lights were too much for the circuit. I relocated the plants indoors, where I think they will be much more comfortable. I rearranged the guest room and rigged a table lamp base to accomodate the grow light clamps. Currently, my eyes are having trouble focusing after having looked directly at the 40 watt flourescent bulb, which is equivalent to a 150 watt typical bulb. I put the lights about a foot from the seedlings and I'm planning to leave the lights on for 12 hours a day.
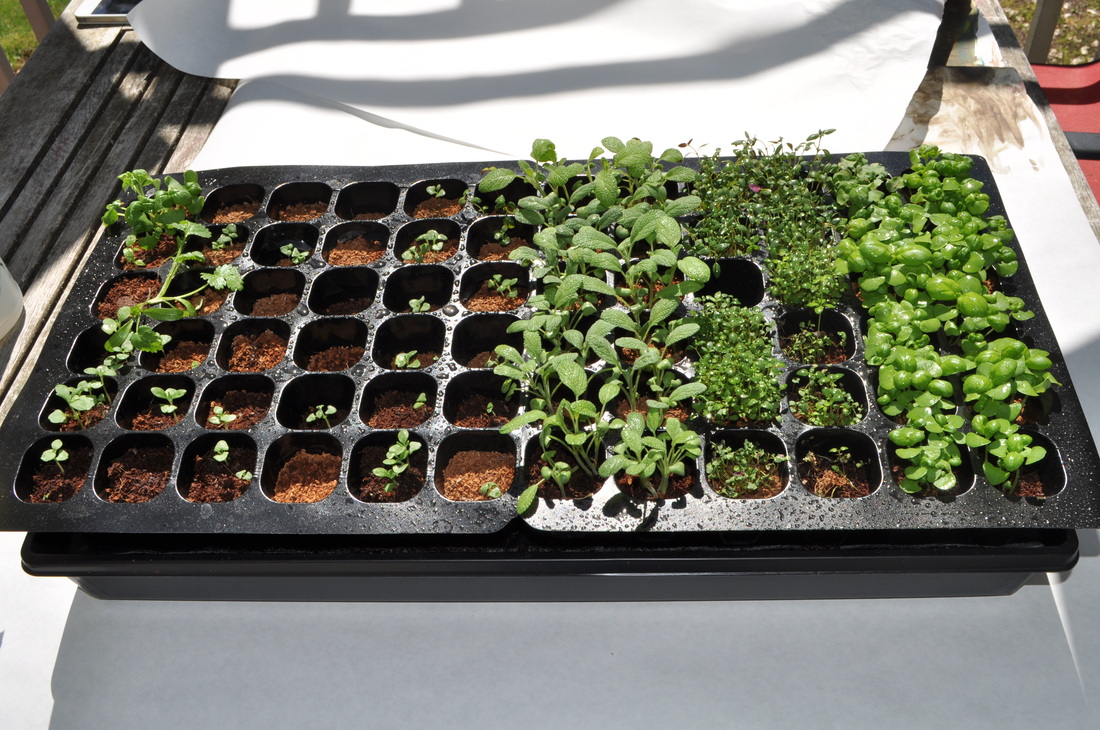
I think this is the end of the beginning. *** UPDATE~ April 2nd For the last five days or so, since I planted my herb seedlings, I've checked on my little buddies every 20 minutes or so, to see if they germinated. It's been exhausting! The thyme popped up quickly and has been steadily growing. The sage has progressed at about 40% the rate of the thyme. The basil was a little stubborn, but it finally peeked out a little today. Half of my dirt pallet is lavender and that side, almost immediately, got fuzzy, grey mold. Internet research said that it was either good mold, or bad mold caused by "damping off." Today, I removed the lid to see what would happen and it seemed to clear up. According to some gardening forums, Lavender takes 14-90 days to germinate and often might not grow at all. That's okay with me. I'll just grab some from the nursery in a couple months if Plan A fails. 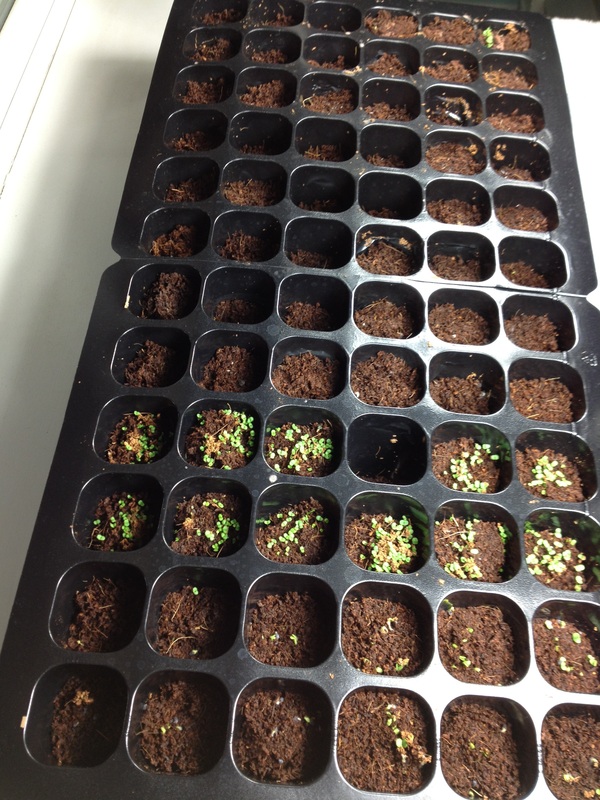 Bottom two rows & top right cell: Basil Next two rows: Thyme Next two rows: Sage Top six rows: mostly lavender *** UPDATE~ April 14th The herb seedlings looked like they could use better soil, so into pots they went. The thyme and sage will stay outside. Half the basil will go into the south-facing kitchen window and the other half will go back under the grow lights. The lavender, which is reportedly very hard to grow from seed, will stay in the seedling pots for now.
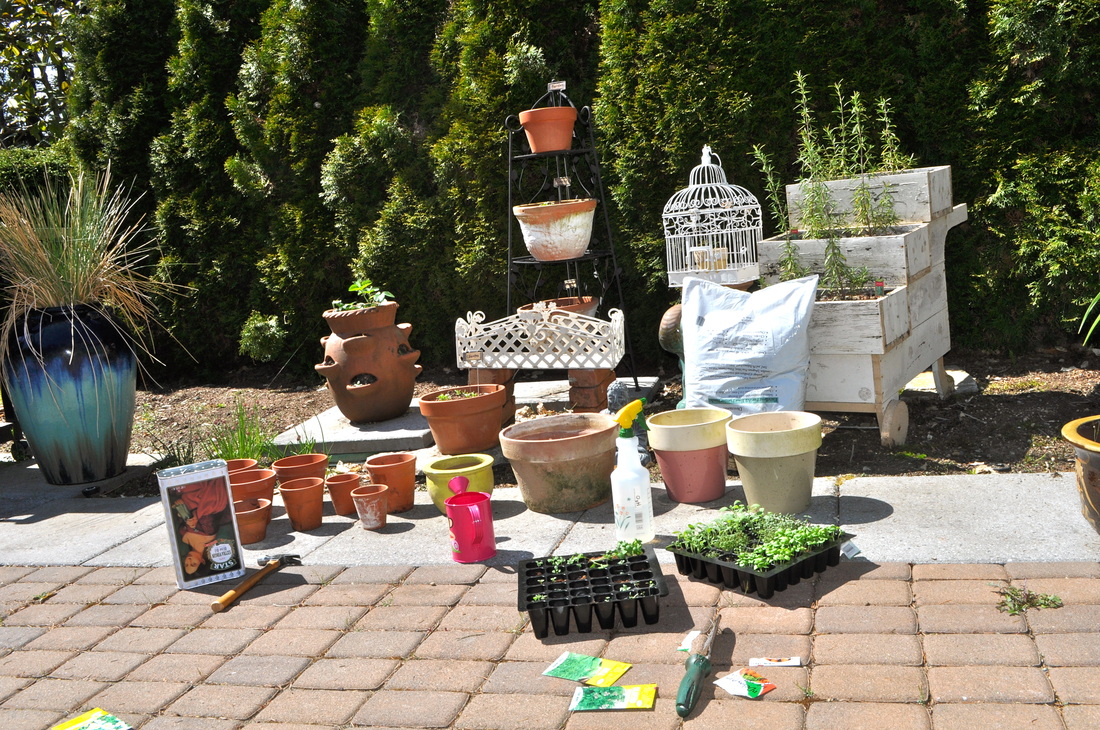 Time to get my hands dirty! While I was in the herb garden, I put some chamomile, cilantro and dill seeds into pots and to my surprise, the chamomile is already popping up (two weeks later). I'm also excited that my cilantro and parsley are coming up like gangbusters. I'm more surprised when things grow, than when they utterly fail. I'm excited to till up the ground, amend it and put some more herbs in. I'm thinking about mint. The fact that it self-soes is a conundrum. More photos of the progress will follow. *** May 24th 2012 *** 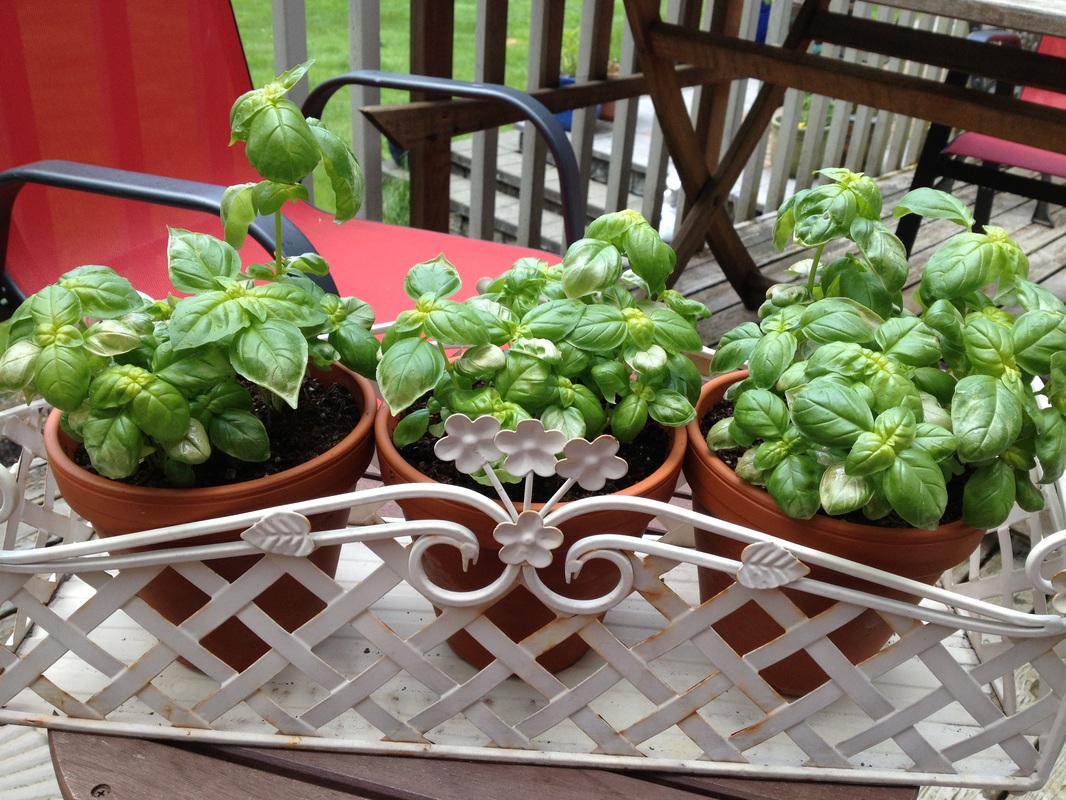 Basil started from seedlings under a grow-light, two months ago. In an effort not to kill all my basil at the same time, I put some of it outside and kept some inside. We have had some "warmer" weather, in the 50's and 60's which burned the fragile leaves. Turns out the basil likes to be shaded, but in a warm environment. We've also had a lot of rain, so the plants have been kept moist and they like that as well.
I've picked some of the burnt leaves off and new ones are starting to grow. I think that the plants will do well this summer and I'm looking forward to giving at least one of the pots to a friend. One thing I didn't do well, was give the plants more space. I really packed the seedlings into the pots and now they are choking each other out. I don't know if I should try to divide them again, or just leave them alone. I may experiment with one of these three pots and see how it goes.
0 Comments
 "Wait a minute... did somebody touch my lettuce? Yes! See? Right here!" You Know You're a Gardener When...
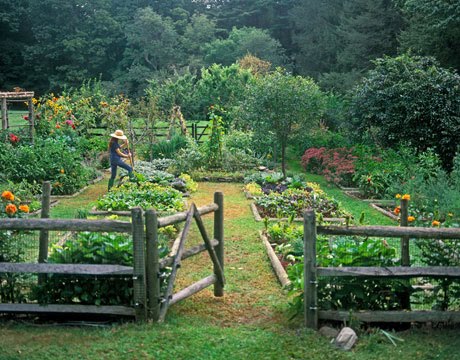
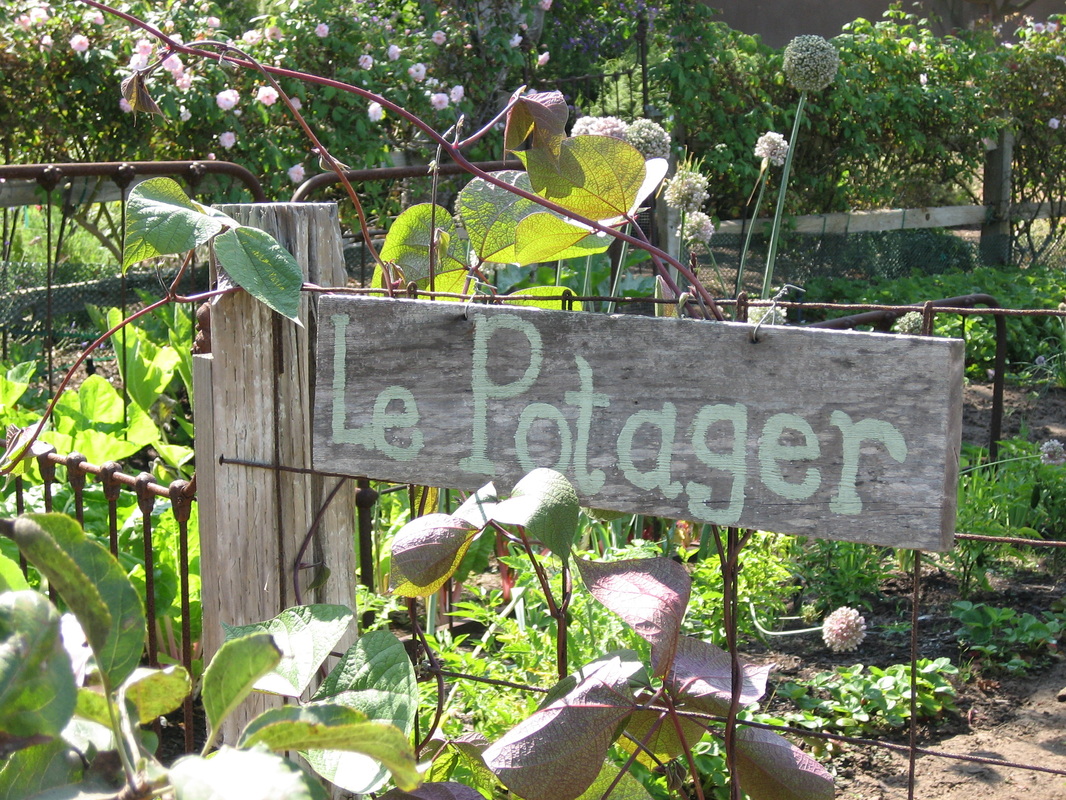
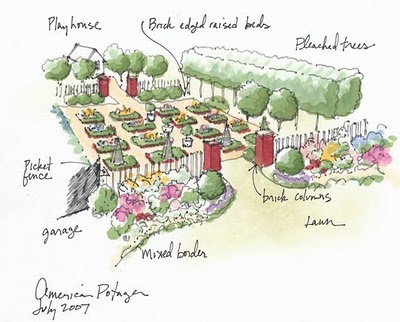
Here's a cute article on creating your very own potager, from CountryLiving.com Potager Garden Definition: (pronunciation: puh ta zhay) a garden that combines both edible and ornamental plants; a vegetable garden that is utilitarian in nature but designed with beauty in mind; much like an English kitchen garden, but often formal and symmetrically designed in the French fashion.
And of course the Parisienne Farmgirl has lots to say about the French kitchen garden. She was also a covergirl on Where Women Cook. We seemed to have come full circle!
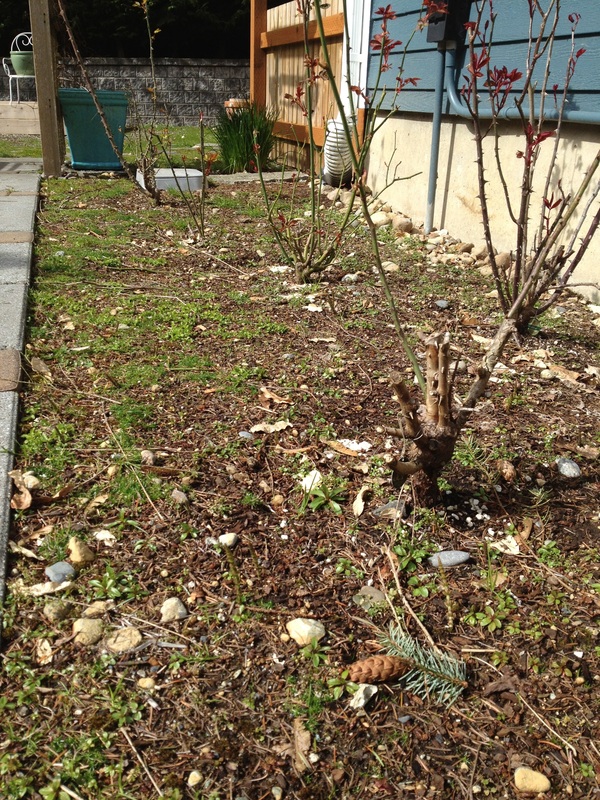
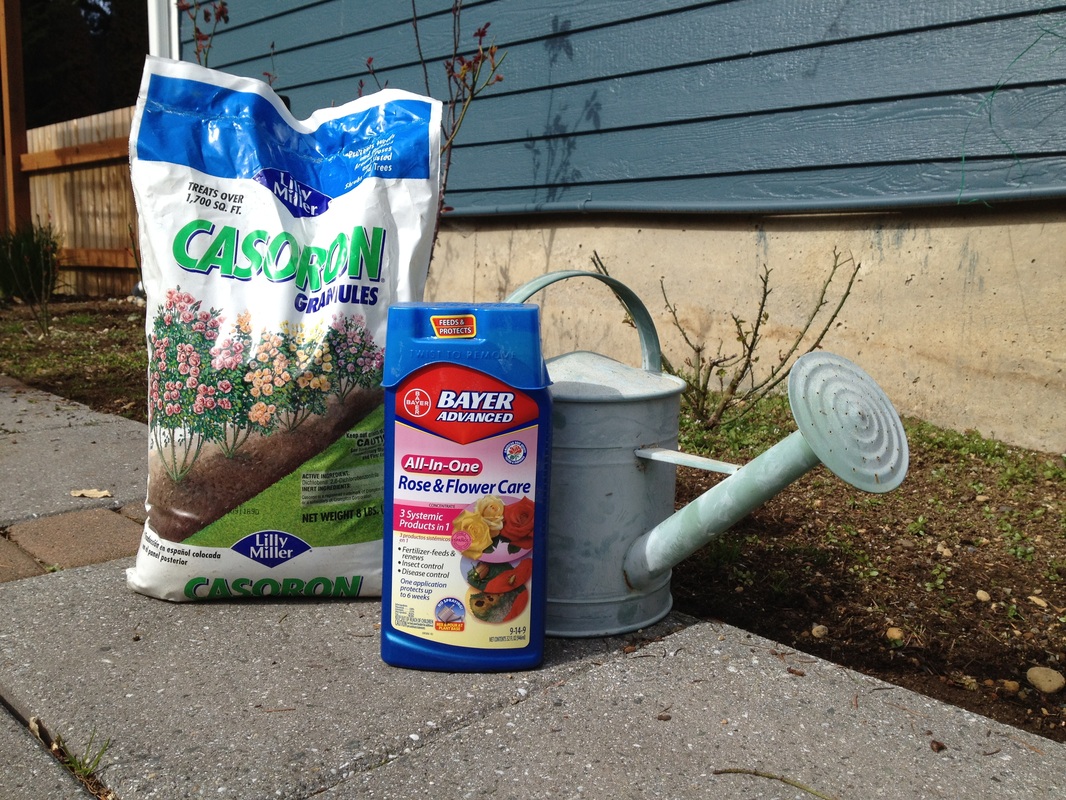
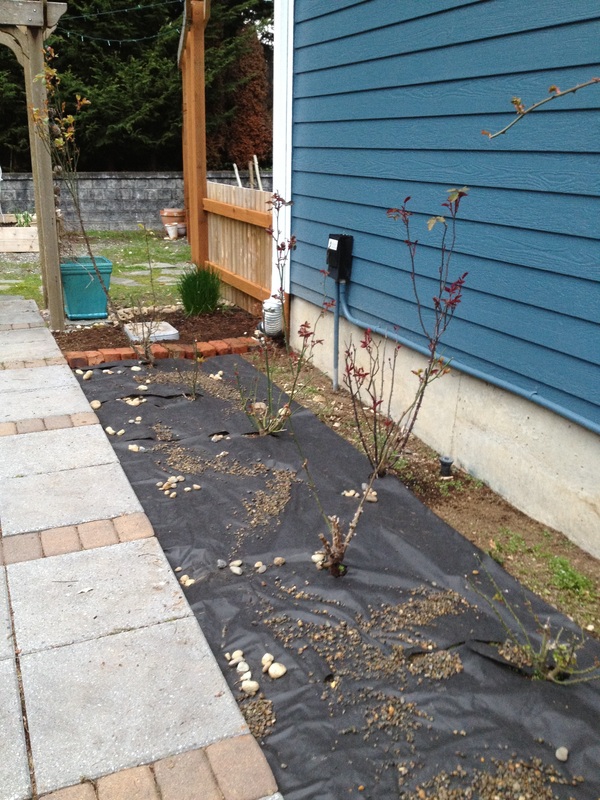
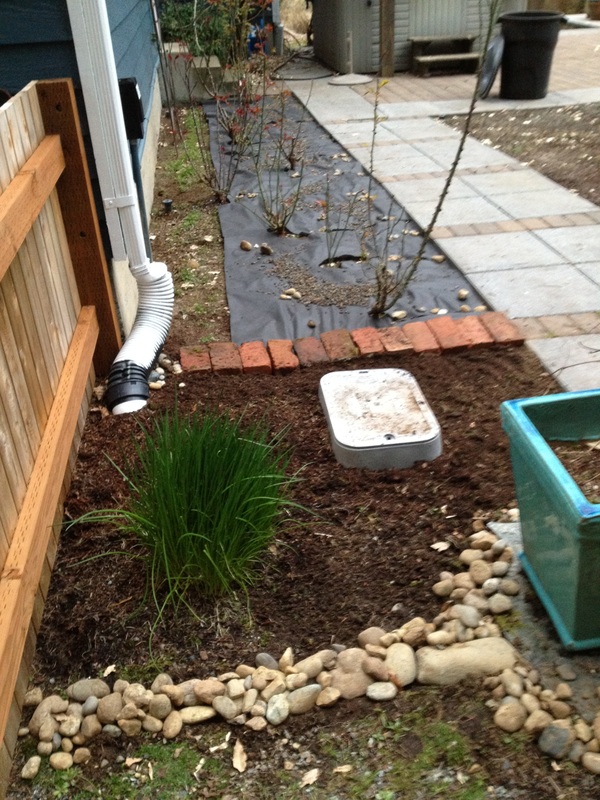
I examine any and all junk mail magazines for landscaping. Pottery Barn, FrontGate, Ballard Designs and Anthropologie are a few of my favorites. A year ago, I came across a rose garden with beautifully defined borders and pea gravel ground cover and couldn't get it out of my head. The pea gravel ground cover attracted me because it seems like a good way to keep weeds down and keep the rose garden low maintenance. I was advised against it by a reliable source, but I don't remember why. I researched rose gardens and gravel, but didn't find anyone who has actually done this. Out of sheer desperation I asked google "can I cover rose garden with gravel" and it led me to GardenKnowHow and this bit of information: Gravel Mulch For Roses I use ¾ inch gravel mulch called Colorado Rose Stone around nearly all of my rose bushes. The gravel mulch is knocked by some as they say it will make the root zone too hot and kill off the plant of bush. I have not found that to be the case in my climate here in Northern Colorado at all. I like the gravel as I can fertilize all of my rose bushes and plants by sprinkling the fertilizer over the gravel around the bushes, rock the gravel back and forth a bit with a hard tooth rake and then water it in well. I can add some organic matter as well by sprinkling some bagged Top Dressing over the gravel and water it down in well. The zone under my gravel is then a very good soils zone and the organics do their thing to mix further down into the actual root zone. Well, that's good enough for me! I cleared the area, added the weed barrier (harder than it looks) and tossed what pea gravel I had around, on top.
I'm finished for today, but I still need about 10 more bags of pea gravel and a little more weed barrier until this project is complete. A trip to Home Depot is in my future. 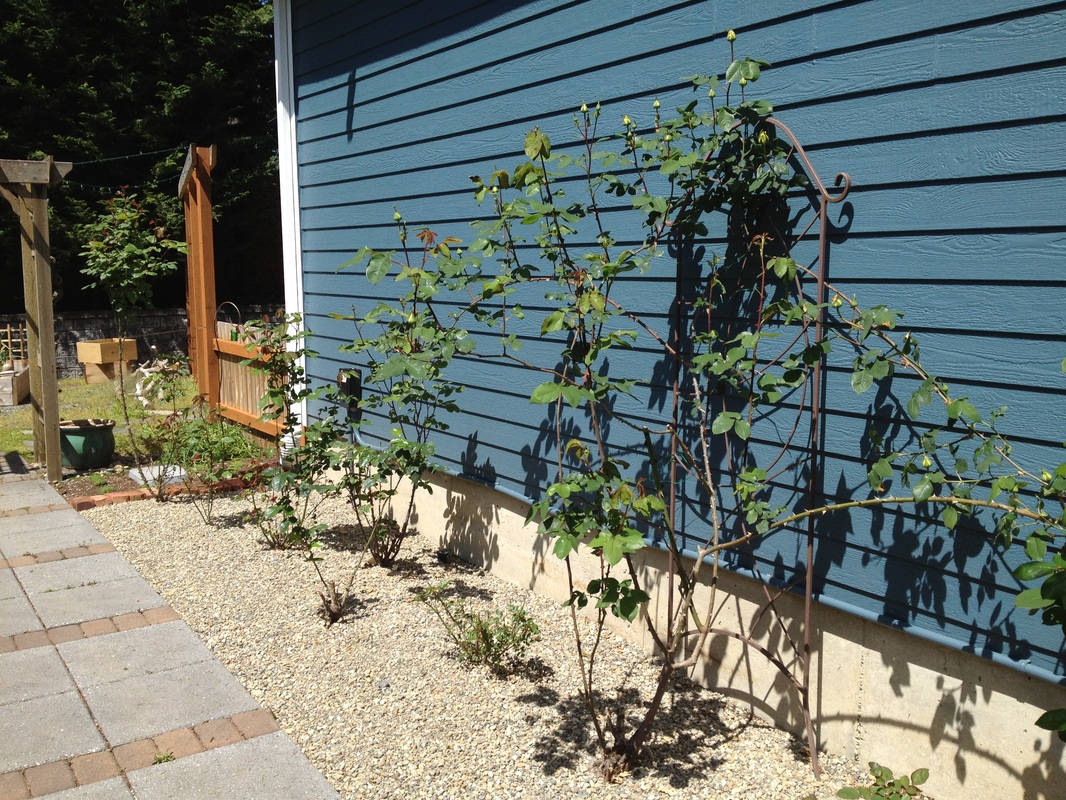 The gravel mulch has been over the rose bed for two months and the mature roses are ready to pop! April and May will be cooler and drier than normal.
Summer will be much warmer and slightly drier than normal. The hottest periods will occur in early and late July and early and mid-August. September and October will be warmer than normal, with above-normal rainfall in Washington and Oregon. Taken from www.almanac.com Why do I garden? And why do I (sometimes obsessively) think, plan and well... obsess over my garden. It's not like I actually have anything in there at the moment, except for a few garlic plants: Even though gardening is, for me, a solitary hobby, I do it for lots of reasons: To bring people together To make things beautiful To be a good role model for my kids To learn how to grow stuff To have fun and feel happy
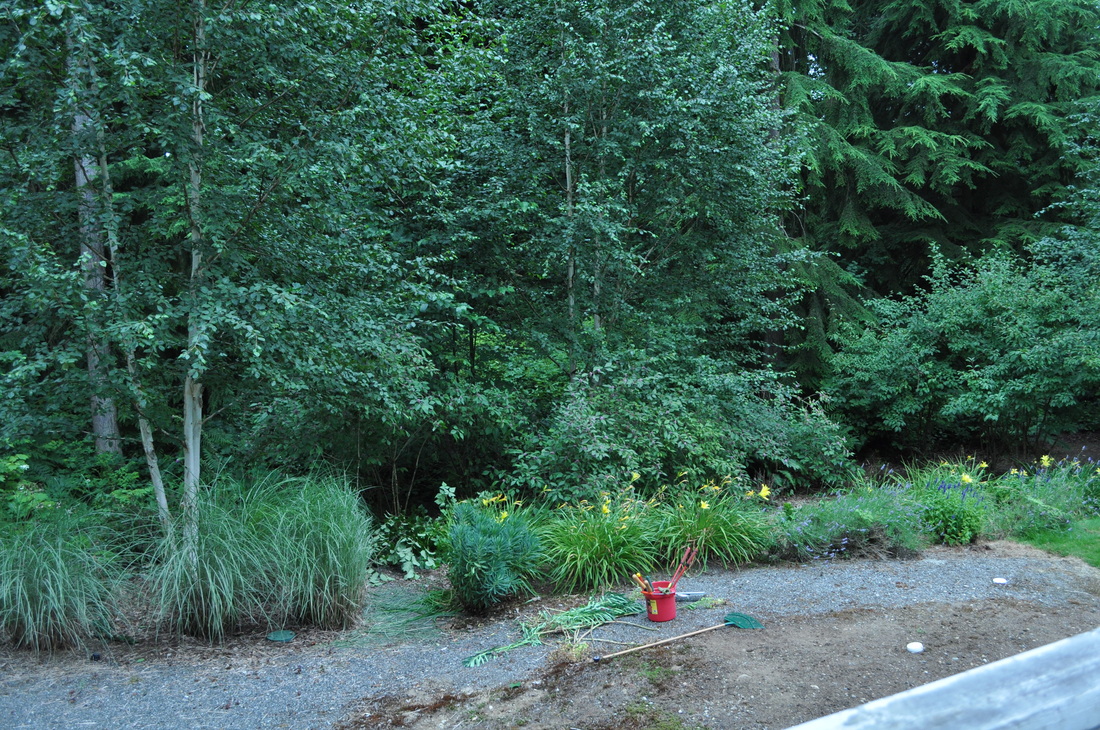
Seattle has about 11 weeks of warm weather per year. Every other day, it rains, it's overcast and it's just not sunny and warm. I'm a native Seattleite, so I'm used to the low grey clouds. When we get a sun break in the winter, I bask through the window for all 8 seconds, soaking up the vitamin D. Seasonal Affective Disorder is a very real thing, even for natives. As a result, I try desperately to take a winter or spring break somewhere hot and warm. Throughout the rest of the Springtime, I plant, and sow and sew and rake and pull weeds and replace dead trees. Because if I don't, the minute the sun comes out, all the work I should have been doing while I was complaining about the weather, is glaringly obvious. There is always something to do on my 2 little acres and I suppose it comes down to having pride in my home, having beautiful, living things to enjoy and sharing that with others.
When I design spaces, they're always about being functional and beautiful. My decorating style is what I would call Provincial French, American Cottage- style, with a little bit of English Garden tucked in here and there, and even some Asian accents, depending on where you look. I don't tend to like anything modern and sleek. They just don't evoke feelings of warmth or comfort to me. My hardscaping and garden spaces reflect my complete lack of interest in pulling weeds or doing any more maintenance that what is absolutely necessary. After all, I have a family and indoor chores that must be done. There's only so much daylight and everything costs money!
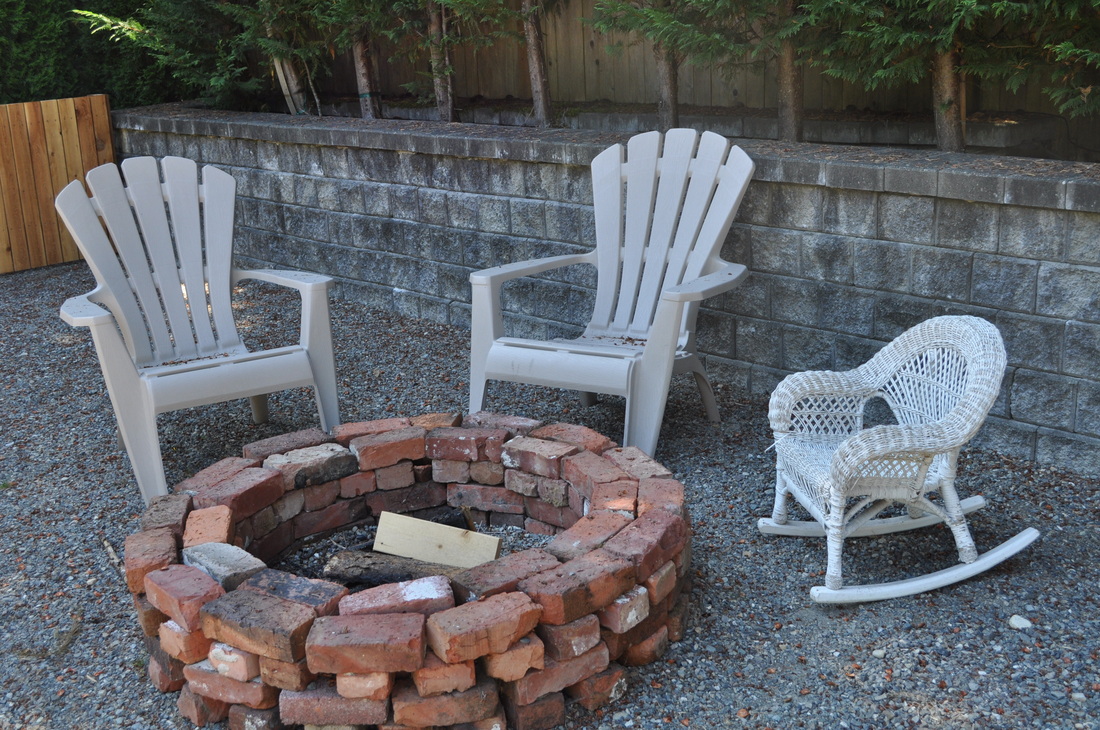
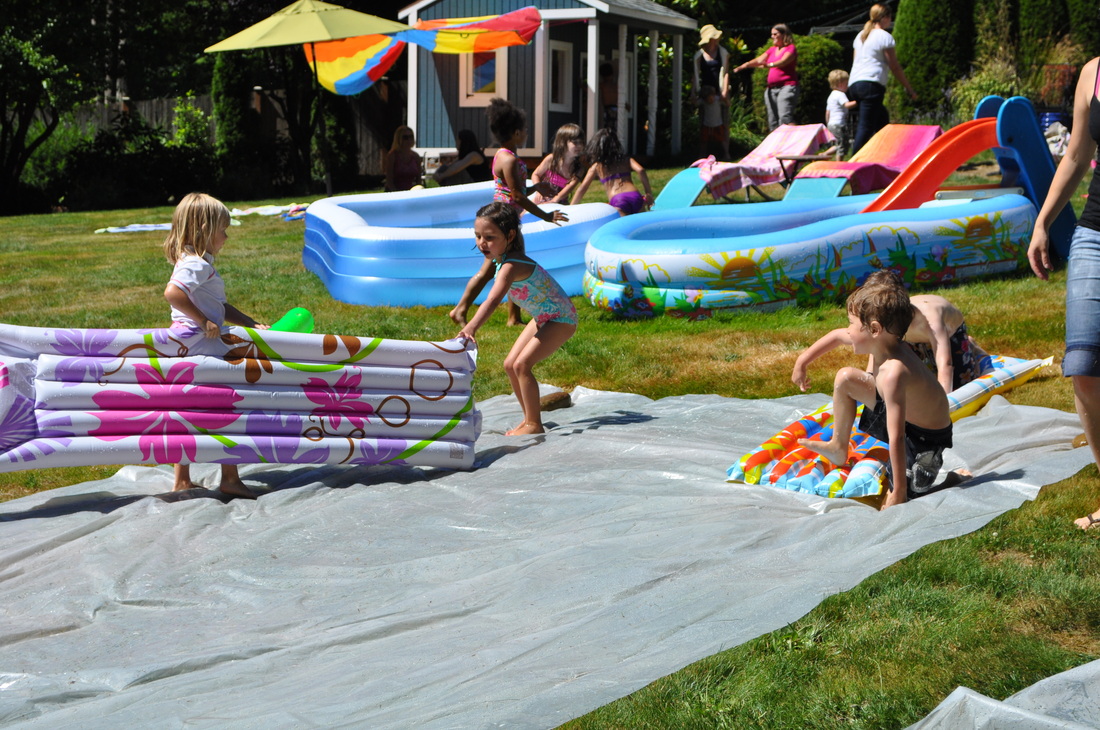
If you see me standing around in my yard with my armes crossed, beware. It means I'm thinking. When I think about spaces and pathways, I'm imagining my friends and family walking, playing and discovering new things. I imagine that a meal has just been enjoyed, that we're celebrating a birthday or life event. I think this August, I'll have a garden party just for the heck of celebrating the work I've done. I'll put a table in the garden, turn on the overhead spiderweb of Christmas lights, toss a few logs into the firepit, grab the bug spray and crack open a bottle of something.
I love being outside and turning "not much" into "something". Someday maybe I'll get to turn "something" into "something amazing!" As an aspiring horticulturist with garden design tendencies, I think I have a long way to go. Hopefully, I'm on the right track.
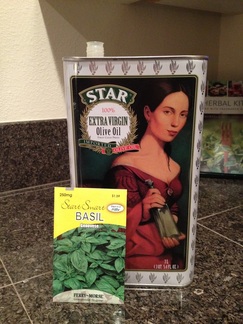
This photo has been making its rounds on Pinterest. 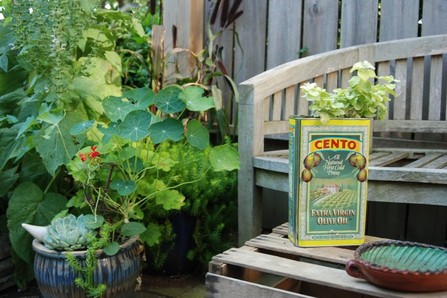 Olive oil can planter, originally from http://myhomegrown.net I bought a beautiful can of olive oil a few months ago and it recently became available to use. Perfect timing.
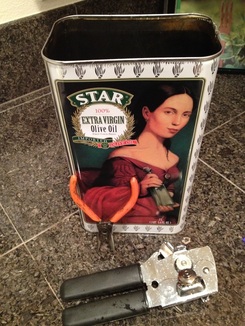
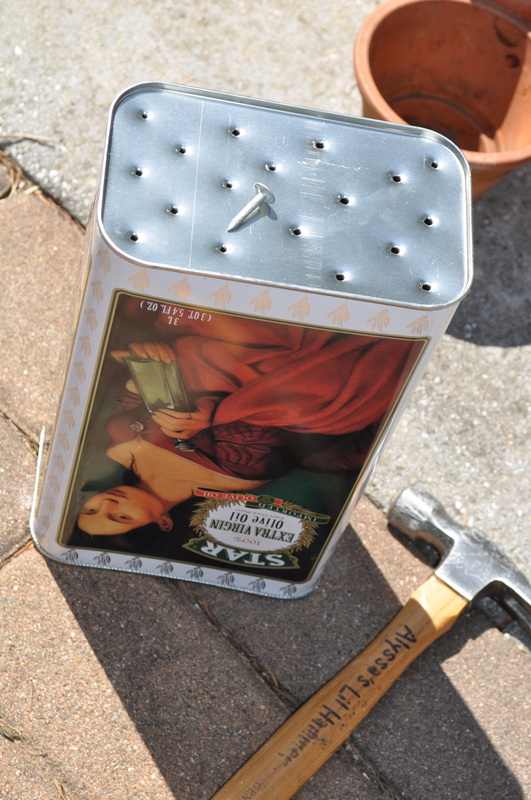
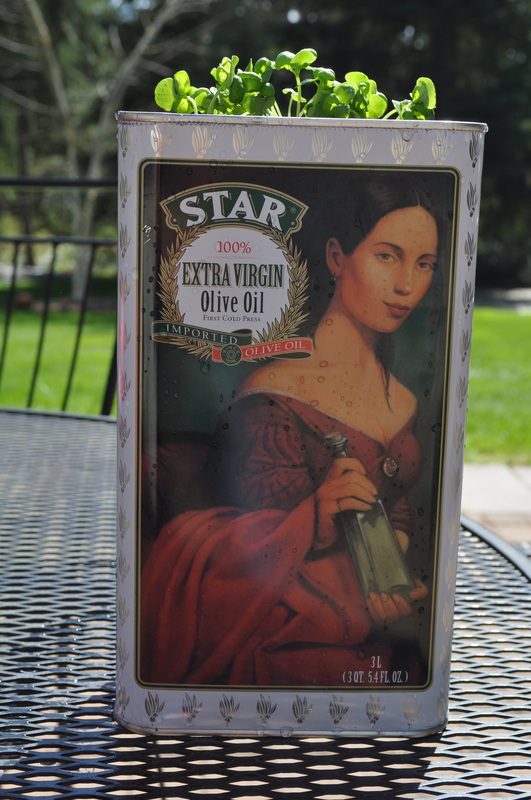
I wore rubber kitchen gloves and then used a can opener to carefully cut the top off. The can opener tended to get stuck on the corners, so I removed the can opener and clamped it down again so as not to damage the top edge. I used small needle nosed pliers (in photo) to push down the damage the teeth did on one corner. Then I used a scrub brush and dish soap to clean the inside of the can. I've been growing basil from seeds and they're ready to be transplanted. All of my basil will stay indoors until June, at which time I'll put it outdoors. This tin however, will live on my kitchen counter all summer long.
There is a lot of information available about growing potatoes.
I'm going to toss some seed potatoes into a wooden box and see what happens. (10 minutes later) I just ordered seed potatoes from Territorial Seed... I'm a kid in a candy store... Creating the Box Building a Potato Condo from Wood by Living Homegrown Creating a Potato Condo with a Garbage Can by Dinner With Julie Planting the Seed Potatoes Um, throw them in? Cover with dirt. Caring for the Potato Plants Just add dirt as the stalks grow and maintain the slug bait around the box. Harvesting Instructions Dig potatoes when the soil is dry. Be careful not to skin or bruise the tubers. Do not wash the potatoes. Place them in crates or some suitable container and store them in a dark areas for about 10 days at a temperature of 60 degrees F. with a relatively high humidity. After this curing period, keep the potatoes at 40 to 45 degrees F. with humidity near 85 percent and provide good air circulation. FarmingInfo.org More info:As the seed potatoes begin to grow, keep them well watered. When the plants are about a foot long, it is time to add more soil / amendments. I will be using a combination of chopped leaves, good quality soil, compost and manure, in essence creating a makeshift lasagna garden in the process. As you add soil to the foot long plants, only cover about 4 inches at a time. As needed, add a row of slats to raise the condo. At the end of the growing season, frost will kill the plants. Then you wait a couple of weeks for the skins to toughen a bit and remove the slats from one side of the potato condo to harvest them. (Original Source) FAST FORWARD to this Potato Box post to see the one I built! "Someday" I'd like to own chickens. Until then, I'll just research... Where to buy local chicks & supplies Seattle Tilth Resources Coops The Art of Doing Stuff- Chicken Coop Completed The Art of Doing Stuff- Building the Coop The Chicken Coop Blog- All about Chickens and Coops Coop Thoughts The Garden Coop Tiny Farm Blog- Coop Maintenance Funky Chicken Coop- Austin, TX Seattle Chicken Coops- Saltbox Designs Backyard Chickens- Breed Research Backyard Farming- Chicken Basics 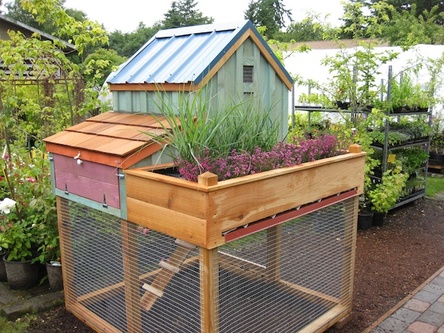 SeattleChickenCoops.com City Chickens Workshop! Seattle Tilth
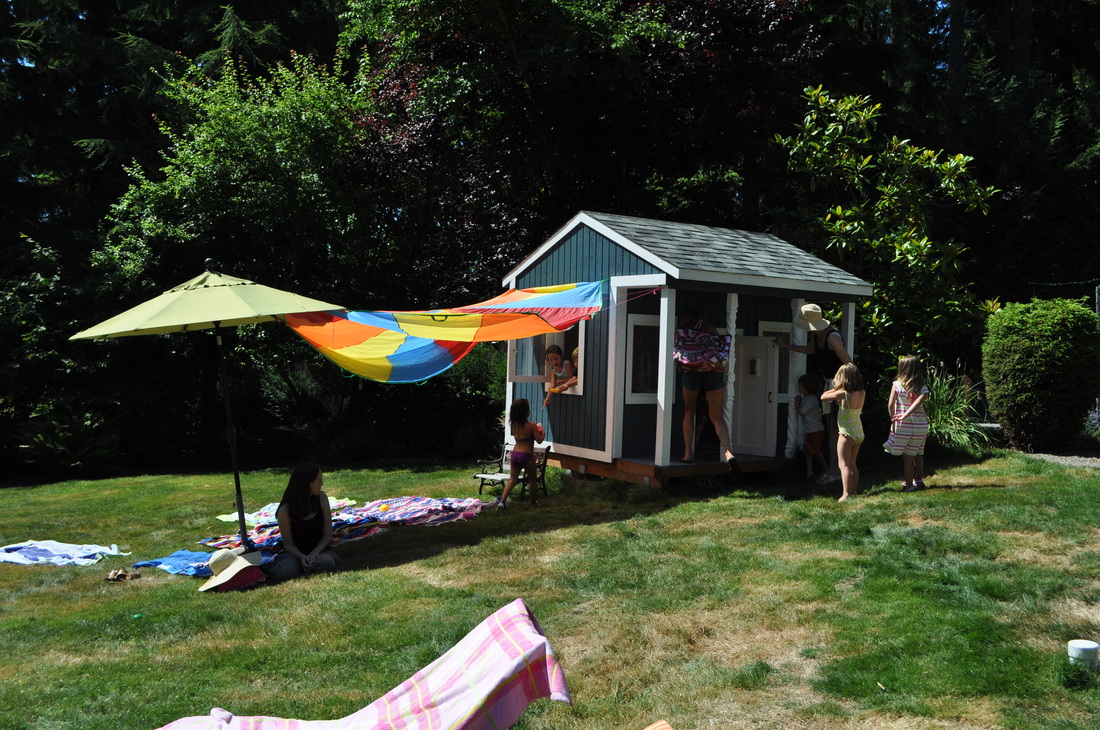
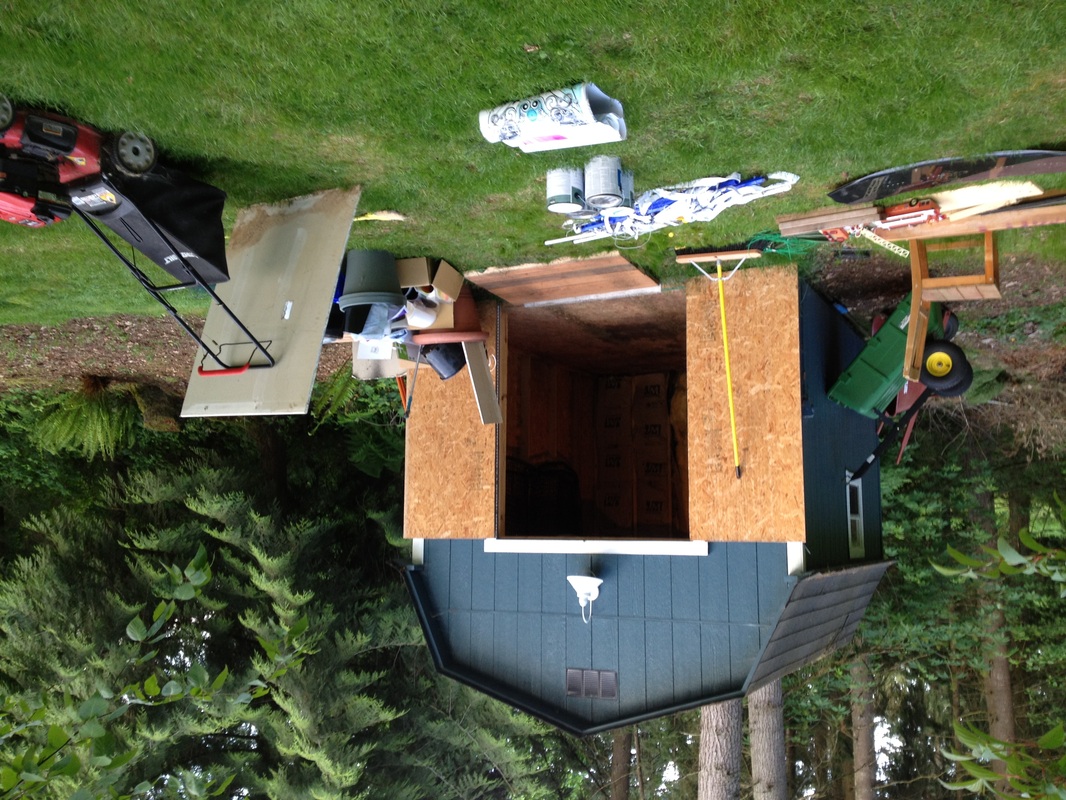
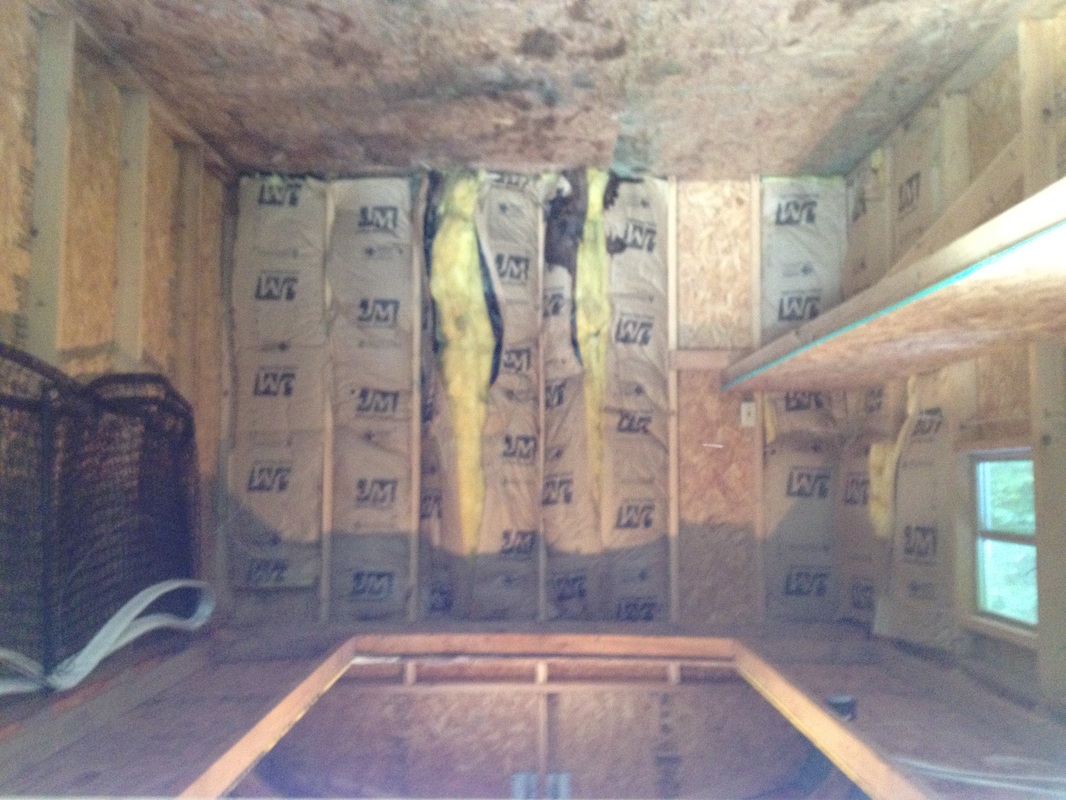
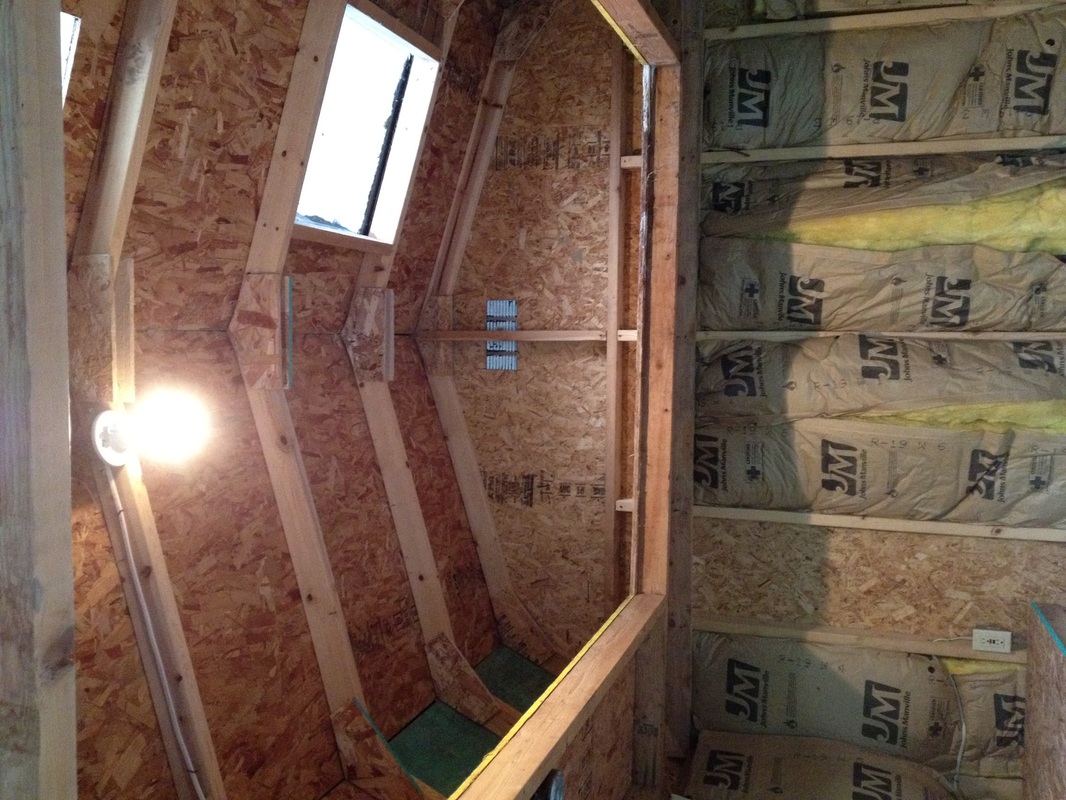
"Interested in tending a flock of your own? Find out what it takes at Seattle Tilth’s introductory class for anyone interested in keeping chickens. Learn the most important considerations in caring for a small flock of hens in limited space, including chicken physiology, behavior, health, nutrition, housing and city regulations. Questions are encouraged in this lecture-based class and you will leave with the knowledge you need to start raising chickens in your own backyard. COST: $40 or $30 for Seattle Tilth members. Advance registration required." "Rhode Island Red's are sweet, good laying chickens, but I have heard better reviews from Araucana's. These are brown chicken's who are the friendliest chicken on the list. They lay green, turquoise, and blue eggs. Even though the chicken's are skinnier than normal, they love to be held and lay normal-sized eggs." http://www.seattlechickencoops.com/ Looks Easiest "Island Coop" $500 with a "Double External Nesting Box" $75 $35 wheels on the coop Delivery $60 Grandpa's Chicken Feeders $200 Standard feeds 6 chickens for 10 days My partner in garden crime just came by and we ended up planning out a new garden shed. My dad. He's got every woodworking tool and one to spare. Whenever I scheme, he's the one that makes my outlandish, sometimes expensive, time-consuming projects possible. And he has a good attitude, like "why not?" and "let's check it out!" He makes it happen. I love that! I need a shed for the classic reason, to store my garden tools. I could also use a workbench for woodworking projects for the day he finally says, "I'm 96 years old! I'm not building a deck for you!" Our plan is to make a plan. And then we'll visit my favorite store, Earthwise Salvage in Seattle to find cool windows, hopefully 1 or 2 French doors (yes, for my garden shed) and who knows what else? Check out the playhouse we built a couple summers ago! I'm excited at having this project to look forward to. But for now, it's time to go mow the lawn. *** Two Months Later *** May 23, 2012 As impatient and impulsive as I seem sometimes, I tend to stick with my gut instinct when it really counts. Fortunately, I didn't buy a big, Costco kit-shed that was on sale a few weeks ago... I waited until my brain sorted out the dilemma. We have a perfect shed that even has electricity (!!) that is holding two things; 1. junk and 2. our riding lawn mower. If I move the lawn mower, I can't put it in the garage, because it's too messy and grassy. Ick. Building a shed for my woodworking projects (future hobby) would cost $2,000 minimum and I'd drive my husband, dad and myself crazy in the meantime. Obviously, the damn mower needs a new home. Enter, the lean-to. If I can get this built, all... okay this particular wild dream will come true. The dream of having a cute shed to put my cute stuff in and make bad ass stuff for my cute existence. (Not nauseatingly cute, just functional and good-looking.) 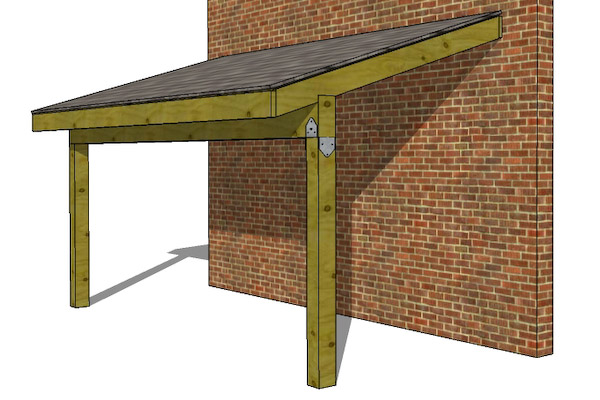 The "Lean-To." Pretty basic, eh? I'd add siding to the front though, and paint it to match the house. So there I was smacking myself for not thinking of this all sooner. Tonight, I took an inventory of the crap that I'll need to haul out of the shed and sell on Craigslist (does anyone need a wakeboard?) I also noticed some storm damage on the roof, so I'll have to get that patched up. Along with my shed obsession, I am pretty bent on having a greenhouse. I can build one adjoining this shed. 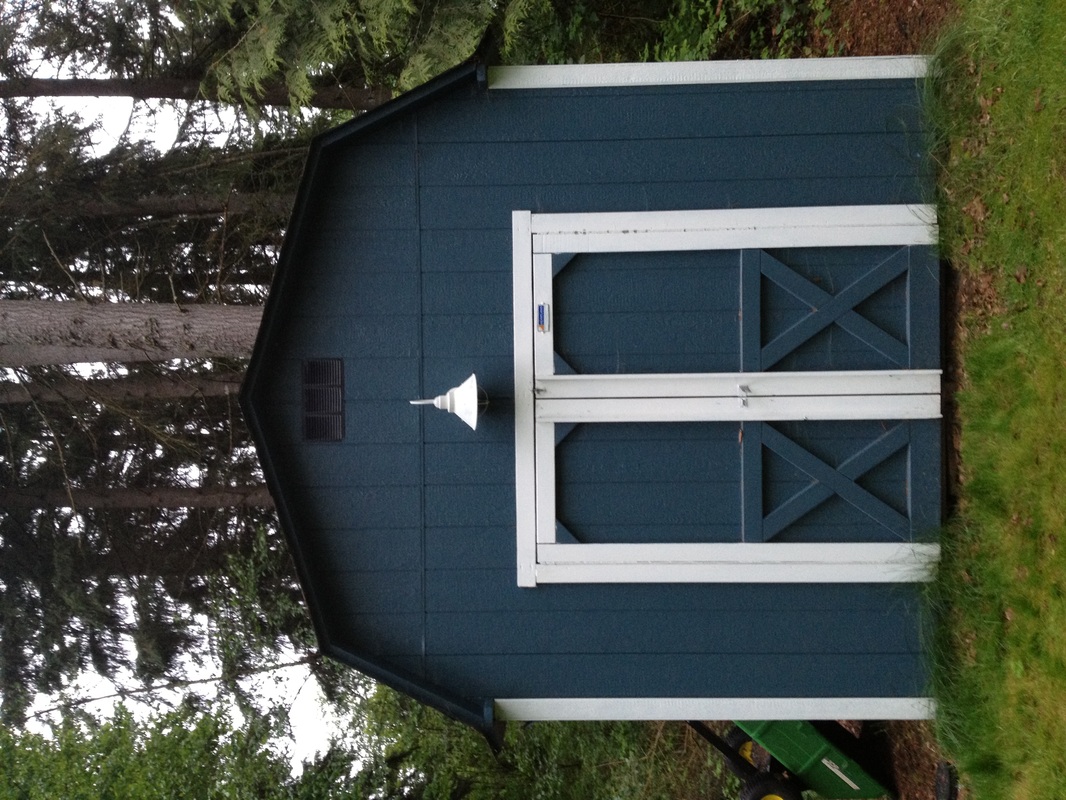 The current lawn-mower stower. Just add character. There will be a chandelier. Stay tuned. *** June 1, 2012 ***
With the lawn mower stored elsewhere, the shed is now mine to work in, or you know, decorate. So, can a table saw, chandelier and cozy chair share the same small space? Let's find out!
|
Avant-Garde(n)Quick updates charting my novice and experimental, gardening adventures at home. Archives
September 2019
Categories
All
Click here for a link to other garden bloggers
|


 RSS Feed